
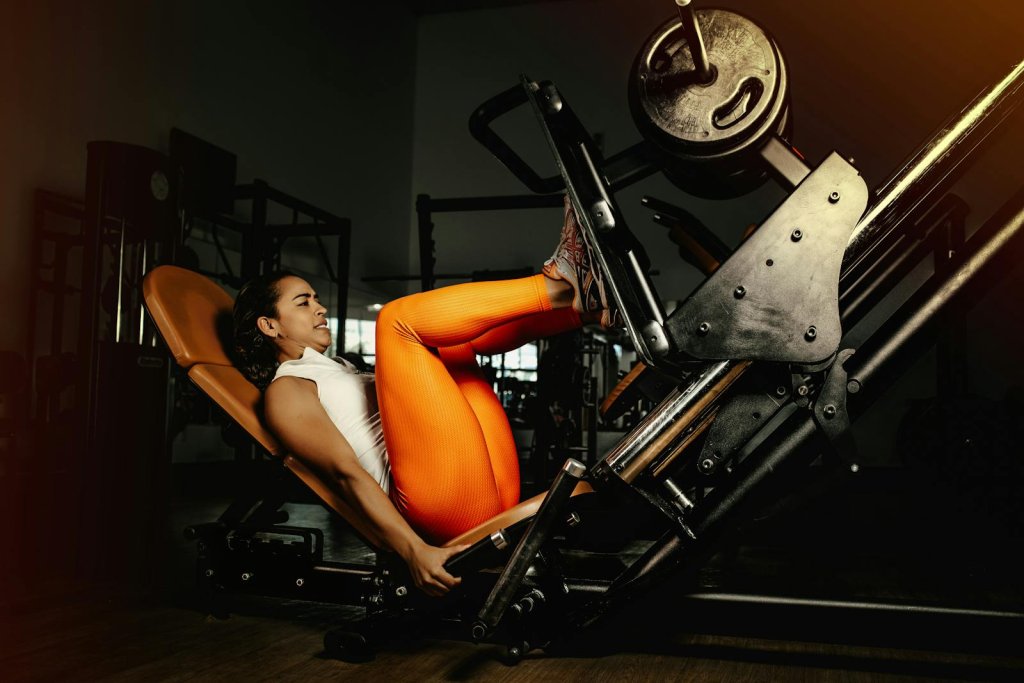
Leg press foot placement determines which muscles you target and how safely you train. By simply adjusting where you position your feet on the platform, you can emphasize quads, glutes, hamstrings, or calves. Getting it wrong, however, may overload your knees or hips and increase your risk of injury.
This guide explains every foot placement variation, the muscles worked, common mistakes to avoid, and how to structure your workouts for maximum results without setbacks.
Why Foot Placement Matters on the Leg Press
The leg press is one of the most versatile lower-body exercises. Unlike barbell squats, which demand significant core stabilization, the leg press provides guided movement. That makes it easier to isolate muscles — but it also means foot positioning plays a huge role in both performance and safety.
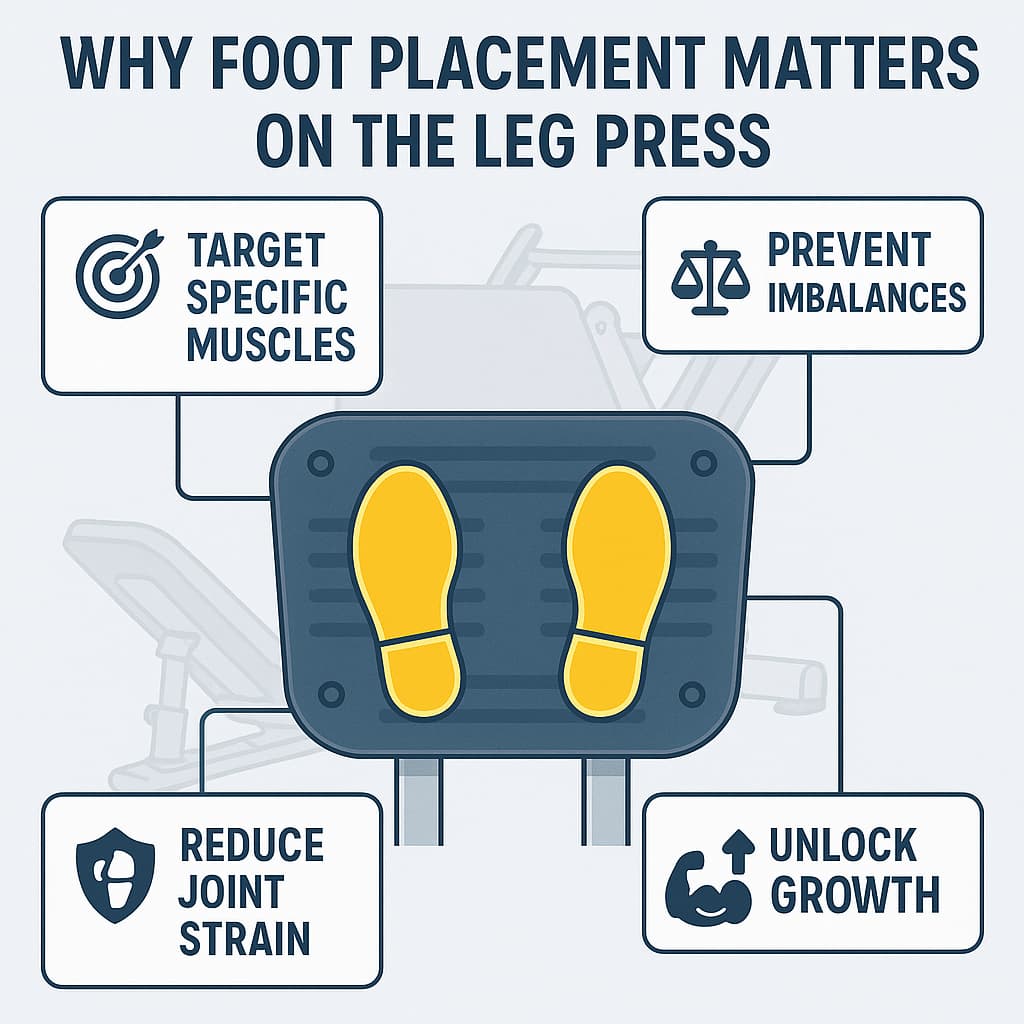
Benefits of optimizing foot placement:
- Target specific muscle groups without changing machines.
- Prevent imbalances by rotating positions.
- Reduce joint strain with proper alignment.
- Unlock new growth by hitting muscles from different angles.
Leg Press Foot Placement Variations
1. Standard Shoulder-Width Placement
- Feet position: Hip- to shoulder-width apart, centered on the platform, toes slightly outward.
- Muscles worked: Balanced activation of quads, glutes, and hamstrings.
- Best for: General strength and hypertrophy, safe for beginners.
2. High Foot Placement
- Feet position: Higher on the platform, wider than mid-level.
- Muscles worked: Glutes and hamstrings (posterior chain).
- Why it works: More hip extension and less knee stress.
- Trainer tip: Avoid placing feet too high, which can strain hips.
3. Low Foot Placement
- Feet position: Lower on the footplate, closer to the base.
- Muscles worked: Quadriceps, especially rectus femoris.
- Why it works: Increases knee flexion, shifting load forward.
- Trainer tip: Keep heels flat to prevent knee strain.
4. Wide Stance
- Feet position: Positioned wide apart, toes angled slightly outward.
- Muscles worked: Inner thighs (adductors), glutes, hamstrings.
- Why it works: Expands hip angle, engaging stabilizers.
- Trainer tip: Control depth to avoid groin strain.
5. Narrow Stance
- Feet position: Feet close together in the center of the platform.
- Muscles worked: Outer quads (vastus lateralis).
- Why it works: Forces quads to handle the majority of the load.
- Trainer tip: Keep knees tracking straight to avoid valgus collapse.
6. Calf Press (Toes on Platform)
- Feet position: Only the balls of your feet on the bottom edge, heels hanging off.
- Muscles worked: Calves (gastrocnemius and soleus).
- Why it works: Turns the leg press into a heavy calf raise.
- Trainer tip: Use controlled reps — no bouncing.
Common Mistakes to Avoid
- Locking out your knees → Removes tension and risks joint damage.
- Heels lifting off the platform → Shifts force into knees instead of muscles.
- Going too shallow → Limits muscle activation. Aim for about a 90° knee angle.
- Knees caving inward or outward → Increases risk of ligament injury.
- Using too much weight → Compromises form and overloads joints.
(Source: International Sports Sciences Association, 2025; N1 Training)
Programming Foot Placement for Best Results
- Rotate placements: Cycle through high, low, wide, and narrow stances weekly to build balanced strength.
- Match to goals:
- For bigger quads → Low placement & narrow stance.
- For glutes/hamstrings → High placement & wide stance.
- For calves → Toes-only variation.
- Reps and sets:
- Strength → 4–6 reps, heavy load.
- Hypertrophy → 8–12 reps, moderate weight.
- Endurance → 12–20 reps, lighter weight.
Safety Tips for Injury-Free Training
- Warm up hips, knees, and ankles before heavy sets.
- Keep your lower back flat against the pad at all times.
- Control the movement — don’t let the sled drop.
- Choose a range of motion that doesn’t cause hip or knee pain.
- Progress weight gradually, especially when testing new stances.
FAQs About Leg Press Foot Placement
1. Which foot placement is best for overall leg growth?
The standard shoulder-width stance is best for balanced development of quads, glutes, and hamstrings.
2. Is high foot placement safer for knees?
Yes, because it reduces knee stress by shifting load to glutes and hamstrings.
3. Can I combine different foot placements in one workout?
Absolutely. Many lifters use 2–3 placements in the same session for complete leg training.
4. Should I go deep on the leg press?
Go as deep as your mobility allows without your lower back rounding or hips shifting off the pad.
5. How often should I rotate foot positions?
Every 3–4 weeks, or within the same session if your goal is balanced hypertrophy.
6. Is leg press safer than squats for knees?
Leg press reduces spinal load, but poor foot placement can still strain knees. Proper form is key.
7. Can beginners use wide stance leg press?
Yes, but start light and focus on knee tracking to avoid hip or groin strain.
Conclusion
The leg press is more than just loading plates and pushing weight — it’s about smart foot placement. By understanding how each position affects muscle activation, you can maximize results while keeping your knees and hips safe. Rotate your stances, train with control, and you’ll see stronger, more balanced leg development.