
If you want to build stronger and more defined lower abs, the single most important thing is using exercises that truly target the lower section of the rectus abdominis. The best lower ab exercises for men are the ones that train pelvic control, hip flexion stability, and leg-lowering movements with strict form. These moves strengthen your core, improve posture, enhance athletic performance, and support lower-back health.
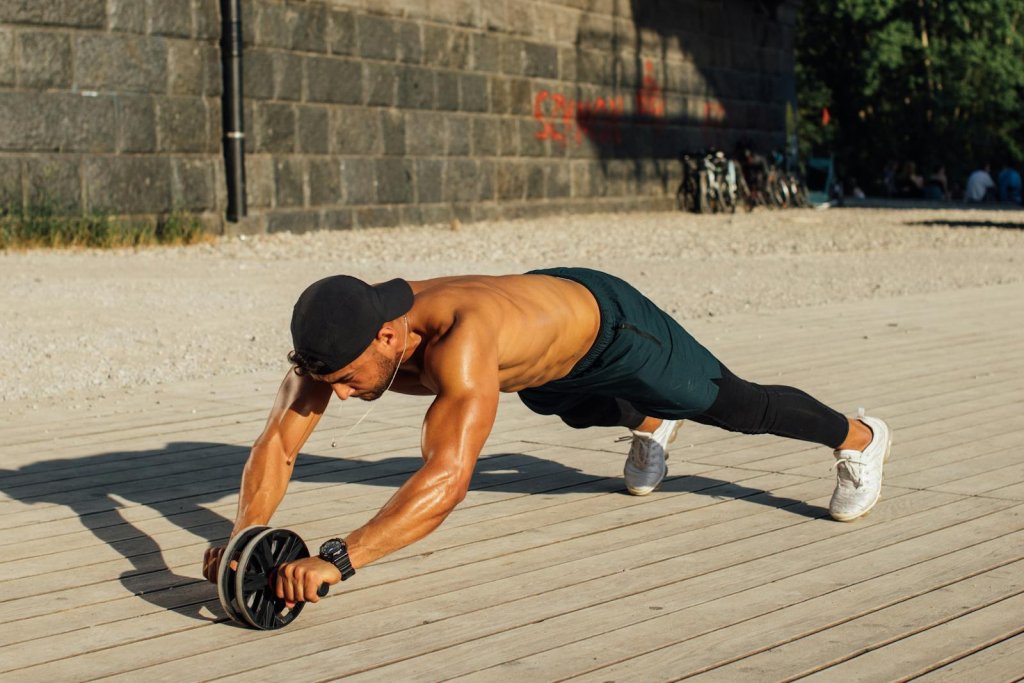
Understanding how to train your lower abs correctly matters because this region is one of the hardest areas for men to strengthen and reveal. In this guide, you’ll learn the 15 most effective exercises, how to do them safely, how to program them, and how to pair them with smart fat-loss habits for visible definition.
Why Lower Ab Exercises Matter for Men
Lower ab strength supports far more than appearance. Key benefits include:
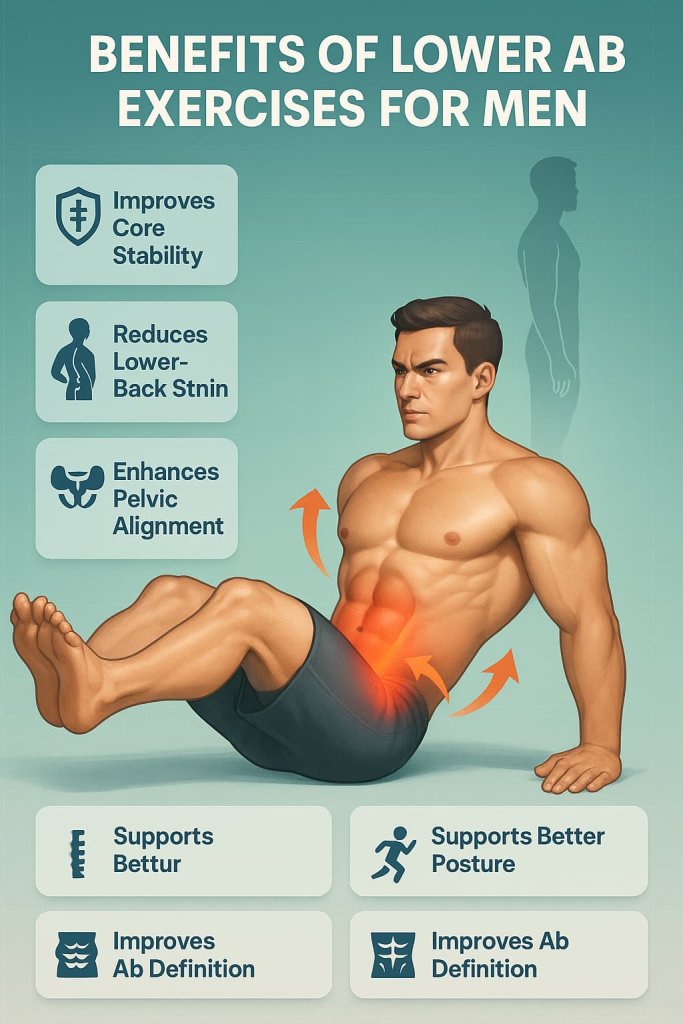
- Improved core stability for lifting, running, and sports
- Better pelvic alignment and reduced anterior pelvic tilt
- Lower-back protection during heavy lifting or long sitting
- Enhanced posture from increased trunk control
- Greater abdominal definition when combined with healthy body-fat levels
- More efficient movement in daily life and athletic activities
Lower ab exercises matter because they train the muscles responsible for leg-lowering, pelvic tilt, and deep core stability—areas where many men are weak.
How Men Should Train Lower Abs (Safe & Effective Guidelines)
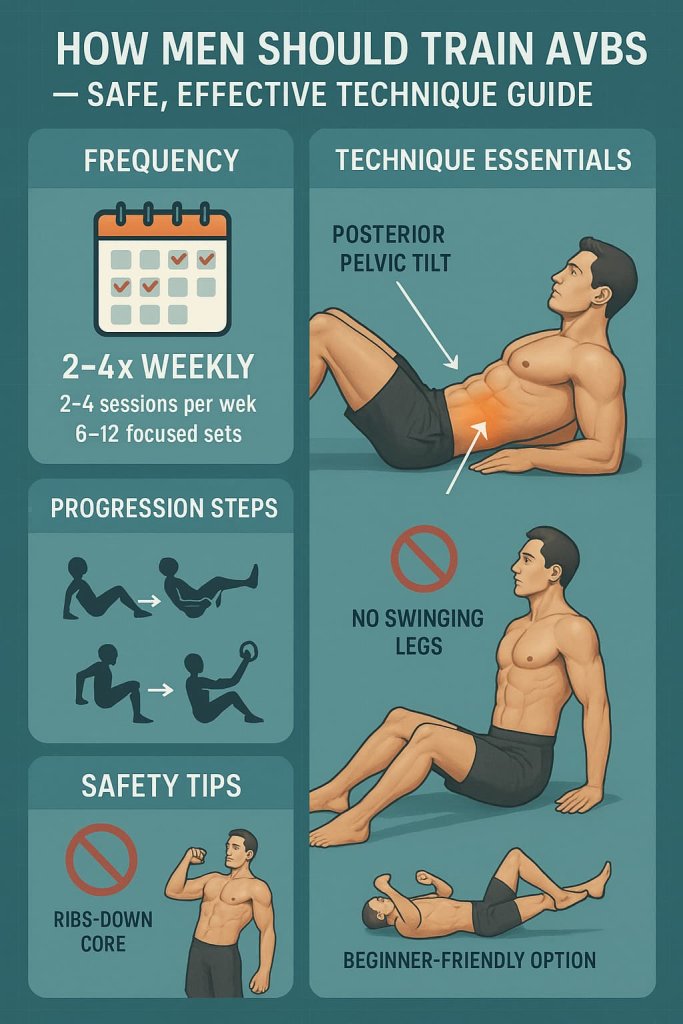
1. Frequency
- Train lower abs 2–4 times per week.
- Aim for 6–12 challenging sets per week that focus specifically on lower-ab engagement.
2. Technique Essentials
- Use a posterior pelvic tilt (tuck the pelvis down and under).
- Keep the lower back gently pressed into the floor during leg raises and drops.
- Move with slow, controlled reps—especially the lowering phase.
- Stop if you feel sharp pain or excessive lower-back strain.
3. Progression
- Start with bent-knee variations
- Move to straight-leg versions
- Add resistance or increase time under tension once you master the basics
4. Safety Tips
- Avoid swinging your legs—this shifts work away from the lower abs.
- Keep ribs down and core braced.
- If you have a history of back pain, begin with dead bugs or leg-drop regressions.
15 Best Lower Ab Exercises for Men
These 15 lower-ab exercises strengthen the core, improve pelvic control, and help men build a firmer, more defined midsection. Each movement is selected for its ability to emphasize the lower portion of the rectus abdominis while protecting the lower back.
1. Reverse Crunch
Why it works:
Reverse crunches target the lower portion of the rectus abdominis by driving movement from the pelvis instead of the ribs. The focus on posterior pelvic tilt (tucking your tailbone under) reduces hip-flexor dominance and teaches you to curl the spine from the bottom up. This makes it one of the most effective entry-level moves for lower-ab engagement and control.
Muscles worked:
- Primary: Lower rectus abdominis
- Secondary: Transverse abdominis, deep core stabilizers, hip flexors (lightly)
How to do it:
- Lie on your back with your arms by your sides or hands lightly under your hips.
- Bend your knees to 90° and lift your feet off the floor so your shins are parallel to the ground.
- Take a breath in, then as you exhale, brace your core and gently tuck your pelvis (posterior pelvic tilt).
- Use your abs to curl your hips off the floor, bringing your knees toward your chest—not by swinging your legs.
- Pause briefly at the top, maintaining tension.
- Slowly roll your spine back down, controlling the descent until your lower back returns to the floor, but your feet remain off the ground.
- Repeat for controlled reps.
Trainer Tip:
Think about “rolling your spine up” rather than lifting your legs. If you feel more work in your hip flexors than your abs, reduce the range of motion and focus on the pelvic curl first.
2. Lying Leg Raise
Why it works:
Lying leg raises create a long lever by keeping the legs straight, which significantly increases the torque on your pelvis and lower abs. Your core must work hard to prevent your lower back from arching as the legs lower, reinforcing anti-extension strength and lower-ab endurance.
Muscles worked:
- Primary: Lower rectus abdominis
- Secondary: Hip flexors, transverse abdominis
How to do it:
- Lie flat on your back with your legs extended and together.
- Place your hands under your hips or by your sides for support.
- Press your lower back into the floor and brace your core.
- Lift your legs up toward the ceiling until your hips are flexed to about 90°.
- Inhale as you slowly lower your legs, keeping them straight and your lower back in contact with the floor.
- Stop just before your lower back starts to lift or arch.
- Exhale as you raise your legs back to the starting position with control.
Trainer Tip:
If you struggle to keep your back flat, bend your knees slightly or limit how low you take your legs. Quality tension is more important than how close your feet get to the floor.
3. Dead Bug
Why it works:
The dead bug teaches proper bracing and coordination between your trunk and limbs. As you move one arm and the opposite leg, your lower abs and deep core stabilizers must prevent your spine from arching or rotating, which closely mimics real-life movement demands.
Muscles worked:
- Primary: Transverse abdominis, lower rectus abdominis
- Secondary: Hip flexors, spinal stabilizers, obliques (anti-rotation)
How to do it:
- Lie on your back with your arms extended straight toward the ceiling.
- Lift your legs so your hips and knees are both at 90° (tabletop position).
- Gently press your lower back into the floor and brace your core.
- Slowly extend your right leg toward the floor while simultaneously lowering your left arm overhead.
- Stop just before your lower back starts to lift off the ground.
- Return to the starting position and repeat with the opposite arm and leg.
- Move slowly and keep breathing throughout the movement.
Trainer Tip:
If you can’t keep your back down, shorten the range of motion—only lower your leg and arm partway. Think “quiet torso, moving limbs.”
4. Hollow Body Hold
Why it works:
The hollow body hold creates full-body tension from shoulders to toes, forcing the lower abs and deep core to stay engaged continuously. This isometric challenge improves core stiffness, which carries over to heavy lifting, gymnastics-style movements, and athletic power.
Muscles worked:
- Primary: Lower and upper rectus abdominis, transverse abdominis
- Secondary: Hip flexors, obliques, spinal stabilizers
How to do it:
- Lie on your back with arms extended overhead and legs straight.
- Flatten your lower back into the floor by bracing your core and slightly tucking your pelvis.
- Lift your shoulders off the floor, reaching your arms toward the ceiling or slightly forward.
- Raise your legs a few inches off the floor, keeping them together and extended.
- Maintain a gentle “banana” shape from shoulders to toes, with ribs down and abs tight.
- Hold for the desired time while breathing in short, controlled breaths.
Trainer Tip:
If you lose lower-back contact, regress by bending your knees into a tuck or bringing your arms down by your sides. Increase difficulty gradually as your control improves.
5. Slow Mountain Climbers
Why it works:
Slowing down the mountain climber turns it from a cardio drill into a stability-focused lower-ab exercise. Each knee drive challenges your core to resist rotation and sagging, making the lower abs fire hard to keep your spine aligned.
Muscles worked:
- Primary: Lower abs, transverse abdominis
- Secondary: Obliques, shoulders, chest, triceps
How to do it:
- Start in a high plank with your hands under your shoulders and your body in a straight line.
- Spread your fingers and press firmly into the floor to stabilize your shoulders.
- Brace your core and squeeze your glutes to keep your hips level.
- Slowly bring one knee toward your chest, maintaining a neutral spine.
- Pause briefly, then step that foot back to the plank position.
- Repeat with the other leg, alternating sides in a deliberate, controlled rhythm.
Trainer Tip:
If your hips bounce up and down or your lower back sags, slow down even more and reduce the range of your knee drive. Quality stability beats speed every time.
6. Flutter Kicks
Why it works:
Flutter kicks keep your lower abs under nearly constant tension while your hip flexors move the legs. Because your legs stay elevated and moving, the lower core must work continuously to maintain spinal position, building muscular endurance.
Muscles worked:
- Primary: Lower rectus abdominis
- Secondary: Hip flexors, transverse abdominis
How to do it:
- Lie on your back with legs extended and together.
- Place your hands under your hips to support your lower back.
- Lift your legs a few inches off the floor and brace your core.
- Keeping your legs straight, alternate small kicks up and down, like a gentle swimming motion.
- Keep the movement smooth and within a small range of motion.
- Continue for the set time or number of breaths.
Trainer Tip:
If your ribs flare or lower back arches, lift your legs a bit higher or shorten the duration. Think “short kicks, tight core, easy breathing.”
7. Scissor Kicks
Why it works:
Scissor kicks add a lateral and crossing component, challenging pelvic stability and lower-ab control in multiple planes. The constant crossing motion forces your core to prevent your lower back from arching or twisting.
Muscles worked:
- Primary: Lower rectus abdominis
- Secondary: Hip flexors, adductors (inner thighs), transverse abdominis
How to do it:
- Lie on your back with legs extended and hands under your hips.
- Lift both legs a few inches off the floor and brace your core.
- Move one leg up slightly while the other goes down, crossing them over each other.
- Alternate which leg goes on top with each “scissor” movement.
- Keep your lower back in contact with the floor throughout.
Trainer Tip:
Focus on smooth, slow motion. If you feel your lower back working more than your abs, raise your legs slightly or reduce the size of the scissor.
8. Hanging Knee Raise
Why it works:
Hanging knee raises target the lower abs through hip flexion and pelvic tilt while demanding strong shoulder and grip stability. Starting with bent knees keeps the lever shorter, making it a great progression before full hanging leg raises.
Muscles worked:
- Primary: Lower rectus abdominis
- Secondary: Hip flexors, forearms, lats, upper back
How to do it:
- Hang from a pull-up bar with a shoulder-width grip and arms fully extended.
- Engage your lats by slightly pulling your shoulders down and away from your ears.
- Brace your core and keep your legs together.
- Exhale as you draw your knees up toward your chest, tilting your pelvis slightly.
- Pause briefly at the top with your abs squeezed.
- Lower your legs slowly back to a dead hang without swinging.
Trainer Tip:
If you start to swing, let yourself come to a complete stop before the next rep. Think about curling your pelvis, not just lifting your knees.
9. Hanging Leg Raise
Why it works:
Extending the legs turns this into a high-tension lower-ab exercise with significant load on the hip flexors and core. The long lever increases challenge, making it a powerful progression for intermediate and advanced trainees.
Muscles worked:
- Primary: Lower rectus abdominis
- Secondary: Hip flexors, obliques (if rotating), forearms, lats
How to do it:
- Hang from a bar with your legs straight and together.
- Tighten your grip and engage your shoulders so you’re not hanging loosely.
- Brace your core and slightly tuck your pelvis.
- Exhale as you raise your legs up in front of you to at least hip height; go higher if you can without losing form.
- Pause briefly, then lower your legs slowly under full control.
Trainer Tip:
Build up with hanging knee raises first. If you can’t control at least 8–10 quality knee-raise reps, stay there until your strength improves.
10. Decline Reverse Crunch
Why it works:
The decline angle increases the resistance against which your lower abs must work, intensifying the pelvic curl compared to the flat-floor version. This makes it an excellent intermediate progression once bodyweight reverse crunches are easy.
Muscles worked:
- Primary: Lower rectus abdominis
- Secondary: Transverse abdominis, hip flexors
How to do it:
- Set a decline bench to a moderate angle and lie on it with your head at the top and feet secured at the bottom.
- Grip the bench behind your head or at the sides for stability.
- Bring your knees up to about 90° and slightly tuck your pelvis.
- Curl your hips up toward your chest, lifting your lower back slightly off the bench.
- Pause at the top and then slowly lower your hips back down, keeping tension in your abs.
Trainer Tip:
Don’t let your thighs swing. Keep the movement compact and controlled around the pelvis for maximal lower-ab engagement.
11. 90–90 Leg Drop
Why it works:
With hips and knees bent, the 90–90 position shortens the lever, making it more beginner-friendly while still challenging pelvic control and lower-ab stability against gravity.
Muscles worked:
- Primary: Lower rectus abdominis
- Secondary: Transverse abdominis, hip flexors
How to do it:
- Lie on your back with your hips and knees both at 90°, shins parallel to the floor.
- Place your arms by your sides and press your lower back into the ground.
- Brace your core and slowly lower your feet toward the floor in a controlled arc.
- Stop as soon as you feel your lower back start to lift or your pelvis tilt forward.
- Exhale and use your abs to pull your legs back to the starting position.
Trainer Tip:
You can squeeze a small pillow or ball between your knees to increase inner-thigh and core engagement and help keep your pelvis stable.
12. Plank with Leg Lift
Why it works:
Adding a leg lift to the plank forces your lower abs and glutes to work together to keep your hips from rotating or sagging. This blends anti-extension and anti-rotation work, which is highly functional for sports and daily movements.
Muscles worked:
- Primary: Lower abs, transverse abdominis
- Secondary: Glutes, shoulders, upper back, spinal stabilizers
How to do it:
- Start in a forearm plank with elbows under shoulders and body in a straight line.
- Brace your core and squeeze your glutes to lock in a neutral pelvis.
- Slowly lift one leg a few inches off the floor without letting your hips twist or rise.
- Hold for 1–2 seconds, then lower that leg under control.
- Repeat on the other side, alternating legs for the duration of the set.
Trainer Tip:
If your hips shift or your plank position breaks, reduce the range of your leg lift or shorten the set. Keep your pelvis “quiet” and your torso rock-solid.
13. L-Sit Hold
Why it works:
The L-sit is a powerful isometric that heavily loads the lower abs and hip flexors while demanding shoulder and triceps strength. Holding the legs straight out front forces the lower core to stay fully engaged to prevent your pelvis from tipping.
Muscles worked:
- Primary: Lower rectus abdominis, hip flexors
- Secondary: Shoulders, triceps, upper back, deep core
How to do it:
- Position yourself between parallel bars, dip bars, or sturdy yoga blocks.
- Place your hands firmly on the bars or blocks, arms straight.
- Press down through your hands to lift your body off the surface.
- Extend your legs straight out in front of you at hip height, toes pointed, creating an “L” shape.
- Keep your chest tall, shoulders depressed, and abs braced.
- Hold for time, then lower yourself under control.
Trainer Tip:
If the full L-sit is too demanding, start with knees bent (tuck sit), then gradually extend one leg at a time before progressing to both legs straight.
14. Russian Twist with Elevated Legs
Why it works:
Elevating the legs shifts more responsibility to the lower abs to stabilize your pelvis while the obliques rotate the torso. This combines rotational and anti-extension work for a more complete core challenge.
Muscles worked:
- Primary: Obliques
- Secondary: Lower rectus abdominis, hip flexors, transverse abdominis
How to do it:
- Sit on the floor with your knees bent and heels lightly on the ground.
- Lean back slightly to create a 45° torso angle while keeping your back straight.
- Lift your feet a few inches off the floor so you’re balancing on your sit bones.
- Brace your core and clasp your hands together or hold a light weight.
- Rotate your torso to one side, then back through center to the other side, moving from your ribcage and not just your arms.
- Keep your legs steady and your chest lifted throughout.
Trainer Tip:
If your lower back rounds, sit more upright or keep your heels lightly on the floor. Prioritize spinal alignment and controlled rotation over range.
15. Weighted Reverse Crunch
Why it works:
Adding external load to the reverse crunch increases resistance throughout the pelvic curl, encouraging strength and hypertrophy in the lower abs once bodyweight versions are easy.
Muscles worked:
- Primary: Lower rectus abdominis
- Secondary: Transverse abdominis, hip flexors
How to do it:
- Lie on your back with your hands by your sides or lightly under your hips.
- Place a small dumbbell, ankle weights, or a medicine ball between your feet or around your ankles.
- Bend your knees and lift your feet off the floor to about 90°.
- Brace your core and tuck your pelvis.
- Curl your hips off the ground, bringing your knees toward your chest without swinging.
- Slowly lower your hips back down, controlling the weight the entire way.
Trainer Tip:
Start with a light load so you can still move smoothly. If your form breaks or your lower back feels strained, reduce the weight or return to unweighted reverse crunches until your strength improves.
Sample Lower Ab Workout Plan for Men
Beginner (2–3x per week)
- Reverse Crunch – 3×12
- Dead Bug – 3×8 per side
- 90-90 Leg Drops – 3×10
- Plank with Leg Lift – 2×30 seconds
Intermediate
- Lying Leg Raises – 3×12
- Decline Reverse Crunch – 3×10
- Slow Mountain Climbers – 3×20
- Flutter Kicks – 3×30 seconds
Advanced
- Hanging Knee or Leg Raises – 3×10–12
- Hollow Body Hold – 3×30–40 seconds
- Weighted Reverse Crunch – 3×10
- L-Sit Hold – 3×10–20 seconds
Aim for 6–12 total weekly sets focused specifically on lower abs.
Nutrition & Body Fat: The Real Key to Visible Lower Abs
Lower-ab definition depends heavily on:
- Calorie balance
- Daily protein intake (aim for 1.6–2.2 g per kg bodyweight)
- Consistent strength and core training
- Adequate sleep and stress management
Lower ab exercises build shape, but nutrition and body-fat levels reveal shape.
Common Mistakes Men Make With Lower Ab Training
1. Using Momentum
Swinging the legs shifts work away from the lower abs and increases injury risk.
2. Letting the Lower Back Arch
Losing spinal control reduces activation and stresses the lumbar area.
3. Overusing Hip Flexors
Poor pelvic position turns leg raises into hip-flexor exercises instead of ab work.
4. Doing Only Crunches
Focusing only on upper-ab moves creates imbalance and weak lower-core control.
5. Too Much Volume, No Progression
High reps without technique or resistance won’t build strength.
6. Ignoring Pain Signals
Sharp pain or pinching means the variation is too advanced or form is breaking down.
Who Should Be Careful With Lower Ab Exercises
1. Men With Lower-Back Pain
Leg-raise variations may increase lumbar stress if not controlled.
2. Men With Tight Hip Flexors
Overactive hip flexors reduce lower-ab engagement and affect posture.
3. Post-Surgery or Hernia History
High-tension core work may overload healing tissue—use regressions.
4. Limited Core Strength or Awareness
Begin with dead bugs, leg-drops, and basic pelvic control drills.
5. Sharp Pain, Numbness, or Pinching
Stop immediately and switch to easier variations.
6. Shoulder or Grip Issues (During Hanging Exercises)
Choose floor-based core work until upper-body stability improves.
FAQs
1. How often should men train lower abs?
2–4 times per week with controlled movement and quality reps.
2. Do lower ab exercises burn belly fat?
No. They strengthen muscles. Fat loss requires full-body training and nutrition management.
3. What’s the best beginner exercise?
Dead bugs or 90-90 leg drops.
4. Should I use weights for lower abs?
Yes—once you master bodyweight variations, weighted progressions enhance strength and definition.
5. Can I train lower abs daily?
Only if intensity is low. Hard sets require recovery.
6. Why do my hip flexors take over?
Your pelvis isn’t tucked. Focus on posterior tilt and slow movement.
7. How long until results?
Strength improves in weeks; visible definition depends on body fat.
Conclusion
Training your lower abs the right way gives you a stronger core, better posture, reduced back strain, and improved definition. Use the 15 exercises in this guide, stay consistent, and pair your training with smart nutrition to reveal the results you’re working for.
Start today: pick 3–5 exercises, train them 2–4 times per week, and adjust your form and progression over time. With discipline and the right technique, lower-ab strength—and definition—will follow.
Reference
- Clark, K.M. et al. (2003). Electromyographic comparison of the upper and lower rectus abdominis during abdominal exercises.
https://pubmed.ncbi.nlm.nih.gov/12930172/ - Wang, X.Q. et al. (2012). A meta-analysis of core stability exercise versus general exercise for chronic low back pain.
https://journals.plos.org/plosone/article?id=10.1371/journal.pone.0052082 - Schoenfeld, B.J. (2021). Loading recommendations for muscle strength and hypertrophy.
https://pmc.ncbi.nlm.nih.gov/articles/PMC7927075/ - Schoenfeld, B.J. et al. (2019). Resistance training volume enhances muscle hypertrophy but not strength in trained men.
https://pubmed.ncbi.nlm.nih.gov/30153194/ - Brobakken, M.F. et al. (2023). Abdominal aerobic endurance exercise reveals spot reduction in adult males.
https://pmc.ncbi.nlm.nih.gov/articles/PMC10680576/ - University of Sydney (2023). Spot reduction: why targeting weight loss to a specific area is a myth.
https://www.sydney.edu.au/news-opinion/news/2023/11/07/spot-reduction–why-targeting-weight-loss-to-a-specific-area-is-.html