
The pistol squat is one of the hardest bodyweight moves—demanding strength, balance, mobility, and control. But without proper progression, most people end up falling, losing stability, or straining their knees.
That’s why a step-by-step pistol squat progression is essential. This guide will show you exactly how to go from zero to a full pistol squat in five foolproof steps, with mobility drills, trainer-approved tips, and science-backed methods. Whether you’re a beginner learning your first single-leg squat or already strong on two legs, this roadmap will help you master the pistol squat safely and efficiently.
What Is a Pistol Squat?
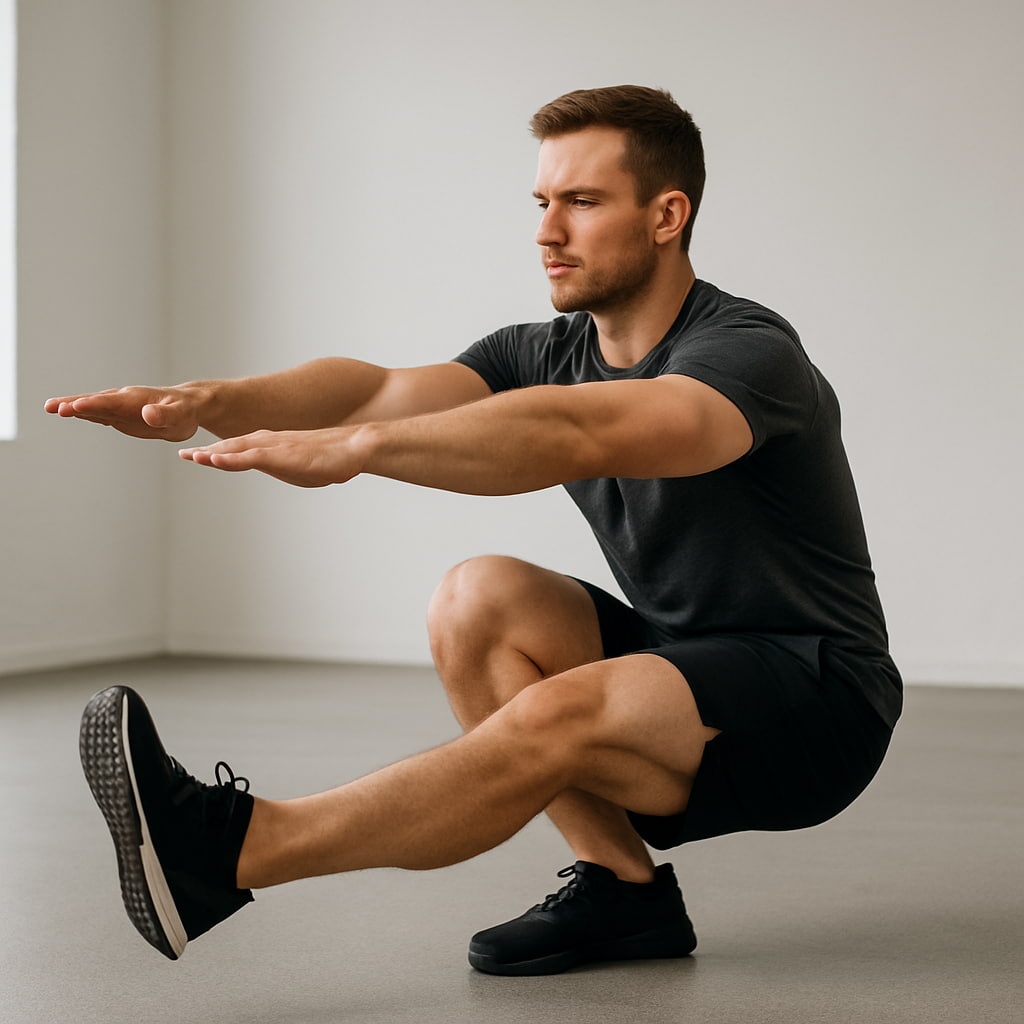
A pistol squat is a single-leg squat where one leg lowers all the way down while the other extends forward off the ground.
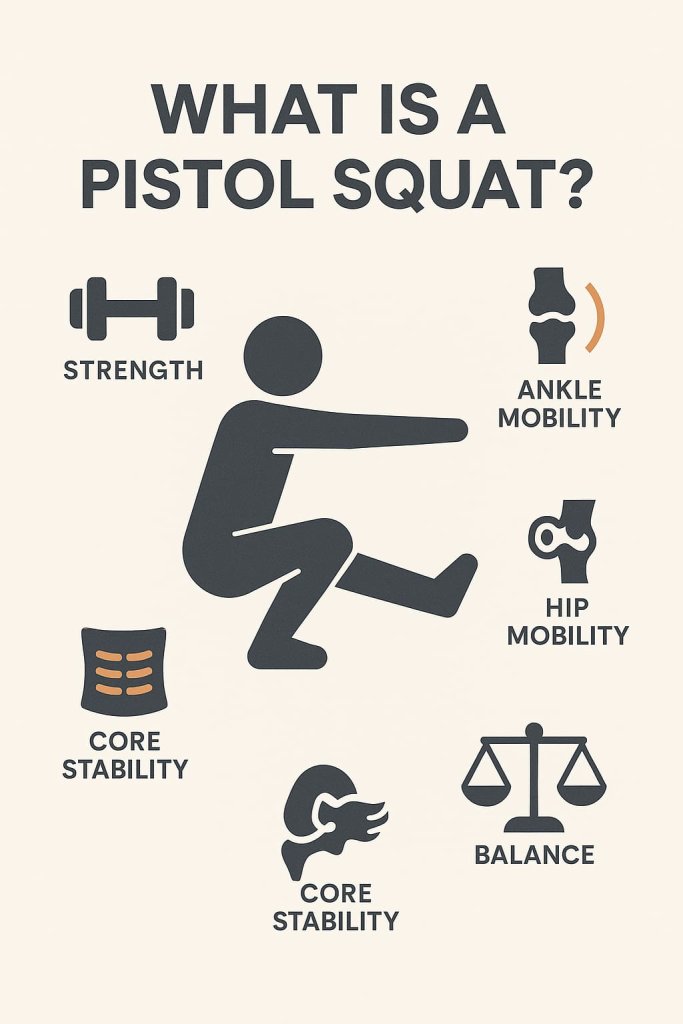
It requires:
- Lower body strength (quads, glutes, hamstrings)
- Ankle and hip mobility
- Balance and core stability
- Body control to descend and stand without assistance
Compared to regular squats, pistol squats place more demand on coordination and joint stability, making progressions non-negotiable.
Step 1: Build a Strong Foundation with Box Squats
Before attempting pistols, you must prove you can control your bodyweight.
How to Do It:
- Sit back onto a box, chair, or bench with one leg extended forward.
- Lower under control until seated.
- Push through the heel of your working leg to return to standing.
Trainer Tips:
- Start with a higher surface and gradually lower the height.
- Keep your chest upright to avoid collapsing forward.
This teaches single-leg stability and prepares you for the pistol’s bottom range.
Step 2: Master Assisted Pistol Squats
Once you can perform controlled box squats, introduce assistance.
How to Do It:
- Hold onto a pole, TRX strap, or door frame.
- Lower into a pistol squat with support for balance.
- Use as little help as possible to return to standing.
Trainer Tips:
- Keep your core braced and eyes forward.
- Use your arms for stability, but let your legs do most of the work.
This stage helps develop coordination without the fear of falling.
Step 3: Progress to Elevated Pistol Squats
Now it’s time to reduce the range of motion and make balance easier.
How to Do It:
- Stand on a sturdy box or platform.
- Extend your non-working leg forward so it can dip below the platform.
- Squat down on the working leg, then return to standing.
Trainer Tips:
- Focus on smooth, controlled reps.
- Keep your knee aligned with your toes—avoid inward collapse.
This step builds full-range control without requiring extreme ankle mobility yet.
Step 4: Attempt Partial Pistols and Bottom Holds
Before going all the way down, train your weakest positions.
How to Do It:
- Perform a pistol squat but only descend halfway.
- Hold the bottom position (deep squat with one leg extended) for time.
- Gradually increase depth as strength and mobility improve.
Trainer Tips:
- Practice daily ankle and hip mobility drills.
- Add pause holds to build stability at sticking points.
This teaches your body to own every range of motion, not just the start and finish.
Step 5: Perform the Full Pistol Squat
At this point, you’re ready to put it all together.
How to Do It:
- Stand tall on one leg, arms extended forward.
- Brace your core and slowly lower down, keeping your extended leg straight.
- Descend until your hamstring touches your calf.
- Drive through your heel and return to standing.
Trainer Tips:
- Keep your weight in the midfoot to heel for balance.
- Maintain a tall chest to avoid rounding your back.
- Start with low reps (3–5 per leg) and gradually build volume.
Congratulations—you’ve achieved your first pistol squat!
Benefits of Pistol Squat Progression

- Stronger legs: Builds quads, glutes, and hamstrings without weights.
- Improved balance: Enhances single-leg stability for sports and daily life.
- Joint health: Strengthens ankles, knees, and hips through full ranges of motion.
- Minimal equipment: Only bodyweight needed, perfect for home workouts.
Common Mistakes to Avoid
- Letting the knee cave inward
- Falling backward due to poor balance
- Rushing progression without mastering each step
- Ignoring ankle mobility (a key limiting factor)
FAQ Section
1. How long does it take to learn a pistol squat?
Most beginners need 8–12 weeks of consistent training to progress from box squats to full pistols, depending on mobility and strength.
2. Do pistol squats damage the knees?
No—when performed with proper form, pistol squats can strengthen knee stability. Poor form or rushing progression increases injury risk.
3. Can I train pistol squats every day?
Yes, mobility drills and assisted variations can be done daily. Full pistols should be trained 2–3 times per week for best results.
4. Do I need to be flexible to do pistol squats?
Yes—ankle dorsiflexion and hamstring flexibility are crucial. Mobility drills are essential for success.
5. Are pistol squats better than regular squats?
Not better, just different. Pistol squats improve unilateral balance and stability, while barbell squats are superior for building maximal strength.
6. Can beginners do pistol squats?
With progressions, yes. Beginners should start with box squats and assisted variations.
7. Should I add weight to pistol squats?
Only once you can perform full pistols comfortably. Weighted pistols are an advanced progression.
Conclusion
Learning the pistol squat doesn’t happen overnight—but by following these five foolproof progression steps, you can safely build the strength, balance, and mobility needed for mastery. Start with box squats, then progress through assisted, elevated, and partial pistols before achieving the full single-leg squat.
👉 If you want stronger legs, better balance, and a true test of body control, start practicing pistol squat progressions today.