
Seated calf raises are one of the most effective yet overlooked exercises for building thicker, stronger, and more balanced calves. By targeting the often-neglected soleus muscle, they help develop the deeper layer of your calves that boosts endurance, improves stability, and adds lasting shape. While most people rely on standing calf raises, skipping seated variations means missing out on full calf development.

In this detailed guide, you’ll learn why seated calf raises are essential for complete calf development, how to perform them perfectly, variations to keep your progress moving, mistakes to avoid, and trainer-approved programming tips for maximum growth.
The Benefits of Seated Calf Raises You Can’t Ignore
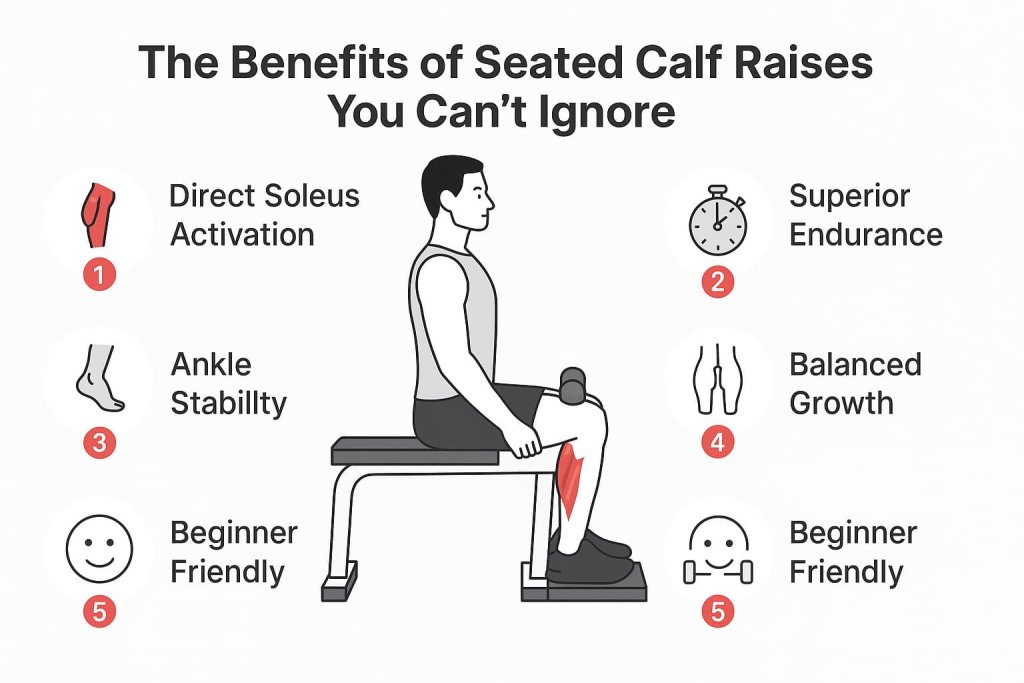
1. Direct Soleus Muscle Activation
When your knees are bent at about 90 degrees, the gastrocnemius muscle relaxes slightly, allowing the soleus — a deep, slow-twitch-dominant muscle — to take most of the load. This is the muscle responsible for calf thickness and overall lower-leg stability.
Why it matters: Most calf workouts neglect the soleus, leading to visually “high” calves that lack fullness. Seated raises solve that.
2. Superior Endurance Development
The soleus muscle contains up to 80% slow-twitch fibers, which are built for endurance and postural support. Training it with high reps and controlled tension improves performance in running, jumping, cycling, and even walking long distances.
3. Ankle Strength & Stability
Regular seated calf raises strengthen the muscles and tendons around the ankle joint, reducing the risk of sprains and supporting better balance in daily life and sports.
4. Complements Standing Calf Raises for Full Development
Standing calf raises emphasize the gastrocnemius, while seated raises focus on the soleus. Training both ensures balanced growth in both size and functional strength.
5. Beginner & Rehab Friendly
Because the exercise is performed seated, it reduces strain on the knees and lower back. It’s also easy to load progressively using machines, dumbbells, plates, or resistance bands.
Step-by-Step Guide to Performing Seated Calf Raises
Equipment Options:
- Seated calf raise machine (most effective for consistent loading)
- Barbell or dumbbells placed across the thighs
- Weight plates balanced on thighs
- Resistance bands looped under feet and over knees for home workouts
Form Instructions:
- Sit on a bench or machine seat with your feet flat on the platform or floor, about hip-width apart.
- Keep knees bent at 90 degrees and place the weight just above your knees.
- Push through the balls of your feet, raising your heels as high as possible.
- Hold the top position for 1–2 seconds, squeezing the calves hard.
- Slowly lower your heels below the starting position for a deep stretch.
- Repeat for your target reps.
Trainer Tip: Use a slow tempo — 2 seconds up, 2 seconds down — to maximize time under tension and avoid using momentum.
Variations to Challenge Your Calves
1. Toes-In Seated Calf Raise
Why it works: Pointing your toes inward shifts the emphasis toward the outer portion of the soleus muscle, helping to create a more rounded calf appearance.
How to do it:
- Sit on the calf raise machine or bench with your knees bent at 90°.
- Place the balls of your feet on the platform with your toes pointing slightly inward (about 20–30°).
- Perform slow, controlled raises, pausing at the top.
Pro Tip: Keep your ankle movement smooth—avoid letting your knees roll inward, as this can stress the joints.
2. Toes-Out Seated Calf Raise
Why it works: This variation shifts the load to the inner portion of the soleus, creating balance in calf development and improving ankle stability.
How to do it:
- Sit in position with your knees bent and place your toes outward about 20–30°.
- Keep heels together as you press up onto the balls of your feet.
Pro Tip: Use a moderate weight—too heavy can make your ankles roll, which risks injury.
3. Single-Leg Seated Calf Raise
Why it works: Trains each calf independently, improving balance and correcting strength imbalances between legs.
How to do it:
- Sit with one foot on the platform and the other leg relaxed to the side.
- Perform the movement slowly, ensuring full range of motion from a deep stretch to a strong contraction.
Pro Tip: Lightly hold a dumbbell on your knee for added resistance, and keep your hips square to avoid leaning.
4. Banded Seated Calf Raise
Why it works: The resistance band creates variable tension, making the top of the movement more challenging without overloading the joints.
How to do it:
- Sit with your knees bent and loop a resistance band around the balls of your feet, holding the other end firmly.
- Press through your toes against the band’s resistance, hold briefly, and lower under control.
Pro Tip: This is a great low-impact option for recovery days or for those with ankle/knee sensitivity.
5. Pause Reps (Isometric Hold)
Why it works: Holding the peak contraction for 3–5 seconds increases time under tension, improving muscle recruitment and endurance.
How to do it:
- Perform your calf raise as usual, but once you reach the top, hold and squeeze your calves hard before lowering slowly.
Pro Tip: Combine pause reps with lighter weight to maintain perfect form and reduce joint strain.
Common Mistakes (and How to Fix Them)
- Bouncing Through Reps – Why it’s bad: Removes tension from the muscle. Fix: Pause at both the top and bottom of the rep.
- Using Too Much Weight – Why it’s bad: Limits range of motion and increases injury risk. Fix: Choose a load that allows full stretch and contraction.
- Partial Range of Motion – Why it’s bad: Neglects the full activation of fibers. Fix: Lower heels fully before lifting again.
- Rushing Reps – Why it’s bad: Reduces time under tension, especially for slow-twitch fibers. Fix: Use a controlled tempo throughout.
Who Should Do Seated Calf Raises?
- Bodybuilders seeking complete calf size and shape
- Athletes in sports requiring sprinting or jumping
- Runners aiming to reduce lower-leg fatigue
- Anyone rehabbing ankle or Achilles injuries (with medical clearance)
- General fitness enthusiasts wanting stronger, more defined lower legs
Programming & Progression
- Beginners: 2–3 sets of 12–15 reps, twice per week
- Intermediate/Advanced: 3–5 sets of 15–25 reps, twice per week
- Endurance Focus: 2–3 sets of 30–50 reps with light weight
Progression Methods:
- Increase load gradually (5–10%) once you can complete your reps with perfect form
- Increase reps or time under tension before adding weight
- Mix in pauses, holds, or slow negatives to keep muscles challenged
FAQs
- Do seated calf raises really build calves? Yes. They target the soleus, adding depth and endurance to your calves.
- Can I do them daily? 2–3 sessions per week are enough; daily training can lead to overuse.
- Are they better than standing calf raises? They’re complementary — do both for complete development.
- What rep range works best? For growth: 12–20 reps. For endurance: 20–50 reps.
- Can I do them without a machine? Yes — use dumbbells, barbells, plates, or bands.
- When should I train calves? Usually after main leg lifts to avoid fatigue affecting squats or lunges.
- How soon will I see results? With consistent training, expect changes in 4–8 weeks.
Conclusion
Seated calf raises are not just a “finisher” — they’re an essential lower-leg builder. By targeting the soleus, they deliver calf thickness, improved ankle strength, and functional endurance. Pair them with standing variations for complete calf development, train with full range and control, and progress steadily.