
Useful groin strain exercises include adductor squeezes, side-lying hip adduction, glute bridges, resistance-band hip adduction, and later-stage modified Copenhagen planks. They serve different purposes, so they are not a routine to begin all at once. Exercise difficulty should match your symptoms, strength, and stage of recovery.
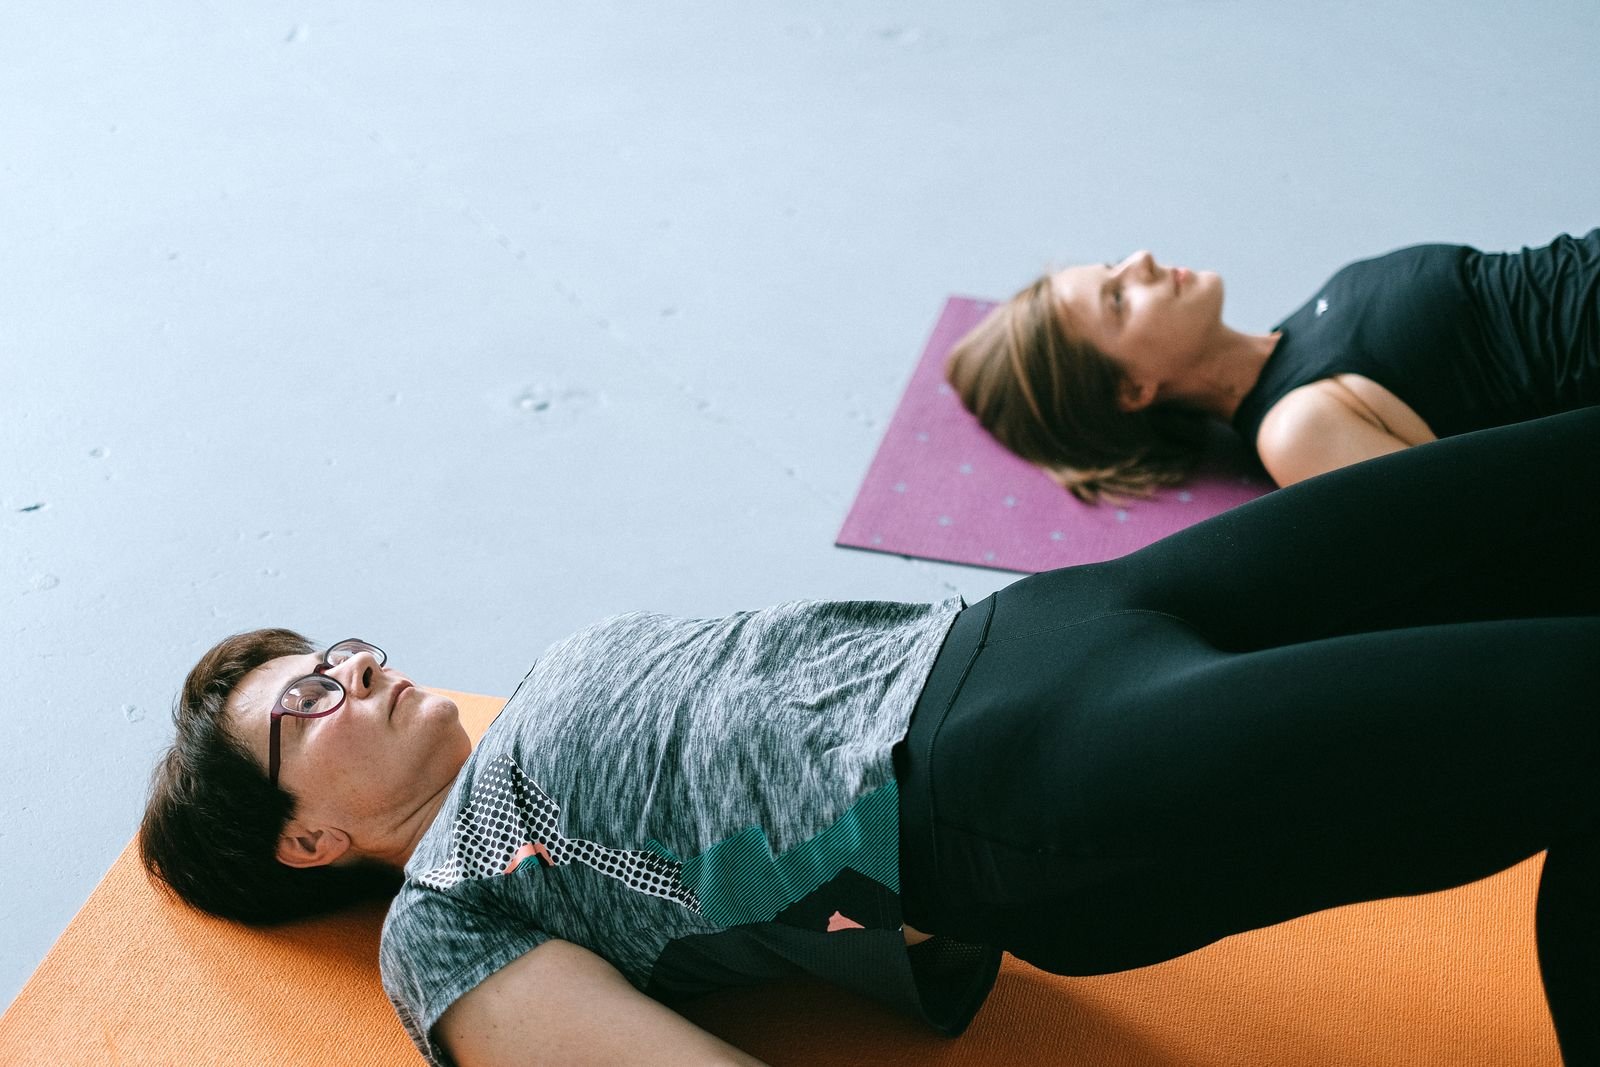
Choosing the right starting point matters more than completing every exercise. NHS physiotherapy guidance recommends adjusting movements to your tolerance and progressing gradually. Start with manageable loading, check how you feel afterward, and get individualized guidance when symptoms are significant or persistent.
Here, “best” means practical options with different roles—not a scientifically established ranking or a one-size-fits-all recovery plan.
Before You Start Groin Strain Exercises
A groin strain can involve the inner-thigh muscles called the adductors, which bring your leg toward your body’s midline. However, groin pain does not automatically mean an adductor strain. Hip conditions and other injuries, including stress fractures, can produce similar symptoms.
These exercises are general examples for an assessed adductor strain, not a way to diagnose unexplained pain. A recent injury with substantial pain, swelling, or difficulty walking should be evaluated before you begin strengthening.
Use Symptoms to Guide Your Starting Point
For a cautious starting approach, aim for pain-free movement or only mild discomfort—roughly 0–2 out of 10. This is a monitoring guide, not proof that an exercise is safe for every injury. A physical therapist may use different limits after assessing you.
Discomfort should settle after exercise rather than increasing through the evening or making the next day’s activities harder. Stop movements that produce sharp or escalating pain, and reduce the difficulty when symptoms worsen.
5 Best Groin Strain Exercises for Strength and Recovery
The starting amounts below are deliberately small examples to discuss with your physical therapist. They are not a tested five-exercise protocol. Your injury may require different exercises, fewer repetitions, or a different progression.
1. Isometric Adductor Squeeze
An isometric exercise contracts a muscle without moving through a large range. This squeeze introduces controlled inner-thigh loading using a ball between your knees.
How to do it:
- Lie on your back with your knees bent and feet resting on the floor.
- Place a soft exercise ball between your knees. Gently press both knees inward with equal pressure.
- Hold for about five seconds, then fully relax before repeating.
Illustrative starting amount: Five gentle holds.
Use enough pressure to feel the inner thighs working, not a maximum-effort squeeze. Make it easier by reducing the pressure or shortening the hold. Oxford University Hospitals includes a bent-knee ball squeeze in its early-stage adductor exercise guidance.
Main mistake to avoid: Treating the squeeze like a strength test. Early practice should be controlled and manageable.
2. Side-Lying Hip Adduction
This movement directly challenges the inner-thigh muscles as you lift your lower leg. The important distinction is that the bottom leg moves, not the top leg.
How to do it:
- Lie on the side of the leg you are exercising. Keep that lower leg straight.
- Bend your upper leg and place its foot on the floor in front of the lower leg. Use your upper hand for balance.
- Lift the lower leg a few inches, pause briefly, and lower it slowly. Keep your pelvis still rather than rolling backward.
Illustrative starting amount: One set of six to eight controlled repetitions, without ankle weights.
Make it easier by lifting through a smaller comfortable range. AAOS includes side-lying hip adduction in its hip-conditioning program.
Main mistake to avoid: Lifting the upper leg instead. That changes the movement to hip abduction and shifts its emphasis away from the inner thigh.
3. Glute Bridge
The bridge provides supporting hip-strength work. It emphasizes the buttock muscles rather than replacing exercises that directly load the adductors.
How to do it:
- Lie on your back with your knees bent, feet approximately hip-width apart, and arms relaxed.
- Gently tighten your buttocks and lift your pelvis through a comfortable range.
- Pause briefly, then lower slowly. Keep your knees aligned with your feet and avoid forcing your lower back into an arch.
Illustrative starting amount: One set of six to eight repetitions.
A small lift is enough to begin. Keep both feet on the floor rather than immediately progressing to a single-leg version. NHS guidance includes the bridge among lower-level hip exercises.
Main mistake to avoid: Chasing extra height by arching your back. Focus on controlled hip movement instead.
4. Standing Resistance-Band Hip Adduction
A resistance band lets you adjust the challenge while practicing inward leg movement.
How to do it:
- Secure a light band to a stable anchor at ankle height and around the ankle closest to it. Hold a fixed support for balance.
- Begin with the working leg slightly out to the side. Bring it inward toward your standing leg without leaning or twisting.
- Slowly return to the starting position, resisting the band’s pull rather than letting it snap your leg outward.
Illustrative starting amount: One set of six to eight controlled repetitions.
Make it easier with a lighter band or a smaller movement. There is no need to pull far across your body.
Main mistake to avoid: Using momentum or moving your whole torso to overcome excessive resistance.
5. Modified Copenhagen Side Plank
This is a later-stage option, not an exercise to force through a freshly painful groin. Have a physical therapist check your readiness and setup, particularly when shoulder or knee problems also affect your ability to support yourself.
A supported, short-lever version uses contact near the knee rather than the ankle.
How to do it:
- Lie on your uninjured side beside a low, stable, padded bench or box. Support the inside of your upper knee and lower thigh on it.
- Position your lower forearm on the floor with the elbow beneath your shoulder. Keep your lower knee on the floor for assistance in the easiest supported version.
- Press the upper leg into the support and gently raise your pelvis. Keep your trunk controlled, hold briefly, and lower slowly.
Illustrative starting amount: Three five-second holds, only after the setup is appropriate and comfortable.
Supported isometric variations appear in published modified Copenhagen progressions.
Main mistake to avoid: Jumping straight to long holds with ankle support.
A randomized trial published in 2019 involving 652 male soccer players found fewer self-reported groin problems with a progressive Copenhagen-based program. However, that was prevention research—not evidence that a newly strained groin should immediately perform Copenhagen planks.
How Often Should You Do Groin Strain Exercises?
Two to three strengthening sessions per week, with a rest day between them, is a useful framework to discuss with your physical therapist. AAOS hip-conditioning guidance recommends two to three weekly sessions for hip-adduction strengthening, although its program is not a personalized acute-strain prescription.
Gentle isometric practice may follow a different schedule. Oxford University Hospitals’ adductor guidance uses more frequent early-stage squeezes while leaving repetitions to the physical therapist. More frequent practice does not mean using greater force.
Do not interpret the list as an instruction to perform all five exercises every day. Exercise selection and recovery time should reflect your current capacity.
How to Progress Groin Strain Exercises Safely
Progress means tolerating more activity—not simply choosing the hardest exercise.
In a 2020 prospective cohort study of 81 adult male athletes, those who met the clinically pain-free milestone had fewer recorded reinjuries than those who did not: 5% versus 21%. This was an association in supervised rehabilitation, not proof that one milestone alone prevented reinjury.
A practical progression approach is to change one element at a time: repetitions, resistance, hold duration, or exercise difficulty. Keep the movement controlled and check the response afterward before adding another challenge.
For example, do not simultaneously increase band tension, double your repetitions, and add Copenhagen holds. Changing one variable makes it easier to identify what you tolerated.
If an exercise becomes more painful or leaves symptoms noticeably worse afterward, return to a more manageable amount rather than pushing ahead because your calendar says it is time.
What to Avoid During Groin Strain Recovery
Avoid forcing painful stretches or repeatedly testing the activity that caused the injury. AAOS advises returning to easier, pain-free activity when symptoms recur during more strenuous movement.
Also distinguish rehabilitation exercise from normal training. A light band exercise does not place the same demands on you as sprinting, kicking, or changing direction at full speed. Returning to those activities requires a separate progression.
You do not need to force a deeper stretch, heavier resistance, or harder variation to make a session worthwhile. The immediate objective is an amount of activity your body can tolerate consistently.
When Can You Return to Running or Sports?
There is no universal day when everyone is ready. Return should reflect your strength, symptoms, and ability to perform the movements your activity requires.
In the acute-adductor study, rehabilitation progressed beyond basic strengthening to running, sprinting, direction changes, and sport-specific training. Completing simple home exercises was not the only return-to-sport requirement.
For someone returning to soccer, that means eventually tolerating actions such as passing, accelerating, turning, and kicking—not merely walking comfortably. Your physical therapist or sports medicine clinician can assess those demands and plan the progression.
Do not use a good day as permission to return immediately to an entire practice or match. Check with your clinician before resuming demanding activity after a significant strain.
When to Get Medical Help
Seek urgent medical assessment if you cannot bear weight after an injury or have a hot, swollen hip with fever. These are not symptoms to work around with a different exercise.
Intense pain, worsening swelling, an inability to move the leg, numbness, or a cold or discolored leg also warrant prompt assessment. Arrange a follow-up when pain persists or keeps returning.
Sudden, severe testicular pain requires emergency care, especially with nausea, vomiting, or abdominal pain. NHS emergency guidance warns that these symptoms can indicate a serious condition. Do not assume they are an ordinary groin strain.
Frequently Asked Questions
When Should You Start Groin Strain Exercises?
There is no single starting day for every injury. Initially, avoid the activity that caused the strain. The timing of strengthening depends on injury severity and your ability to move comfortably; significant pain or difficulty moving needs assessment first.
Is Walking Good for a Groin Strain?
Short, comfortable walks may be manageable, but do not turn them into a distance goal while symptoms are aggravated. Begin with short distances and increase gradually as tolerated. Reduce the amount when walking makes symptoms worse.
Should You Stretch a Pulled Groin?
Gentle stretching may be part of an appropriate rehabilitation plan, but forcing the range is not the goal. Stretch gradually without bouncing, and back off when a position increases pain. Stretching should not replace progressive strength work.
How Long Does a Groin Strain Take to Recover?
Recovery varies considerably. Cleveland Clinic notes that mild or moderate strains may take about one to two months for full recovery, while severe or recurrent strains can take several months. These are broad estimates, not a deadline or a guarantee of sports readiness.
What Should You Do If an Exercise Makes Symptoms Worse?
Stop the aggravating movement. At the next appropriate session, reduce the resistance, repetitions, or range—or use an easier exercise. Symptoms should settle rather than disrupt sleep or make the following day’s activities harder. Persistent worsening needs professional guidance.
Do You Need to Perform All Five Exercises?
No. This article presents options with different purposes and difficulty levels, not a mandatory checklist. Your current plan may include only a few of them. The modified Copenhagen exercise is a later-stage option, not something everyone must master.
Conclusion
The useful question is not “How many groin strain exercises can I finish?” It is “Which movements can I perform with control and tolerate afterward?”
Start with the exercises appropriate for your assessed injury, record how you feel during and after each session, and review that response with your physical therapist before progressing. A clear, manageable plan is more useful than rushing into harder movements.
This content is for informational purposes only and not medical advice.
References
- American Academy of Orthopaedic Surgeons: Hip Conditioning Program and Hip Strains.
- NHS Dynamic Health: Hip Pain and Exercise Guidance.
- Thorborg, 2023: Clinical Concepts in Exercise and Load Management for Adductor Injuries.
- Serner and colleagues, 2020: Return to Sport After Criteria-Based Rehabilitation of Acute Adductor Injuries.
- Polglass and colleagues, 2019: Modified Progressive Copenhagen Adduction Exercise Program.
- Harøy and colleagues, 2019: Adductor Strengthening Program: Cluster-Randomized Controlled Trial.
- Cleveland Clinic: Groin Strain Overview and Recovery Guidance.
- NHS: Testicle Pain and Emergency Warning Signs.