
This 30 day plank challenge starts with two 10-second holds and gradually builds toward three 30-second holds, with recovery days between workouts. You can follow the schedule using a wall, incline, knee-supported, or standard forearm plank.
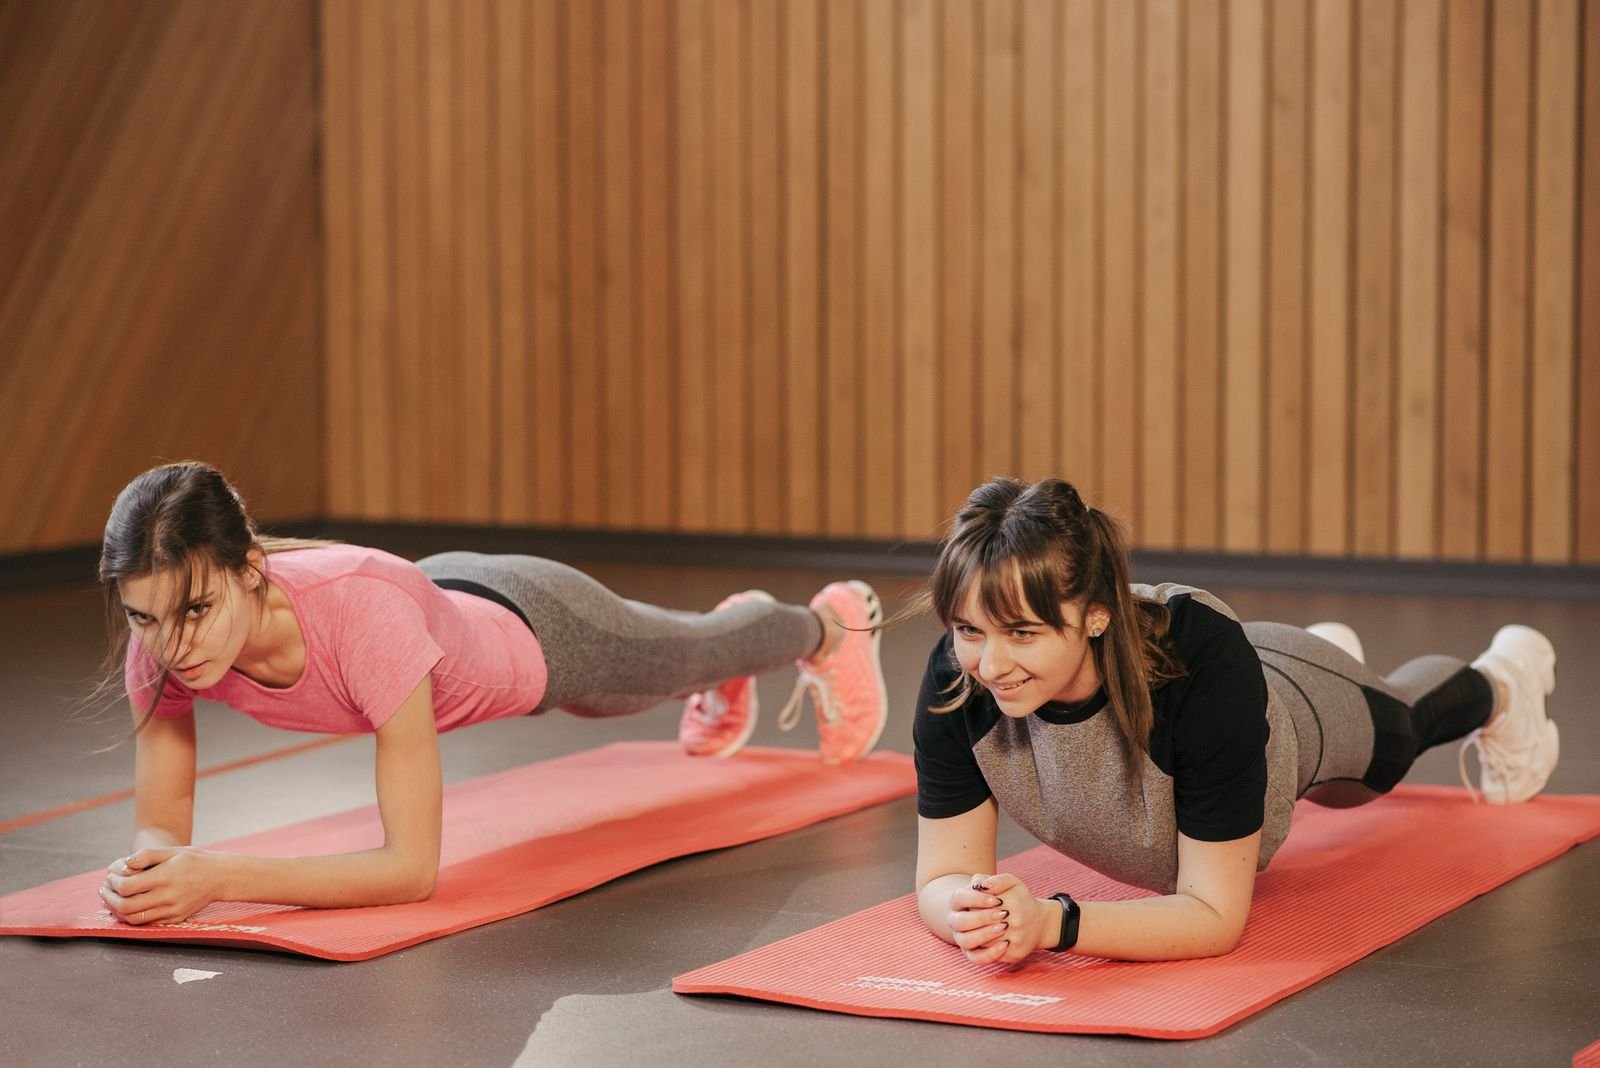
The goal is controlled, repeatable practice—not forcing yourself through a five-minute hold. Start with a manageable variation, rest between sets, and increase your time only when you can maintain your position and breathe comfortably.
How This 30 Day Plank Challenge Works
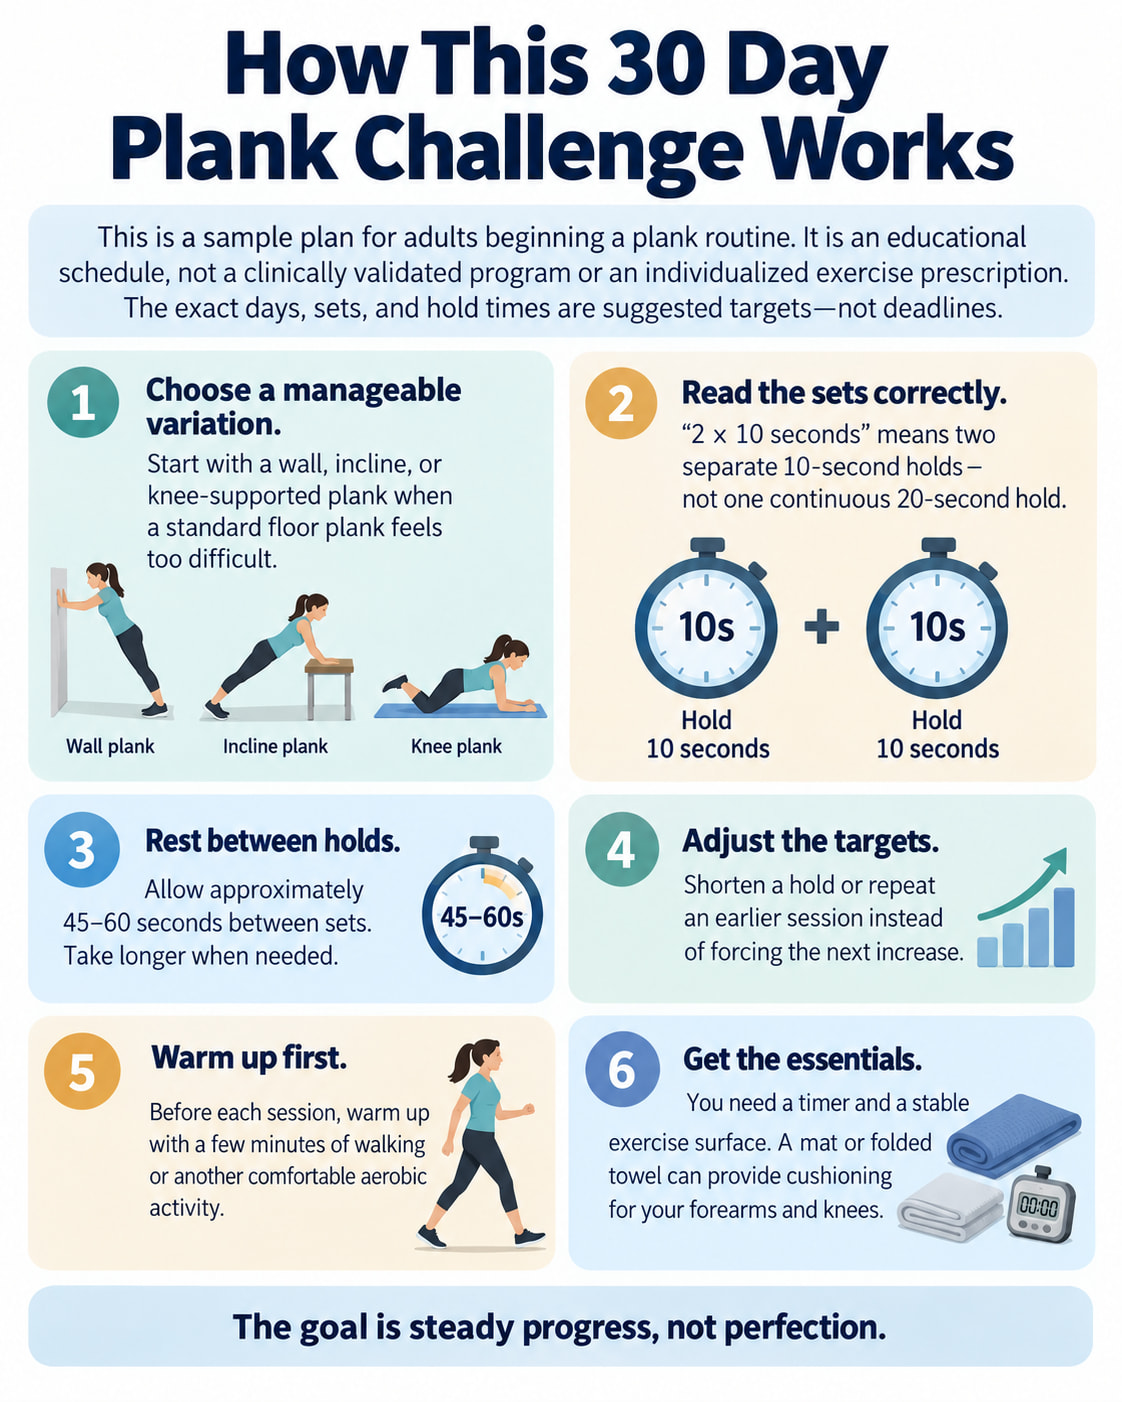
This sample plan is intended for adults beginning a plank routine. It is an educational schedule, not a clinically validated 30-day program or an individualized exercise prescription. The exact days, sets, and hold times are suggested targets—not deadlines.
Cleveland Clinic recommends planking two to four times weekly and increasing hold times gradually. This calendar uses three nonconsecutive training days during each full week.
Here is how to follow it:
- Choose a manageable variation. Start with a wall, incline, or knee-supported plank when a standard floor plank feels too difficult.
- Read the sets correctly. “2 × 10 seconds” means two separate 10-second holds—not one continuous 20-second hold.
- Rest between holds. For this plan, allow approximately 45–60 seconds between sets. Take longer when needed.
- Adjust the targets. Shorten a hold or repeat an earlier session instead of forcing the next increase.
You need a timer and a stable exercise surface. A mat or folded towel can provide cushioning for your forearms and knees.
Before each session, warm up with a few minutes of walking or another comfortable aerobic activity, consistent with Mayo Clinic’s strength-training guidance.
How to Do a Plank With Proper Form
For the standard forearm plank, use the following setup. It follows the alignment and breathing principles in Mayo Clinic’s core-exercise guidance.
- Position your arms. Kneel on your mat and place your forearms on the floor, with your elbows underneath your shoulders.
- Extend your legs. Step your feet back and support yourself on your forearms and toes.
- Brace your abdomen. Tighten your abdominal muscles and gently engage your buttocks.
- Align your body. Keep your head, neck, back, and hips in one long line. Avoid letting your waist sag or lifting your hips high.
- Breathe throughout the hold. Look toward the floor without craning your neck. Lower your knees when the set ends—or earlier when you cannot maintain the position.
Practice the setup before worrying about the timer. The easier options below use the same emphasis on alignment and breathing.
30 Day Plank Challenge: Daily Schedule
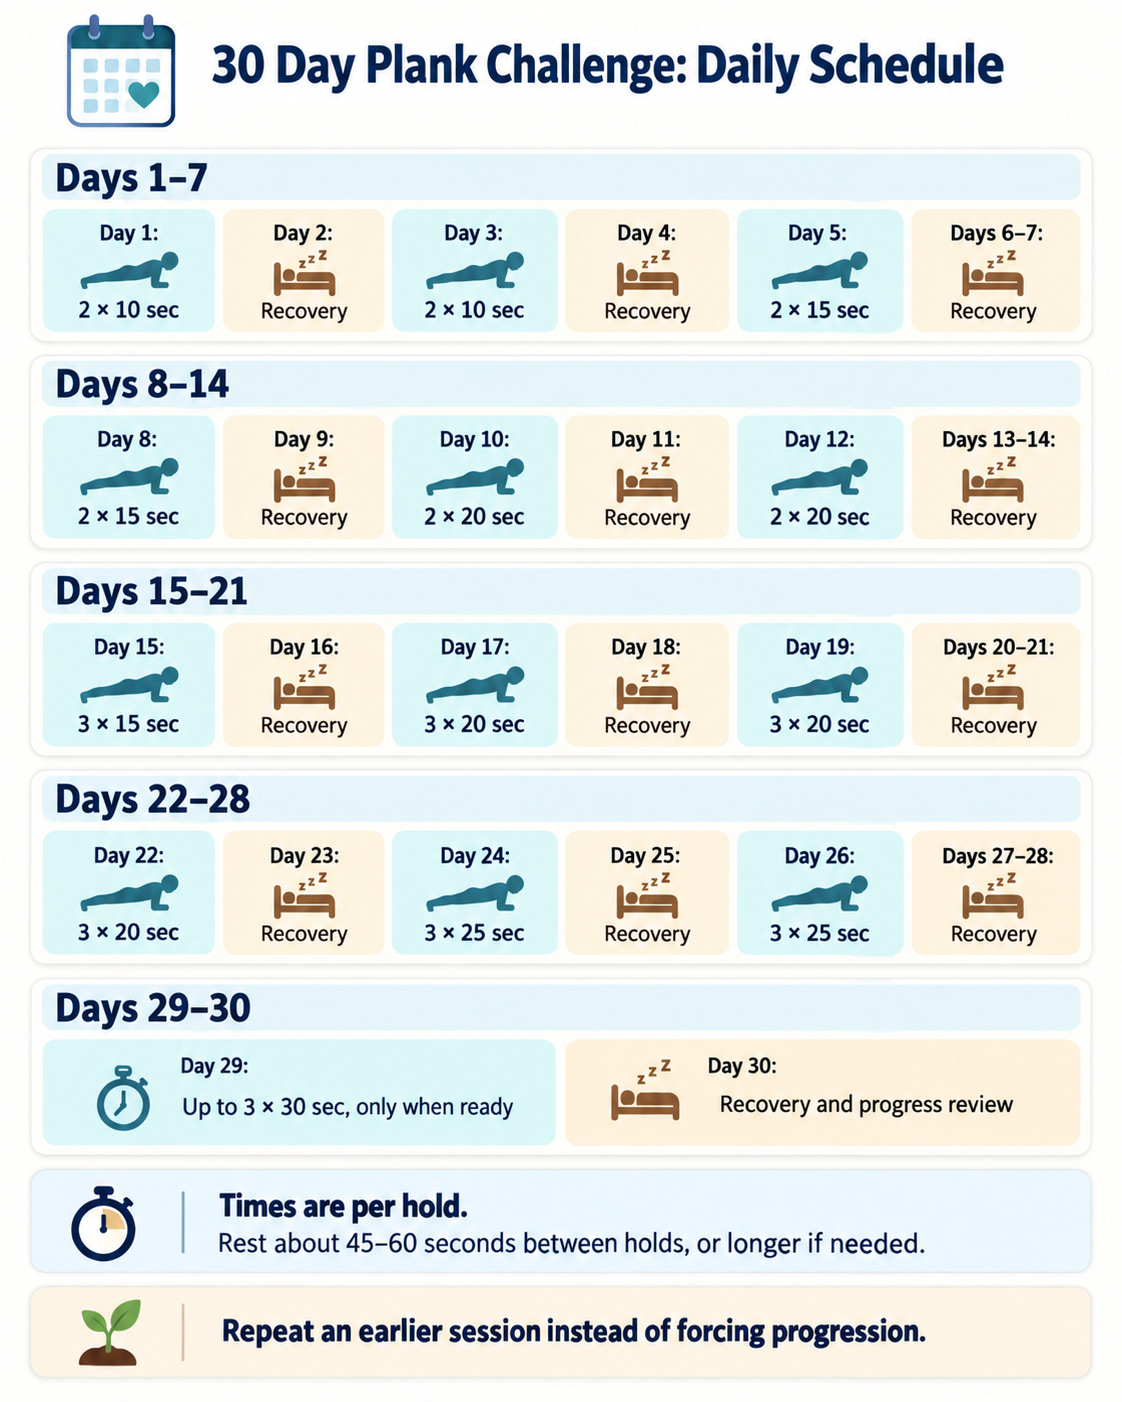
Use your selected plank variation for each training session. Every increase is optional. When a target feels beyond your current ability, repeat the last manageable workout.
All times below are per hold. Rest approximately 45–60 seconds between holds, or longer as needed.
| Day | Planned session |
|---|---|
| 1 | 2 × 10 seconds |
| 2 | Recovery—no scheduled planks |
| 3 | 2 × 10 seconds |
| 4 | Recovery—no scheduled planks |
| 5 | 2 × 15 seconds |
| 6 | Recovery—no scheduled planks |
| 7 | Recovery—no scheduled planks |
| 8 | 2 × 15 seconds |
| 9 | Recovery—no scheduled planks |
| 10 | 2 × 20 seconds |
| 11 | Recovery—no scheduled planks |
| 12 | 2 × 20 seconds |
| 13 | Recovery—no scheduled planks |
| 14 | Recovery—no scheduled planks |
| 15 | 3 × 15 seconds |
| 16 | Recovery—no scheduled planks |
| 17 | 3 × 20 seconds |
| 18 | Recovery—no scheduled planks |
| 19 | 3 × 20 seconds |
| 20 | Recovery—no scheduled planks |
| 21 | Recovery—no scheduled planks |
| 22 | 3 × 20 seconds |
| 23 | Recovery—no scheduled planks |
| 24 | 3 × 25 seconds |
| 25 | Recovery—no scheduled planks |
| 26 | 3 × 25 seconds |
| 27 | Recovery—no scheduled planks |
| 28 | Recovery—no scheduled planks |
| 29 | Up to 3 × 30 seconds, only when ready |
| 30 | Recovery and progress review |
Notice that Day 15 adds a third set but shortens each hold. This is intentional: the sample plan does not increase set count and hold duration at the same time.
Recovery days do not require complete inactivity. Continue comfortable everyday movement, but do not replace every scheduled break with another demanding abdominal workout. Mayo Clinic advises allowing a full recovery day between strength sessions for the same muscle group.
On Day 30, review your training notes rather than attempting a maximum-duration plank. Record which variation you used, the holds you completed, and how controlled they felt.
How to Make the Plank Challenge Easier or Harder
Start With a Wall or Incline Plank
For a wall plank, place your palms against a wall around shoulder height. Step back slightly and lean toward your hands while keeping your body aligned.
For an incline plank, place your hands on a sturdy counter or another fixed, weight-bearing surface. Step your feet back and hold your body in a straight line. Cleveland Clinic includes wall and desk-supported planks as beginner options.
Choose a surface that cannot slide or tip. Avoid rolling chairs, lightweight furniture, and slippery footing.
Use a Knee-Supported Forearm Plank
Rest on your forearms and knees, with your shoulders above your elbows. Keep your head and neck aligned with your back, and hold your hips in line with your shoulders and knees rather than folding at the hips. This follows Mayo Clinic’s modified-plank setup.
You can use this variation throughout the calendar. Switching to a toe-supported plank is not a requirement for completing the challenge.
Shorten the Hold Before Forcing the Position
Ten seconds is a starting target, not an entry requirement. Cleveland Clinic’s isometric-exercise guidance suggests that beginners may start with holds of approximately three to 10 seconds and increase gradually.
For example, you could adapt Day 1 to two five-second wall-plank holds. Repeat that version until it feels manageable rather than automatically moving to the printed target.
Change One Thing at a Time
For this challenge, progress by changing either the hold duration, the number of sets, or the variation—not all three together.
For example, after completing knee-supported holds comfortably, you might try a short standard forearm plank during a later session. Reduce the duration while learning the new position instead of expecting to match your knee-supported time immediately.
There is no required day for moving to a harder variation.
What Results Can You Expect After 30 Days?
Planks provide practice in holding your trunk steady while your muscles work. Mayo Clinic explains that isometric exercises can support stabilization, but that does not establish a guaranteed result from this specific 30-day calendar.
Useful progress measures include maintaining alignment, breathing comfortably, and completing repeatable holds with less difficulty.
Keep a simple note such as: “Incline plank, two 15-second holds, steady breathing.” Compare similar sessions using the same variation rather than comparing a wall plank with a floor plank.
Will the Challenge Reduce Belly Fat?
Do not expect planks alone to produce a smaller waist or visible abs. Mayo Clinic explains that strengthening the underlying abdominal muscles and reducing the fat covering them are different outcomes.
Use this challenge to practice core training—not as a promise of a particular body shape in 30 days.
Common Plank Mistakes to Avoid
Check your position during each session. Cleveland Clinic emphasizes keeping the back and hips aligned, while Mayo Clinic advises maintaining head-and-neck alignment and breathing freely.
| Mistake | What to do instead |
|---|---|
| Letting your hips sag | End the hold, reset, and shorten the next set or use an easier variation. |
| Lifting your hips too high | Bring your hips back into line with your torso. Reduce the difficulty when you cannot maintain that position. |
| Looking forward and lifting your chin | Direct your gaze toward the floor and keep your neck aligned with your back. |
| Holding your breath | Breathe continuously. End the set rather than straining to finish the timer. |
A side-view video can help you check your position without turning your head during the exercise. Cleveland Clinic suggests using a photo or video to review plank form.
When to Stop or Get Professional Guidance
Stop a plank that causes pain. Mayo Clinic advises stopping a strength-training exercise when it hurts. Do not continue through back, shoulder, or other joint pain to complete a scheduled time.
For recurring discomfort or uncertainty about technique, get individualized guidance. Cleveland Clinic identifies a physical therapist as a useful resource for people with a history of back pain.
Mayo Clinic advises checking with a healthcare professional before starting isometric exercise when you have high blood pressure or heart problems. It also warns that breath-holding and straining can cause a dangerous increase in blood pressure.
Back problems, osteoporosis, or other health concerns may also warrant advice before beginning core exercises. A general challenge should not override restrictions from your healthcare professional.
What to Do After the 30 Day Plank Challenge
After the month ends, keep practicing at a level you can control. You can repeat a manageable stage rather than extending every hold or adding advanced variations.
Place the routine within a broader exercise plan. CDC guidelines recommend at least 150 minutes of moderate-intensity aerobic activity weekly, or 75 minutes of vigorous activity, or an equivalent combination. Adults also need muscle-strengthening activity involving all major muscle groups on at least two days weekly.
A plank challenge covers only part of those needs. Continue aerobic activity and balanced strength training rather than replacing them with longer planks.
Frequently Asked Questions
Can Beginners Do a 30 Day Plank Challenge?
Yes, with an appropriate starting variation and adjustable hold times. Beginners can start with short isometric holds rather than assuming they must immediately manage 30 seconds.
Should You Plank Every Day?
This plan does not require daily planking. It uses three training days per full week, within Cleveland Clinic’s suggested frequency of two to four weekly sessions.
What Happens When You Cannot Hold the Suggested Time?
End the set and record what you completed. For the next session, shorten the holds, use an easier variation, or repeat an earlier workout. Do not add extra sets to make up the missing seconds.
Can You Complete the Challenge on Your Knees?
Yes. This schedule allows knee-supported planks throughout all 30 days. Progressing to your toes is optional, not a condition of success.
Will a Plank Challenge Give You Visible Abs?
Not necessarily. Strengthening abdominal muscles does not guarantee that they will become visible. Do not use a particular waist measurement or appearance as the completion goal.
What Should You Do After Missing a Day?
Resume the last manageable session and preserve recovery time between workouts. Do not double the next session. Extending the calendar is preferable to rushing through missed workouts.
Conclusion
Approach this 30 day plank challenge as a month of practice, not a pass-or-fail test. Choose a manageable variation, respect the recovery days, and adjust the schedule when needed.
Start with Day 1, record what you actually complete, and let controlled movement—not the calendar—guide your next step.
References
- Cleveland Clinic. Why You Should Start Doing Planks.
- Cleveland Clinic. 5 Isometric Exercises You Should Be Doing.
- Mayo Clinic. Exercises to Improve Your Core Strength.
- Mayo Clinic. Strength Training: Get Stronger, Leaner, Healthier.
- Cleveland Clinic. 6 Exercises You Can Do at Your Desk.
- Mayo Clinic. Core Exercises: Why You Should Strengthen Your Core Muscles.
- Mayo Clinic. Isometric Exercises: Good for Strength Training?.
- Centers for Disease Control and Prevention. Adult Activity: An Overview.