
Yoga for women can begin with simple poses, steady breathing, and a short routine that allows time for balance practice and relaxation. You do not need to touch your toes or master difficult positions before starting.
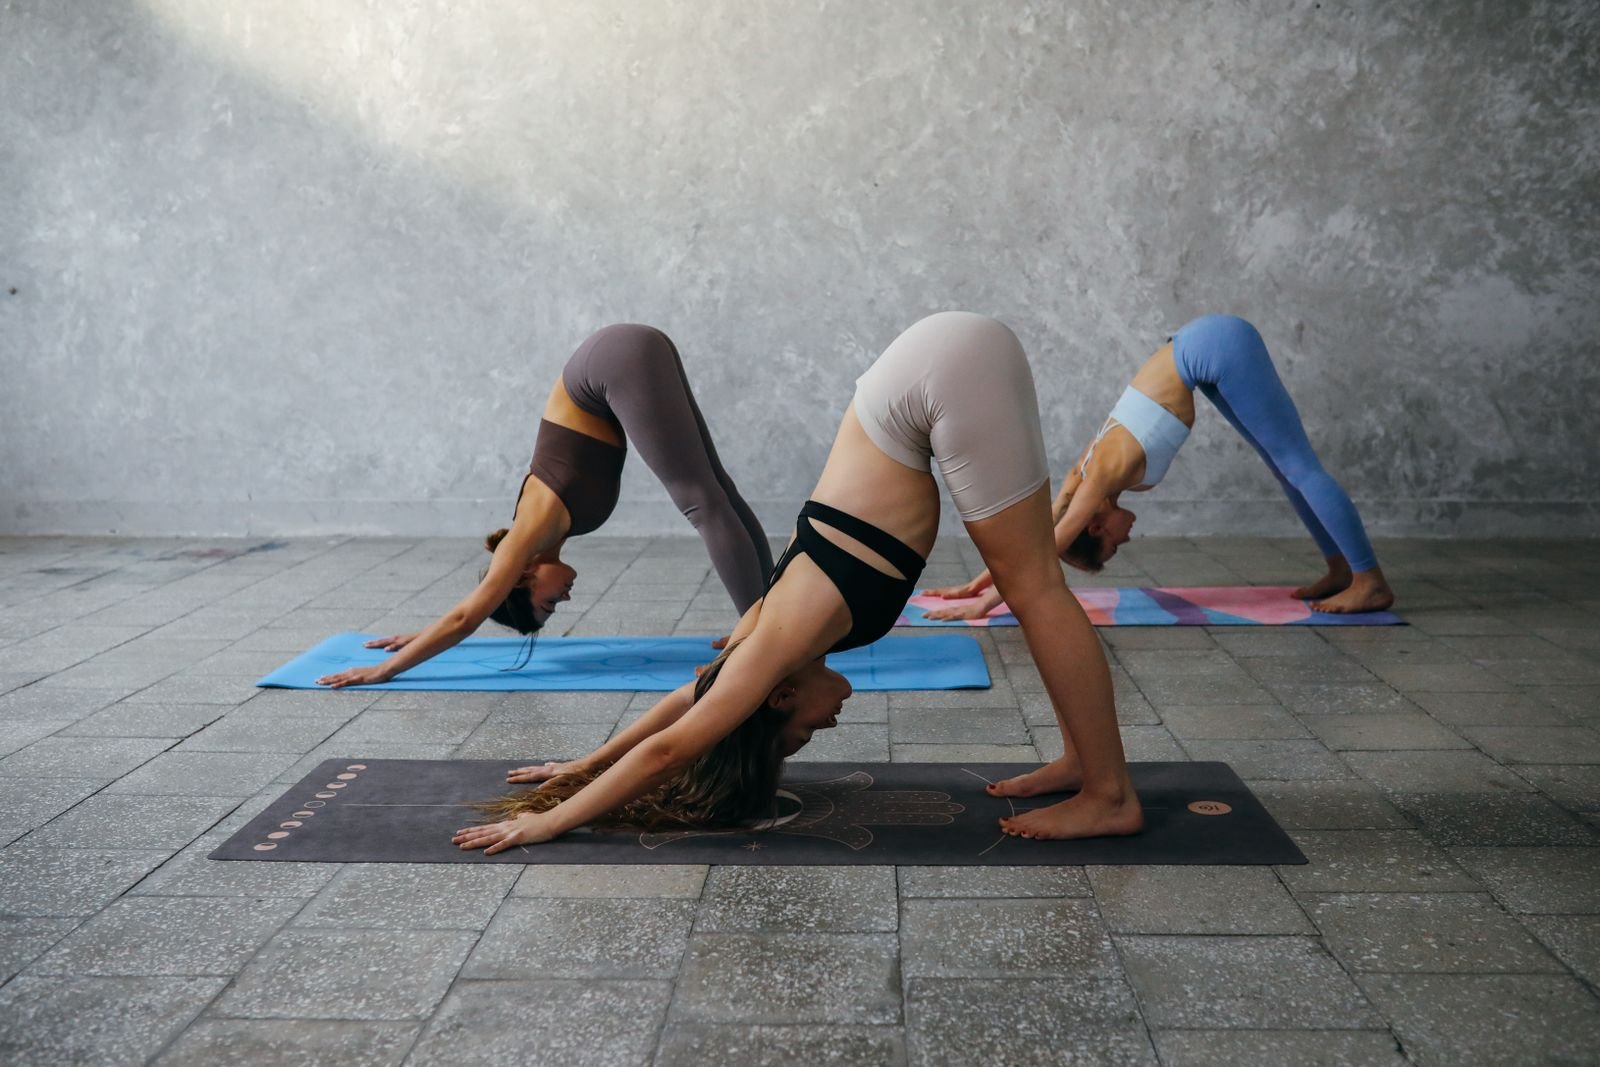
The nine poses below introduce basic standing, kneeling, and lying positions. Each includes an easier option, and the 15-minute flow brings them together with time for both sides and transitions.
Start with a comfortable range of motion. A chair, blanket, or cushion can help you find a position that works for your body.
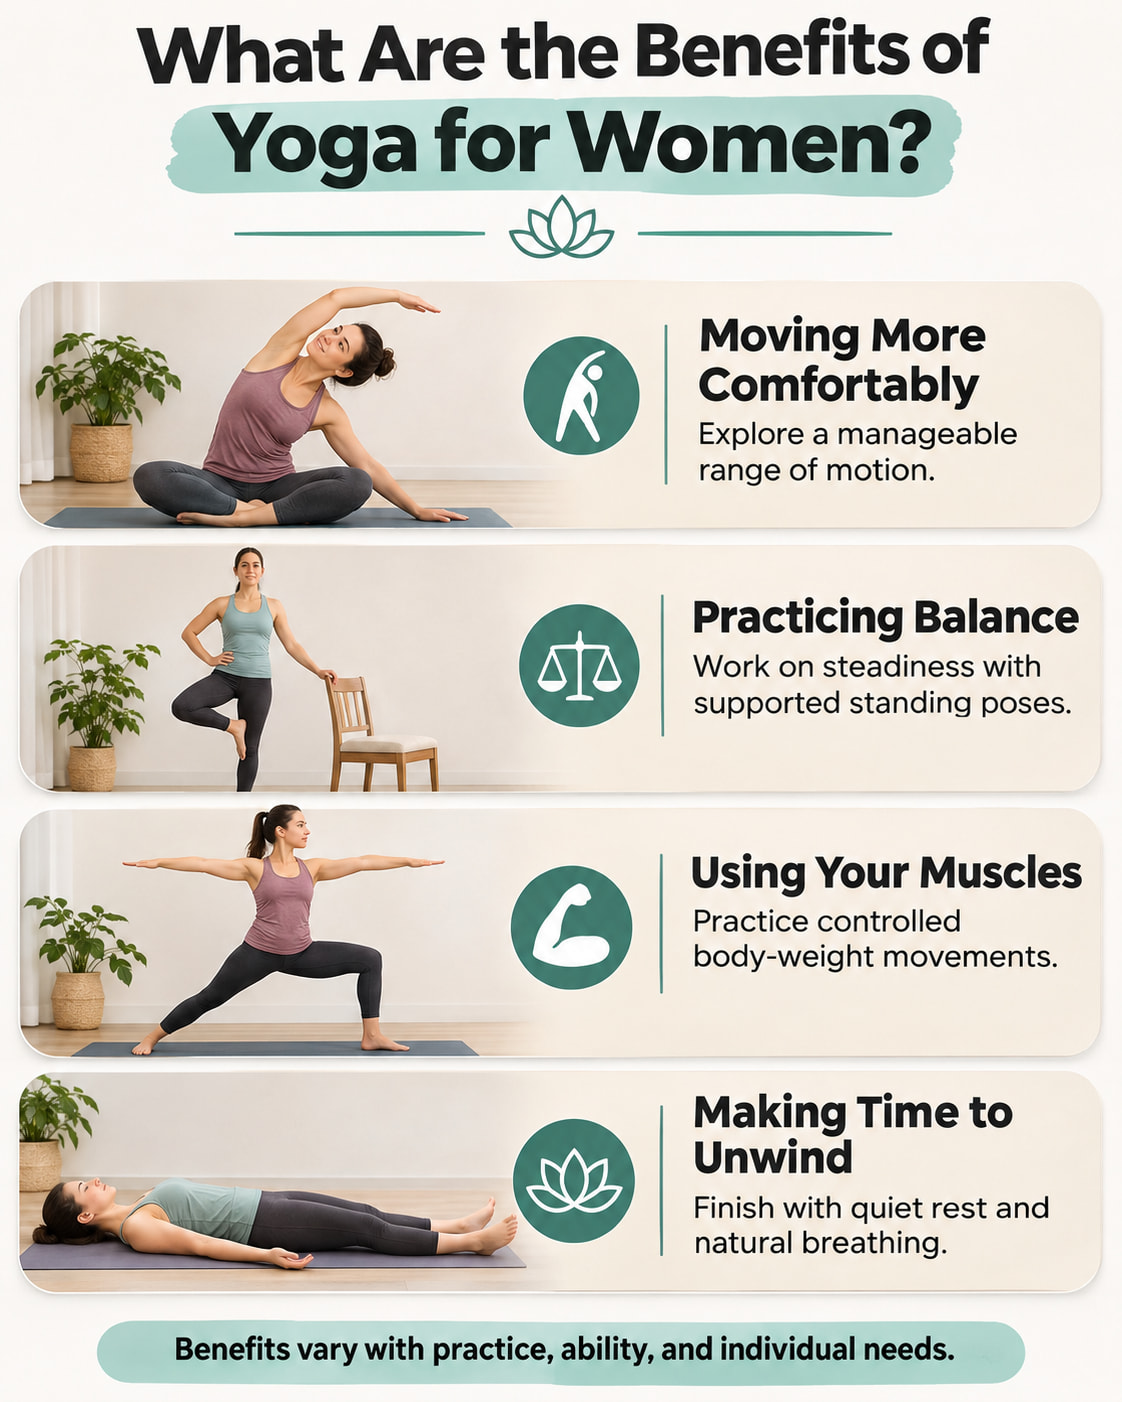
What Are the Benefits of Yoga for Women?
Yoga combines physical postures with breathing and attention. Depending on the style and how you practice, it can provide opportunities to develop flexibility, balance, and muscular control.
The National Center for Complementary and Integrative Health reports that yoga may support stress management, sleep, emotional well-being, and balance. Results vary across studies and types of yoga.
For a beginner, useful goals include:
- Moving more comfortably: Explore a manageable range of motion without forcing a stretch.
- Practicing balance: Use supported standing poses to work on steadiness.
- Using your muscles: Learn to support your body in standing poses and controlled lifts.
- Making time to unwind: Finish with quiet rest and natural breathing.
A randomized trial published in January 2025 involving 98 participants found reduced self-reported momentary stress after an eight-week Hatha yoga program. Sessions lasted 60 minutes at least three times weekly. That finding does not establish the effects of this shorter routine, but it supports realistic expectations about yoga as part of an ongoing practice.
What You Need Before Starting Yoga
Set up a clear space where you can stand, extend your arms, and lie down comfortably.
Useful items include:
- A nonslip yoga mat.
- A sturdy chair or counter for balance.
- A folded blanket for cushioning your knees.
- A cushion for supported rest.
- Optional yoga blocks to bring support closer to your hands.
Use a chair that will not slide or roll. Wear clothes that let you move freely, and practice in a comfortable, unheated room.
If you have an injury, a health condition affecting exercise, or uncertainty about a pose, ask a healthcare professional or qualified yoga instructor about appropriate adjustments. MedlinePlus guidance recommends starting slowly, choosing an appropriate level, and stopping to rest if pain or fatigue develops.
9 Beginner Yoga Poses for Women
The practice amounts below are starting suggestions. Shorten a hold, take a break, or skip a pose when needed.
Cat and Cow are two separate poses. You will learn them individually and then alternate between them in the flow.
1. Mountain Pose — Tadasana
Mountain Pose introduces comfortable standing alignment and awareness of how your weight rests through your feet.
How to do it:
- Stand with your feet approximately hip-width apart.
- Distribute your weight between both feet without locking your knees.
- Let your arms rest beside you and relax your shoulders.
- Keep your chin level and imagine the crown of your head reaching upward.
- Breathe naturally without stiffening your body.
Practice: Stay for approximately 30–60 seconds.
Make it easier: Stand beside a sturdy chair or counter. You can also practice an upright seated version with both feet on the floor.
2. Cat Pose — Marjaryasana
Cat Pose introduces a gentle rounding movement through your back.
How to do it:
- Start on your hands and knees, with hands beneath shoulders and knees beneath hips.
- Begin from a comfortable, neutral back position.
- As you exhale, gently round your back and let your tailbone tuck underneath.
- Allow your head to follow the movement without forcing your chin toward your chest.
- Return toward neutral before moving into Cow Pose.
Practice: Move through the pose with one comfortable exhale.
Make it easier: Sit on a sturdy chair with feet flat and hands on your thighs. Gently round your back as you breathe out.
3. Cow Pose — Bitilasana
Cow Pose pairs with Cat Pose by introducing a small movement in the opposite direction.
How to do it:
- Begin in the same hands-and-knees position.
- As you inhale, gently lift your chest and tailbone.
- Allow your abdomen to lower slightly.
- Keep your neck long and your gaze comfortably forward and down.
- Exhale into Cat Pose or return to neutral.
Practice: Alternate Cat and Cow for about five to eight slow cycles, resting when needed.
Make it easier: Use the seated version. Lift your chest slightly as you inhale, keeping the movement small.
Avoid throwing your head backward or forcing a deep arch in your lower back.
4. Child’s Pose — Balasana
Child’s Pose offers a kneeling pause between movements when the position feels comfortable.
How to do it:
- Kneel with your knees a comfortable distance apart.
- Ease your hips back toward your heels.
- Lower your torso between or over your thighs without forcing it downward.
- Rest your forehead on a suitable support or the mat if it reaches comfortably.
- Place your arms forward or alongside your body and breathe easily.
Practice: Take three to five comfortable breaths, or come out sooner.
Make it easier: Cushion your knees and support your torso or head. Your hips do not need to touch your heels.
If deep knee bending hurts, use a comfortable seated pause instead.
5. Low Lunge — Anjaneyasana
Low Lunge introduces a supported stretch through the front of the hip of the back leg.
How to do it:
- From kneeling, step your right foot forward and keep your left knee on the mat.
- Position your right knee approximately above your ankle.
- Keep your torso comfortably upright and your hips facing forward.
- Rest your hands on your front thigh, hips, or stable supports.
- Shift forward only enough to feel a gentle stretch, then return and change sides.
Practice: Try approximately 20–30 seconds per side.
Make it easier: Place a folded blanket beneath the back knee and shorten your stance.
Keep the stretch comfortable. If kneeling remains painful, skip this pose and use supported standing or seated rest.
6. Warrior II — Virabhadrasana II
Warrior II introduces a standing position that asks your legs to support you while your torso stays upright.
How to do it:
- Take a comfortable wide stance. Turn your right toes toward one short end of the mat and your left toes toward the long edge.
- Keep your left heel grounded and your left leg comfortably extended.
- Bend your right knee in the same direction as your toes, keeping it roughly above your ankle.
- Keep your torso upright and extend your arms toward the front and back of the mat.
- Breathe steadily, then straighten the front leg and reset before switching sides.
Practice: Begin with approximately 20–30 seconds per side.
Make it easier: Shorten your stance, bend the front knee less, or keep your hands on your hips.
You do not need a deep bend or a front thigh parallel to the floor.
7. Supported Tree Pose — Vrksasana
Supported Tree gives you a simple way to practice balance while keeping help within reach.
How to do it:
- Stand beside a sturdy chair or counter and hold it lightly.
- Shift your weight toward your left foot.
- Place your right heel against the inside of your left ankle, keeping your right toes on the floor.
- Keep your torso upright and look at a still point ahead.
- Step back into comfortable standing, then change sides.
Practice: Try approximately 20–30 seconds per side.
Make it easier: Keep more weight through the toes of the supporting “kickstand” foot.
This low foot position is enough for the routine. Lift the foot only if you can remain comfortable and steady.
8. Bridge Pose — Setu Bandha Sarvangasana
Bridge introduces a controlled hip lift from a supported position on your back.
How to do it:
- Lie on your back with knees bent and feet flat, approximately hip-width apart.
- Rest your arms beside you and keep your knees pointing in the same direction as your feet.
- Press through your feet and lift your hips to a comfortable height.
- Keep your head still, gaze upward, and neck relaxed.
- Lower your hips slowly and rest before repeating.
Practice: Try four to six slow lifts with comfortable pauses.
Make it easier: Use a smaller lift. If the movement still feels uncomfortable, rest with your hips on the mat.
Avoid turning your head while your hips are raised or pushing into an uncomfortable backbend.
9. Corpse Pose — Savasana
Savasana finishes the practice with a comfortable resting position.
How to do it:
- Lie on your back and extend your legs only if that feels comfortable.
- Rest your arms slightly away from your sides.
- Close your eyes or keep a soft gaze.
- Let your breathing settle into its natural rhythm.
- When ready to finish, roll to one side and come up slowly.
Practice: Rest for approximately two to three minutes.
Make it easier: Bend your knees, place a cushion beneath them, or choose side-lying or supported seated rest.
The goal is to find a position where you can settle without strain.
A 15-Minute Yoga Flow for Women
Use this sample flow once you are familiar with the poses. It is a general beginner routine, not a prenatal program or a prescribed exercise plan.
The time blocks include setup, short holds, side changes, and rest. You do not need to hold a working pose for the entire block.
| Time | Pose or activity | What to do |
|---|---|---|
| 0:00–1:00 | Mountain Pose | Settle into comfortable standing and natural breathing. |
| 1:00–1:30 | Transition to the floor | Move carefully into a hands-and-knees position. |
| 1:30–3:00 | Cat and Cow | Alternate slowly, pausing in neutral when needed. |
| 3:00–4:00 | Child’s Pose | Rest comfortably or use a seated alternative. |
| 4:00–6:00 | Low Lunge, both sides | Use short holds, with time to reset and switch. |
| 6:00–6:30 | Transition to standing | Rise gradually, using support if helpful. |
| 6:30–8:30 | Warrior II, both sides | Practice brief holds with standing rests. |
| 8:30–10:00 | Supported Tree, both sides | Find your balance, hold briefly, and change sides. |
| 10:00–10:30 | Transition to lying down | Lower to the mat carefully. |
| 10:30–12:00 | Bridge Pose | Perform several controlled lifts with pauses. |
| 12:00–15:00 | Savasana | Finish with comfortable rest. |
If a transition takes longer, let the session run longer. You can also replace an uncomfortable pose with rest and continue with the next suitable movement.
How Often Should Beginners Practice Yoga?
For a manageable start, try this flow on two or three days each week. This is a practical starting schedule, not a minimum dose required for benefits.
You can shorten the session while learning. For example, practice Mountain, seated Cat-Cow, and comfortable rest on a day when you have less time.
As the movements become familiar, change one thing at a time: add a few comfortable breaths, repeat a short sequence, or attend a beginner class. You do not need to stretch deeper to make progress.
Keep yoga within a varied activity routine. CDC guidance recommends at least 150 minutes of moderate-intensity aerobic activity weekly, or an equivalent amount of vigorous activity, plus muscle-strengthening activity on at least two days.
Some yoga poses can contribute to strengthening. However, this gentle flow includes rest and does not automatically meet aerobic-intensity requirements or work every major muscle group sufficiently.
Yoga Safety and Modifications for Women
Adjust for Pain, Balance, and Existing Conditions
Choose movements that feel controlled and comfortable. Stop or change position if you notice sharp, pinching, radiating, or increasing pain. Pause if you become dizzy or feel unwell.
If you have an existing joint or spine problem, glaucoma, severe high blood pressure, or significant balance difficulties, ask a healthcare professional which movements need adaptation. A qualified instructor can help translate that advice into a suitable practice.
If getting down to the floor or standing up is difficult, a chair-based class may be a more practical starting point.
Use Pregnancy and Postpartum Guidance
Pregnancy changes balance and may require different positions. ACOG guidance includes modified yoga among exercise options for many pregnant women, following discussion with their obstetric care professional.
Avoid hot yoga during pregnancy. ACOG also advises adapting poses that involve prolonged stillness or extended periods lying flat on the back.
If you are pregnant, use a suitable prenatal program with individual adjustments. If you have recently given birth, ask your care team when and how to return to exercise based on your recovery.
Frequently Asked Questions
What Type of Yoga Is Best for Women Who Are Beginners?
A beginner Hatha or gentle yoga class can be a useful starting point because it allows time to learn positions and make adjustments. Choose a class that matches your mobility, pace, and comfort, and tell the instructor about relevant limitations.
Is 15 Minutes of Yoga Enough for a Beginner?
Fifteen minutes can give you time to learn several poses and establish a manageable habit. Whether it meets your broader fitness needs depends on your goals and other activities. Use the routine alongside appropriate aerobic and strengthening exercise.
Can I Start Yoga if I Am Not Flexible?
Yes. Start within your current range of motion and use supports when helpful. You do not need to reach the floor, straighten every joint, or copy someone else’s depth to practice the basic movements.
How Often Should a Beginner Practice Yoga?
Try two or three short sessions weekly as an initial schedule. Add frequency or duration only when the current amount feels comfortable. Daily practice is optional, and a shorter session is reasonable when you need an easier day.
What Can I Do if Yoga Bothers My Wrists or Knees?
Use seated Cat-Cow to avoid loading your wrists or kneeling. A folded blanket may help with pressure on the knees, but it may not make deep bending comfortable. Skip painful positions and seek individual guidance if discomfort persists.
Can I Follow This Yoga Routine During Pregnancy or After Childbirth?
The routine needs individual review and possible changes. During pregnancy, choose appropriate prenatal instruction and discuss exercise with your obstetric care professional. After childbirth, your return should reflect your recovery and your care team’s guidance.
Conclusion
Yoga for women can begin with a few familiar movements, comfortable support, and time to practice. Learn the nine poses gradually, keep your breathing easy, and use the 15-minute flow when you feel ready.
Set aside one short session this week. Focus on moving with control, finding useful modifications, and finishing in a position that feels comfortable.