
The best hip exercises for seniors strengthen the glutes, hip flexors, and stabilizers—helping improve balance and reduce fall risk. Strong hips are essential for walking, climbing stairs, and daily activities, and they directly support fall prevention.
As we age, hip muscles naturally weaken, which can lead to instability and higher chances of falls. Regular hip-focused exercise restores mobility, supports independence, and reduces injury risk. In this guide, we’ll cover 10 safe and effective hip exercises for seniors, along with tips for building strength, improving balance, and preventing falls.
Why Hip Exercises Are Important for Seniors
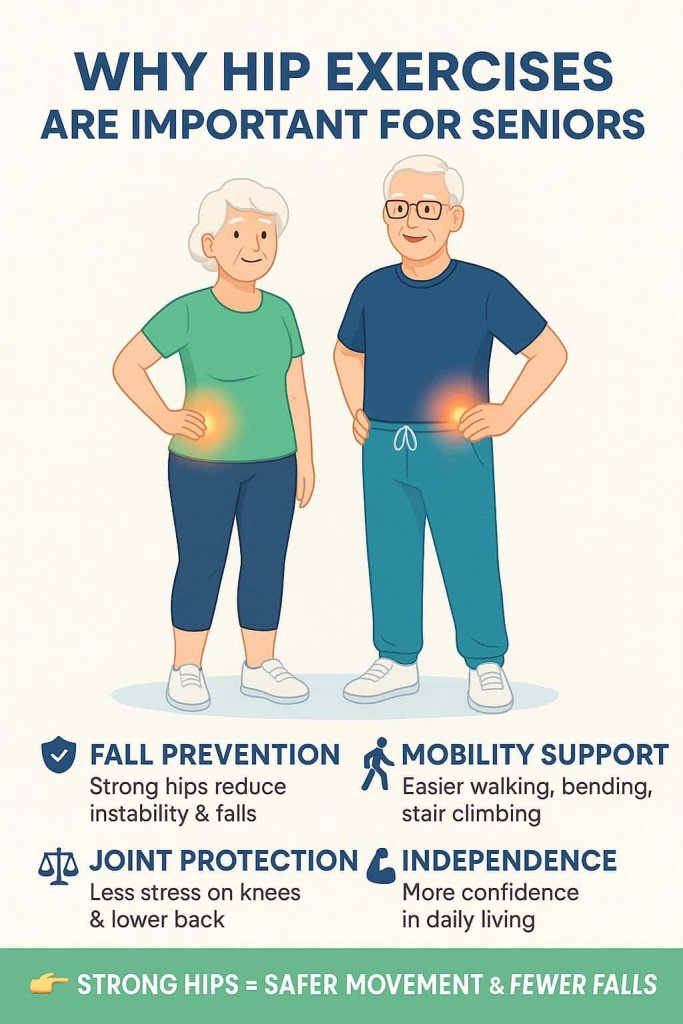
- Fall prevention – Hip abductor weakness is linked to instability and falls【news.va.gov】.
- Mobility support – Strong hips improve walking, bending, and stair climbing.
- Joint protection – Proper hip strength reduces stress on knees and lower back.
- Independence – Easier daily activities mean more confidence in movement.
👉 According to the International Journal of Behavioral Nutrition and Physical Activity (2020), exercise programs that combine strength and balance training cut fall risk significantly【ijbnpa.biomedcentral.com】.
10 Best Hip Strengthening Exercises for Seniors
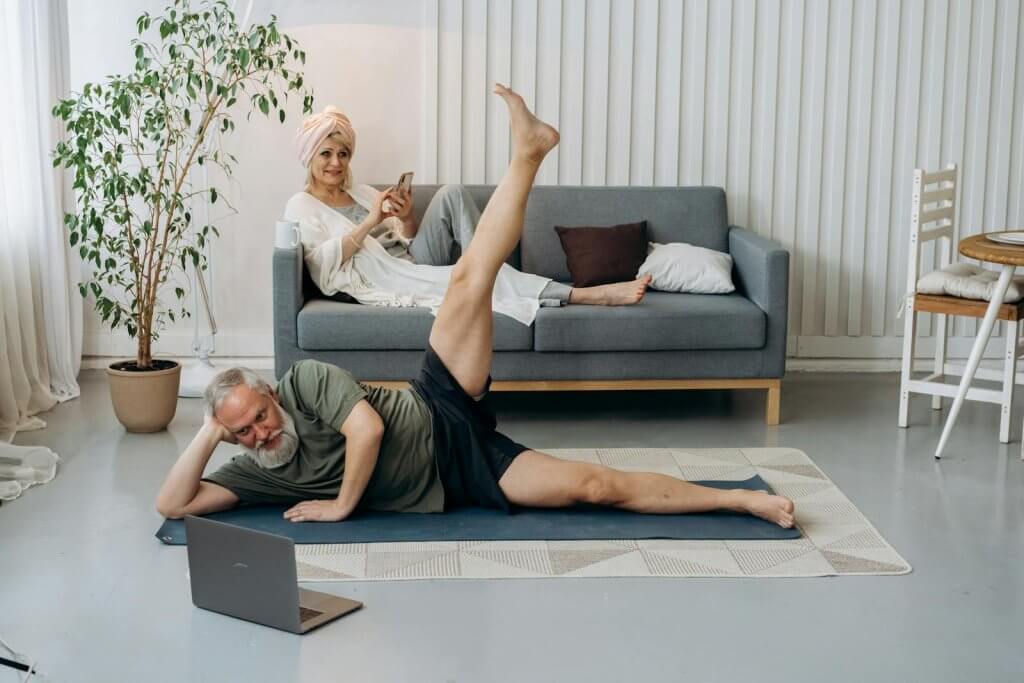
Strong hips are essential for seniors to stay mobile, independent, and safe. The best hip exercises for seniors improve balance, reduce fall risk, and ease stiffness. These gentle yet effective movements target the glutes, quads, and stabilizing muscles that support walking, standing, and everyday activities.
Below, you’ll find the 10 best hip exercises for seniors, each with step-by-step instructions, benefits, and trainer tips.
1. Sit-to-Stand (Chair Squats)
Muscles worked: Glutes, quadriceps, hip extensors
Why it helps: This functional move mimics sitting and standing—two everyday actions that require hip strength. It improves lower-body power and independence.
How to do it:
- Sit in a sturdy chair with feet flat and hip-width apart.
- Lean slightly forward, push through your heels, and stand up tall.
- Slowly lower yourself back to the chair with control.
Trainer tip: Use armrests or place hands on thighs for extra support if needed.
Reps: 10–15 reps, 2 sets, 3 times per week.
2. Standing Hip Abduction (Side Leg Lifts)
Muscles worked: Gluteus medius, hip stabilizers
Why it helps: Strengthens side-hip muscles that stabilize your pelvis and prevent falls when walking.
How to do it:
- Stand tall and hold onto a chair for balance.
- Lift one leg slowly out to the side without leaning.
- Lower it back down with control.
Trainer tip: Keep your torso upright and avoid swinging the leg.
Reps: 8–12 reps per leg, 2 sets.
3. Standing Hip Extension
Muscles worked: Glutes, hamstrings
Why it helps: Builds strong glutes for posture, walking power, and stair climbing.
How to do it:
- Hold a chair or countertop for support.
- Extend one leg straight behind you without arching your back.
- Squeeze glutes at the top before lowering.
Trainer tip: Move slowly; avoid momentum.
Reps: 8–12 reps per leg, 2–3 sets.
4. Hip Flexor Marching (Seated or Standing)
Muscles worked: Hip flexors, quadriceps
Why it helps: Strengthens muscles used for lifting your legs when walking, reducing trip risk.
How to do it:
- Seated: Sit upright, lift one knee toward your chest, then lower.
- Standing: March in place while holding a sturdy support.
Trainer tip: Keep movements controlled and steady.
Reps: 10–15 reps per side.
5. Glute Bridges
Muscles worked: Glutes, hamstrings, core stabilizers
Why it helps: Improves hip drive, posture, and lower-back support.
How to do it:
- Lie on your back with knees bent, feet flat.
- Press through heels, lifting hips until your body forms a straight line from shoulders to knees.
- Lower slowly without arching your lower back.
Trainer tip: Pause briefly at the top for maximum benefit.
Reps: 8–12 reps, 2–3 sets.
6. Lying Leg Raises
Muscles worked: Hip flexors, abductors
Why it helps: Strengthens the front and sides of the hips to support stability.
How to do it:
- Back position: Lie flat and raise one straight leg upward.
- Side position: Lie on your side and lift the top leg upward, then lower.
Trainer tip: Move slowly and avoid jerky motions.
Reps: 8–12 reps each side.
7. External Hip Rotations
Muscles worked: Hip rotators
Why it helps: Keeps hips flexible and reduces stiffness, especially helpful for getting in/out of cars or chairs.
How to do it:
- Sit upright with knees bent.
- Gently open knees outward, then return to start.
- Option: Use a light resistance band around thighs for added challenge.
Trainer tip: Hold each outward position for a steady 10 seconds.
Reps: 5–10 reps, holding each for 10 seconds.
8. Heel Slides
Muscles worked: Hip flexors, extensors
Why it helps: Improves hip mobility and circulation without strain, ideal for warm-ups or recovery days.
How to do it:
- Lie on your back with legs straight.
- Slide one heel slowly toward your buttocks, bending the knee.
- Slide it back to the start.
Trainer tip: Keep hips stable and avoid twisting.
Reps: 10–15 per side.
9. Partial Squats (With Chair Support)
Muscles worked: Quads, glutes, hips
Why it helps: Builds strength for everyday movements like bending and rising without stressing the knees.
How to do it:
- Stand in front of a chair.
- Bend knees slightly, lowering halfway as if to sit.
- Push back up to standing.
Trainer tip: Keep knees behind toes and back upright.
Reps: 8–10 reps, 2 sets.
10. Side Hip Walks (With or Without Band)
Muscles worked: Hip abductors, glutes
Why it helps: Strengthens outer hips for balance and lateral movement, reducing fall risk.
How to do it:
- Place a light resistance band above your knees (optional).
- Step sideways with small, controlled steps.
- Keep hips level and core engaged.
Trainer tip: Avoid crossing feet—side steps should be wide and steady.
Reps: 10–15 steps each way.
Who Should Avoid Hip Exercises?
While hip strengthening is safe for most older adults, some people should avoid or modify certain movements:
- Recent hip surgery or replacement – Always follow your surgeon or physical therapist’s instructions before starting exercise.
- Severe arthritis flare-ups – High-pain days may require rest or gentler mobility work.
- Balance disorders or dizziness – Unsupported standing exercises may increase fall risk; seated options are safer.
- Uncontrolled medical conditions – Such as severe heart disease, uncontrolled high blood pressure, or advanced osteoporosis.
- Persistent sharp hip or back pain – Stop immediately and consult a healthcare provider.
👉 If you fall into any of these categories, talk with your doctor or a licensed physical therapist to create a personalized and safe hip exercise plan.
How to Start a Hip Exercise Routine as a Senior
Beginning a new routine can feel overwhelming, but a step-by-step approach ensures safety and progress:
- Warm Up (5 minutes)
- Gentle marching in place
- Ankle and hip circles
- Light walking
- Pick 3–4 Beginner-Friendly Moves
- Start with Sit-to-Stand, Standing Hip Abduction, Heel Slides, and Glute Bridges.
- Focus on correct form before adding more exercises.
- Start Small
- Begin with 1 set of 8–10 reps per exercise.
- Train 2–3 times per week.
- Progress Gradually
- After 2–3 weeks, increase to 2–3 sets.
- Add resistance bands or light ankle weights once form is solid.
- Balance & Functional Training
- Include daily balance drills like heel-to-toe walking or standing on one leg (with support nearby).
- Track Progress
- Note improvements in mobility, walking ease, and reduced stiffness.
- Small changes, like standing up from a chair more easily, show your strength is improving.
👉 Consistency is key. Even 10–15 minutes of focused hip work, 3 times per week, can significantly improve strength and reduce fall risk.
Safety & Programming Tips for Seniors
- Warm up with light walking or ankle circles.
- Start small—1 set of each exercise—and progress slowly.
- Train hips 2–3 times per week for best results.
- Use support (chair, wall, counter) for balance.
- Wear proper shoes and exercise on non-slip surfaces.
- Stop if you feel sharp pain—mild muscle fatigue is normal.
Lifestyle Tips to Support Hip Health
- Stay active daily – walking, light stretching, gardening.
- Maintain a healthy weight – reduces pressure on hip joints.
- Add balance drills – like heel-to-toe walking or standing on one leg.
- Consider group exercise classes – they improve motivation and safety.
FAQs
1. How often should seniors do hip exercises?
2–3 times per week for strength, with light mobility or balance work daily.
2. Are hip exercises safe with arthritis?
Yes, gentle strengthening and mobility exercises often reduce joint pain—avoid high impact and consult your doctor first.
3. Do I need equipment for these hip exercises?
No, most can be done at home with a chair. Optional resistance bands can add challenge.
4. How long before I see improvements?
Most seniors feel better balance and strength within 4–6 weeks of consistent practice.
5. Can these prevent hip fractures?
Stronger hips reduce fall risk, which lowers fracture chances—but safe environment (good lighting, no loose rugs) is equally important.
6. Should I do these after hip replacement?
Only under guidance from your surgeon or physical therapist. They will give specific safe movements.
7. What if I feel pain while doing hip exercises?
Stop immediately and consult a healthcare provider. Mild muscle fatigue is okay; sharp joint pain is not.
Conclusion
Strong hips mean safer movement, better balance, and greater independence. By adding these 10 best hip exercises into your weekly routine, you’ll build stability, prevent falls, and keep your body moving confidently as you age.
👉 Start small, stay consistent, and focus on progress. Your hips—and your future self—will thank you.