
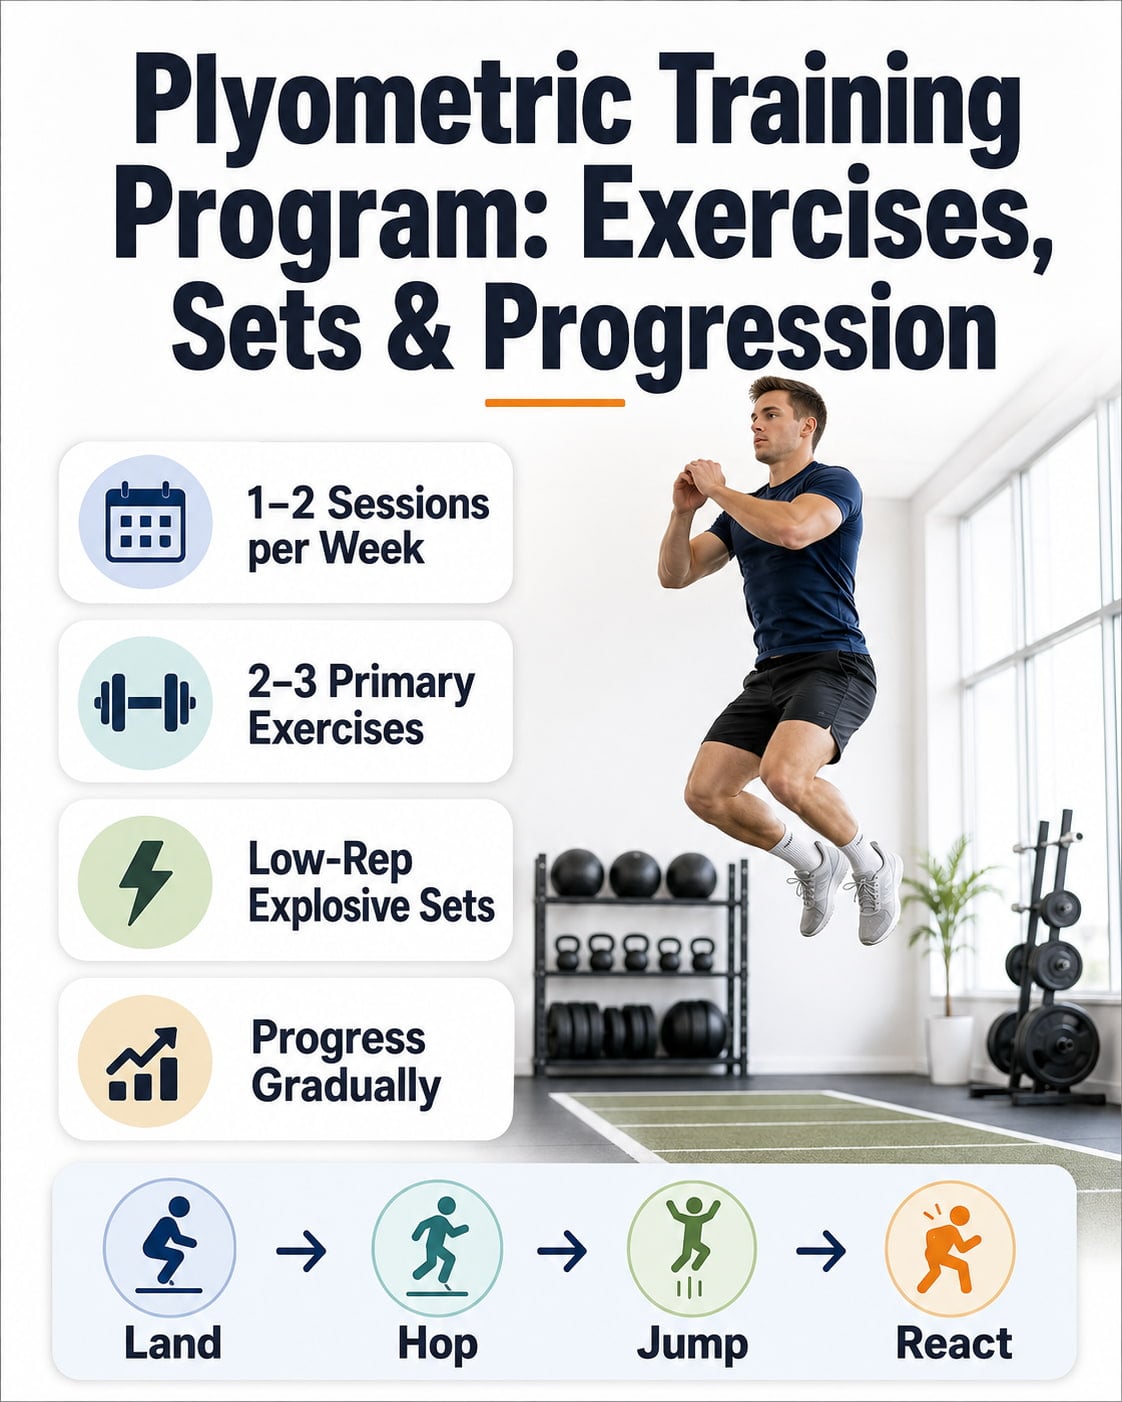
A practical plyometric training program starts with one or two weekly sessions, two or three primary exercises per workout, low-repetition sets, full recovery, and a gradual progression from controlled landings to explosive jumps. This approach helps you develop power, speed, coordination, and landing control without turning every workout into a high-impact endurance circuit.
Beginners should first learn how to absorb force and land quietly. You can then progress to low-level hops, maximum-effort jumps, lateral movements, and eventually reactive or single-leg exercises. The eight-week program below provides exact exercises, sets, repetitions, rest periods, and progression guidelines.
Plyometric Training Program at a Glance
| Training variable | Practical starting point |
|---|---|
| Beginner frequency | 1–2 sessions per week |
| Experienced frequency | 2–3 sessions per week |
| Primary exercises per session | 2–3 |
| Landing drills | 2–3 sets of 3–5 reps |
| Maximum-effort jumps | 3–5 sets of 2–5 reps |
| Low-amplitude hops | 2–3 sets of 8–12 reps |
| Rest between sets | About 60–180 seconds |
| Session placement | After warming up and before fatiguing strength or cardio work |
| Beginner program length | 8 weeks |
| Main progression rule | Increase only one variable at a time |
These are starting ranges, not rigid rules. The correct amount depends on the exercise, your experience, the intensity of your other workouts, and how well you maintain your technique.
What Is a Plyometric Training Program?
A plyometric training program uses fast, explosive movements to help your muscles produce force quickly. Common examples include hops, bounds, jumps, medicine-ball throws, and explosive push-ups.
Plyometric exercises use the stretch-shortening cycle. This happens when a muscle-tendon unit lengthens and is immediately followed by a forceful shortening action.
Consider a countermovement jump:
- You quickly bend your hips and knees.
- Your lower-body muscles absorb force and store elastic energy.
- You immediately reverse direction and jump upward.
The transition between lowering and jumping should be brief. A long pause reduces the spring-like contribution that distinguishes a plyometric movement from a slower strength exercise.
Plyometrics are not limited to lower-body jump training. Medicine-ball chest passes, overhead throws, slams, and selected explosive push-up variations can train upper-body power.
Plyometric Training Program Sets, Reps, and Frequency
Plyometric training is most effective when repetitions remain explosive and technically controlled. It should not feel like a high-repetition leg-burning circuit.
The National Strength and Conditioning Association notes that low frequencies and volumes—such as two or three weekly sessions and three to six sets of two to five repetitions—are appropriate for many plyometric exercises. It also states that two or three exercises at one time are generally sufficient.
Recommended Sets and Reps by Exercise Type
| Exercise type | Sets | Reps | Typical rest |
|---|---|---|---|
| Landing or snap-down drill | 2–3 | 3–5 | 60–90 seconds |
| Pogo or low line hop | 2–3 | 8–12 | 60–90 seconds |
| Maximum-effort vertical jump | 3–5 | 2–5 | 90–180 seconds |
| Broad jump or lateral bound | 3–4 | 2–5 | 90–180 seconds |
| Repeated hurdle or reactive jump | 3–5 | 3–6 | 2–3 minutes |
| Medicine-ball throw | 3–5 | 3–6 | 60–120 seconds |
| Plyometric push-up | 3–4 | 3–6 | 90–180 seconds |
| Advanced depth jump | 3–5 | 2–4 | 2–3 minutes |
Harder exercises generally require fewer repetitions. Low-level pogos may remain technically sound for 10–12 repetitions, while depth jumps, single-leg hops, and maximum-effort bounds may begin to deteriorate after only a few repetitions.
How Many Days per Week Should You Do Plyometrics?
Most beginners should start with one or two nonconsecutive sessions per week. Leave at least one full day between lower-body plyometric sessions.
Two weekly sessions may be enough for many recreational athletes. A third session may be appropriate for experienced athletes when each workout is brief and total sprinting, jumping, and sport-practice volume is carefully managed.
The Hospital for Special Surgery advises beginners to start with one or two weekly sessions, prioritize landing mechanics, and allow enough recovery that pain or lingering soreness is not carried into the next workout.
How Long Should You Rest Between Sets?
Use rest periods that let you repeat the exercise with similar speed, height, distance, and landing control.
A practical starting point is:
- 60–90 seconds after low-level landing drills or small hops
- 90–180 seconds after maximum-effort jumps, bounds, or throws
- Two to three minutes or longer after advanced reactive jumps
Do not shorten rest simply to make the workout feel harder. Plyometric training primarily develops power and movement quality. Conditioning is a separate goal.
End the set when:
- Jump height or distance clearly decreases
- Ground contacts become slow or heavy
- Your knees or trunk become difficult to control
- You can no longer land in balance
- You feel joint pain rather than normal muscular effort
Should You Count Foot Contacts?
A foot contact is counted each time a foot lands. Ten two-leg jumps normally equal 10 contacts, while 10 alternating single-leg bounds may create five contacts per leg.
Older guidelines often suggested 80–100 contacts for beginners and progressively more for experienced athletes. However, contact counts do not show how stressful each movement is. Ten small pogos are not equivalent to ten depth jumps.
The UK Strength and Conditioning Association notes that lower volumes of roughly 40–60 contacts performed twice weekly may still be effective. It also emphasizes using higher repetitions for low-level exercises and fewer repetitions for complex, high-intensity movements.
For most recreational trainees, exercise difficulty and repetition quality are more useful than chasing a predetermined contact total.
How to Warm Up for Plyometric Training
Plyometrics should be performed after a dynamic warm-up while you are still physically and mentally fresh.
Use this eight- to ten-minute sequence:
- Light movement for two to three minutes: Walk briskly, jog slowly, cycle, or use another easy activity.
- Ankle preparation: Perform 10 ankle rocks and 10 controlled calf raises.
- Lower-body mobility: Complete 6–8 bodyweight squats and reverse lunges per side.
- Dynamic movement: Add marching, skipping, high knees, or lateral shuffling.
- Landing preparation: Perform two sets of three snap-downs.
- Low-intensity rehearsal: Complete one easy set of the first plyometric exercise.
Avoid long, intense static stretches immediately before maximum-effort jumping. The goal is to increase temperature, rehearse the movement, and prepare for forceful contractions.
The Hospital for Special Surgery recommends a dynamic warm-up before plyometrics and advises placing explosive work near the beginning of the session, before fatigue affects performance and alignment.
Best Workout Order
A useful order is:
Dynamic warm-up → plyometric exercises → primary strength exercises → accessory work → conditioning
Long or fatiguing cardio should generally come after plyometrics or be completed in a separate session. Performing hard conditioning first may reduce power output and landing quality.
Best Plyometric Exercises by Difficulty
The following exercises provide a progression from basic force absorption to advanced reactive movement.
Beginner Plyometric Exercises
1. Snap-Down or Drop Squat
The snap-down teaches you how to move quickly into a stable landing position.
How to do it:
- Stand tall with your feet around hip-width apart.
- Rise slightly onto the balls of your feet while reaching your arms overhead.
- Quickly pull your arms down and drop into a partial squat.
- Hold the landing for two seconds.
- Keep your trunk controlled and your knees tracking generally in the same direction as your toes.
Start with: 2–3 sets of 3–5 reps.
This drill does not require a high jump. Focus on reaching a quiet, balanced position.
2. Pogo Jump
Pogo jumps train quick, low-amplitude contacts through the ankles and calves.
How to do it:
- Stand tall with your feet under your hips.
- Keep only a small bend in your knees.
- Bounce a few inches off the floor using your ankles.
- Keep the contacts light, quick, and rhythmic.
- Stop if the jumps become slow or heavy.
Start with: 2–3 sets of 8–12 reps.
Use two-leg pogos before attempting a single-leg version.
3. Squat Jump and Stick
This exercise introduces a maximum-effort takeoff followed by a controlled landing.
How to do it:
- Stand with your feet approximately shoulder-width apart.
- Lower into a shallow or moderate squat.
- Swing your arms and jump upward.
- Land softly with your hips and knees slightly bent.
- Hold the landing before resetting.
Start with: 3 sets of 3 reps.
Reset completely between repetitions rather than immediately jumping again.
4. Broad Jump and Stick
The broad jump develops horizontal power and deceleration control.
How to do it:
- Stand with your feet around hip-width apart.
- Push your hips back and swing your arms behind you.
- Drive forward and jump for controlled distance.
- Land on both feet.
- Hold the landing without taking extra steps.
Start with: 3 sets of 2–3 reps.
Do not chase maximum distance until you can consistently land in balance.
5. Medicine-Ball Chest Pass
This is a useful upper-body option for people who are not ready for explosive push-ups.
How to do it:
- Stand facing a solid wall or a prepared partner.
- Hold a light medicine ball at chest height.
- Quickly extend your arms and throw the ball forward.
- Catch the rebound only when the setup and ball are appropriate for safe catching.
- Reset before the next repetition.
Start with: 3 sets of 4–6 reps.
Choose a ball light enough to move quickly.
Intermediate Plyometric Exercises
6. Countermovement Jump
A countermovement jump uses a fast downward movement immediately followed by a vertical jump.
How to do it:
- Stand tall.
- Quickly bend your hips and knees while swinging your arms back.
- Immediately reverse direction and jump upward.
- Land under control.
- Reset between repetitions.
Start with: 3–5 sets of 3 reps.
The downward movement should be quick but not so deep that it delays the takeoff.
7. Low Box Jump
A box jump allows you to practice producing force without absorbing a full landing on the floor.
How to do it:
- Stand a comfortable distance from a low, stable box.
- Dip quickly through your hips and knees.
- Jump onto the box and land with both feet fully supported.
- Stand tall.
- Step down carefully.
Start with: 3 sets of 3 reps.
Do not use a box so high that you must pull your knees dramatically toward your chest. Box height is not a direct measure of jump power.
8. Lateral Bound and Stick
This exercise develops side-to-side power and landing control.
How to do it:
- Stand on one leg.
- Push sideways and land on the opposite leg.
- Bend your hip and knee to absorb the landing.
- Hold for one or two seconds.
- Repeat in the opposite direction.
Start with: 3 sets of 3 reps per side.
Reduce the jumping distance if you cannot control the landing.
9. Low Hurdle Hop
Low hurdle hops introduce repeated contacts.
How to do it:
- Place several low hurdles or safe floor markers in a line.
- Jump over each obstacle using both legs.
- Keep your ground contacts quick.
- Maintain an upright, controlled trunk.
- Stop if you begin pausing between hurdles or landing heavily.
Start with: 3 sets of 3–5 hurdles.
Use very low obstacles. The purpose is rhythm and reactivity, not clearing a challenging height.
10. Plyometric Incline Push-Up
An incline reduces the demand compared with a floor-based plyometric push-up.
How to do it:
- Place your hands on a stable bench or raised surface.
- Hold a straight line from your head to your heels.
- Lower under control.
- Push forcefully enough for your hands to briefly leave the surface.
- Land through slightly bent elbows and reset.
Start with: 3 sets of 3–5 reps.
Use a higher surface to make the exercise easier.
Advanced Plyometric Exercises
11. Single-Leg Hop and Stick
This exercise increases the balance and force-absorption demand on one leg.
How to do it:
- Stand on one leg.
- Hop forward a short distance.
- Land on the same leg.
- Hold the landing for two seconds.
- Keep your pelvis and trunk controlled.
Start with: 3 sets of 2–4 reps per side.
Begin with very short hops. Distance should increase only after consistent control.
12. Alternating Bounds
Bounds resemble exaggerated running strides and emphasize horizontal force.
How to do it:
- Drive forward from one leg.
- Land on the opposite leg.
- Immediately push into the next bound.
- Coordinate the opposite arm and leg.
- Maintain forward momentum without reaching excessively for the ground.
Start with: 3 sets of 4–6 total contacts.
Bounds are demanding and should not be added immediately after high-volume sprint training.
13. Depth Jump
A depth jump involves stepping from a raised platform, landing, and immediately jumping again.
How to do it:
- Stand on a low, stable box.
- Step off without jumping upward.
- Land on both feet.
- Immediately perform a vertical jump.
- Aim for a quick, controlled transition.
Start with: 3 sets of 2–3 reps.
Depth jumps are optional advanced exercises. They are not necessary for a beginner or general-fitness program. First master step-off landings, repeated jumps, and lower-intensity reactive exercises.
How to Progress Plyometric Exercises Safely
Progression should begin with force absorption and gradually move toward more speed, force, and movement complexity.
The UKSCA describes a logical continuum that moves from landing and eccentric absorption to propulsion, repeated jumping, and finally higher-intensity shock-method exercises.
Stage 1: Landing and Force Absorption
Start with:
- Snap-downs
- Drop squats
- Low step-off landings
- Squat jumps with a held landing
- Broad jumps with a held landing
The goal is to control your hips, knees, ankles, and trunk after impact.
Stage 2: Low-Amplitude Hops
Progress to:
- Two-leg pogos
- Line hops
- Jump-rope contacts
- Low skips
- Small repeated jumps
The emphasis is on light, rhythmic contacts rather than maximum height.
Stage 3: Maximum-Effort Bilateral Jumps
Add:
- Countermovement jumps
- Squat jumps
- Broad jumps
- Low box jumps
- Medicine-ball throws
Reset between repetitions so each effort remains powerful.
Stage 4: Lateral and Unilateral Plyometrics
Progress to:
- Lateral bounds
- Skater jumps
- Split-squat jumps
- Single-leg hop and stick
- Multidirectional jumps
These exercises increase balance and directional demands.
Stage 5: Reactive and Advanced Exercises
Experienced trainees may introduce:
- Repeated hurdle hops
- Continuous bounds
- Reactive single-leg hops
- Depth jumps
- Advanced plyometric push-ups
These drills require enough strength, coordination, and impact tolerance to reverse direction quickly.
Change Only One Variable at a Time
You can progress a plyometric exercise by changing:
- The number of repetitions
- The number of sets
- Jump height or distance
- Movement speed
- Direction
- One-leg versus two-leg execution
- A held landing versus repeated contacts
- External resistance
Do not increase all of these at once.
A sensible progression might be:
- Improve the existing movement.
- Add one repetition to a low-level drill.
- Add one set if quality remains high.
- Move from a held landing to repeated contacts.
- Add lateral or single-leg demands.
- Increase height, distance, or load last.
Eight-Week Plyometric Training Program
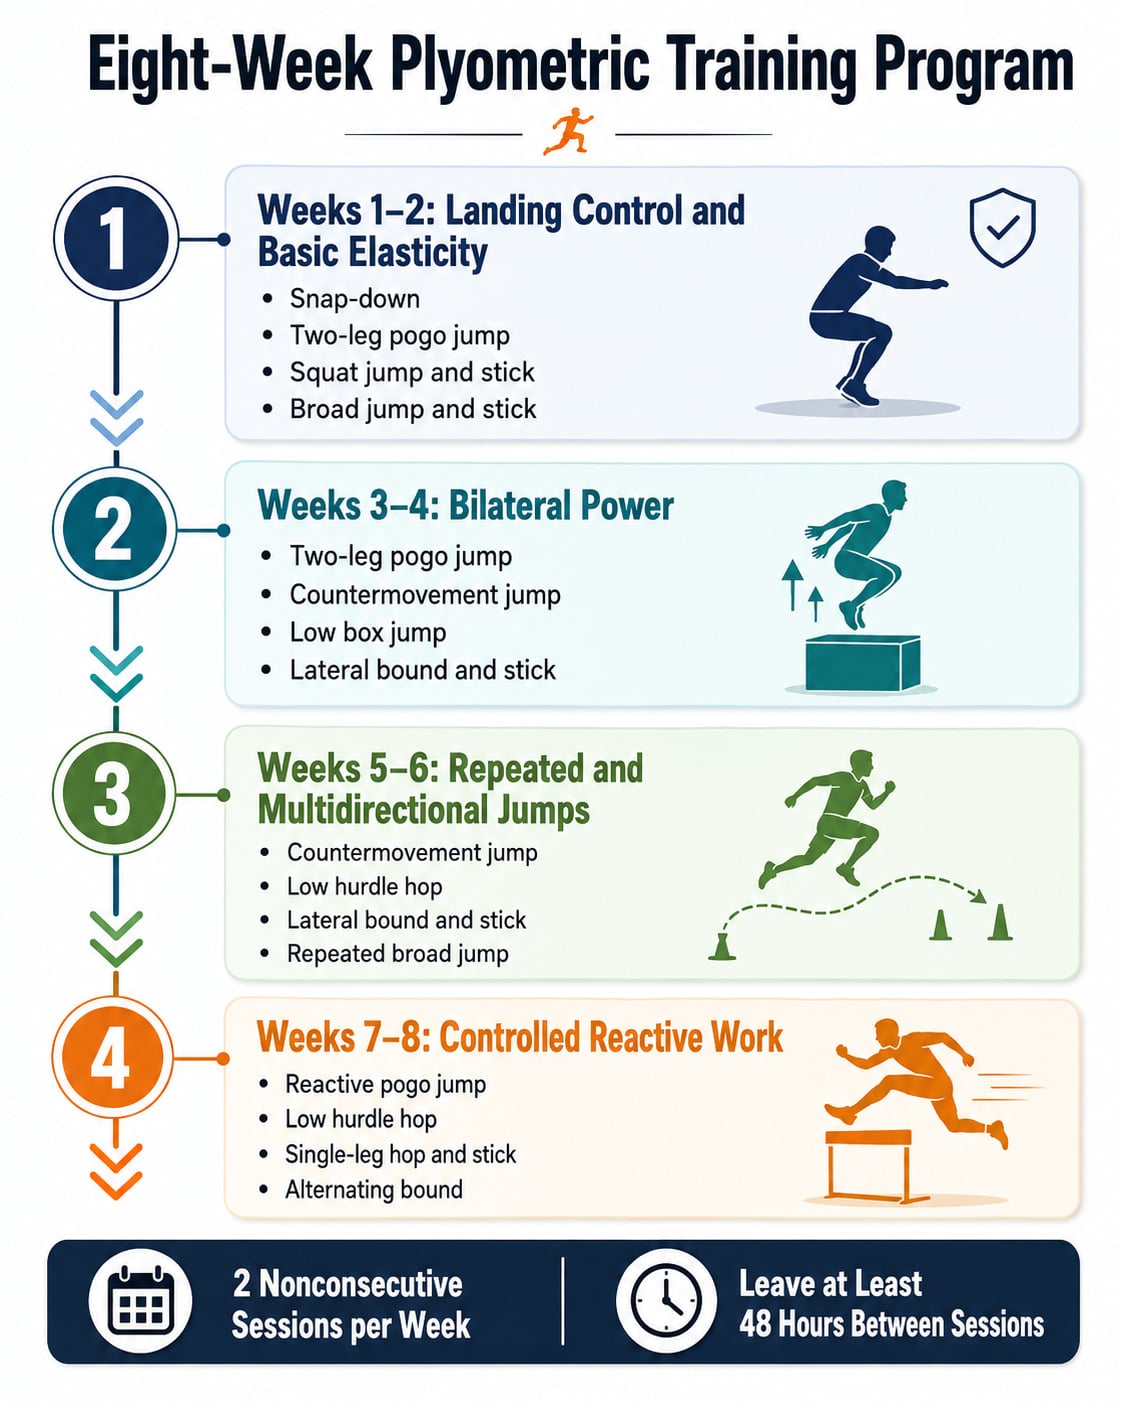
This program uses two nonconsecutive sessions per week. Leave at least 48 hours between sessions.
Someone completely new to jumping can perform only Day A during the first week. Add Day B once you can complete Day A without lingering joint discomfort or unusual soreness.
General Program Rules
- Complete an eight- to ten-minute dynamic warm-up.
- Perform each jump with controlled intent.
- Rest 60–90 seconds after low-level drills.
- Rest 90–180 seconds after maximum-effort jumps.
- Use two to three minutes after advanced repeated jumps.
- Stop a set when performance or landing control declines.
- Use low, stable boxes and hurdles.
- Step down from boxes.
- Keep medicine-ball and upper-body exercises optional.
Weeks 1–2: Landing Control and Basic Elasticity
Day A
| Exercise | Sets × reps |
|---|---|
| Snap-down | 3 × 4 |
| Two-leg pogo jump | 2 × 10 |
| Squat jump and stick | 3 × 3 |
| Optional medicine-ball chest pass | 3 × 5 |
Day B
| Exercise | Sets × reps |
|---|---|
| Low step-off landing | 3 × 3 |
| Forward-and-back line hop | 2 × 8 |
| Broad jump and stick | 3 × 3 |
| Optional medicine-ball slam | 3 × 5 |
Use a very low platform for step-off landings. Hold each landing long enough to confirm that you are balanced.
Weeks 3–4: Bilateral Power
Day A
| Exercise | Sets × reps |
|---|---|
| Two-leg pogo jump | 3 × 10 |
| Countermovement jump | 4 × 3 |
| Low box jump | 3 × 3 |
| Optional medicine-ball chest pass | 3 × 5 |
Day B
| Exercise | Sets × reps |
|---|---|
| Lateral line hop | 3 × 8 |
| Broad jump and stick | 4 × 3 |
| Lateral bound and stick | 3 × 3 per side |
| Optional medicine-ball slam | 3 × 5 |
Progress only when you can control every landing without extra steps.
Weeks 5–6: Repeated and Multidirectional Jumps
Day A
| Exercise | Sets × reps |
|---|---|
| Two-leg pogo jump | 3 × 12 |
| Countermovement jump | 4 × 3 |
| Low hurdle hop | 3 × 4 |
| Optional plyometric incline push-up | 3 × 4 |
Day B
| Exercise | Sets × reps |
|---|---|
| Lateral bound and stick | 3 × 4 per side |
| Repeated broad jump | 3 × 3 |
| Split-squat jump | 3 × 3 per side |
| Optional overhead medicine-ball throw | 3 × 5 |
For repeated broad jumps, perform three controlled jumps in sequence, then rest. Stop the sequence if the landings become rushed or unstable.
Weeks 7–8: Controlled Reactive Work
Day A
| Exercise | Sets × reps |
|---|---|
| Reactive pogo jump | 2 × 10 |
| Low hurdle hop | 4 × 4 |
| Single-leg hop and stick | 3 × 3 per side |
| Optional plyometric push-up variation | 3 × 3–5 |
Day B
| Exercise | Sets × reps |
|---|---|
| Alternating bound | 3 × 6 total contacts |
| Continuous lateral bound | 3 × 4 per side |
| Repeated countermovement jump | 3 × 4 |
| Optional medicine-ball slam | 3 × 5 |
Do not automatically add depth jumps after Week 8. They are appropriate only when you already have good landing mechanics, sufficient strength, and a clear reason to use them.
How to Adjust the Program for Your Goal
| Goal | Exercises to emphasize |
|---|---|
| Vertical jump | Countermovement jumps, squat jumps, low hurdle hops |
| Sprint acceleration | Broad jumps, horizontal bounds, pogos |
| Court or field agility | Lateral bounds, single-leg landings, multidirectional hops |
| Running economy | Low-volume pogos, skips, bounds |
| Upper-body power | Medicine-ball throws, slams, incline plyometric push-ups |
| General fitness | Snap-downs, low pogos, squat jumps, medicine-ball throws |
Exercise selection should match the direction and speed of force you want to improve. However, you do not need to reproduce every movement from your sport in the gym.
Benefits of Plyometric Training
A properly designed plyometric workout may support several physical qualities.
Greater Explosive Power
Plyometrics train you to produce force rapidly. This can be useful for jumping, sprinting, throwing, accelerating, and quickly changing direction.
Better Jump Performance
Vertical jumps, broad jumps, repeated hops, and other targeted drills may improve your ability to apply force vertically or horizontally.
Faster Sprinting and Direction Changes
Horizontal bounds can support acceleration mechanics, while lateral and multidirectional drills prepare you to produce and absorb force in different directions.
Improved Landing and Deceleration Skills
Landing drills teach you to control your hips, knees, ankles, and trunk as you absorb impact. These drills do not guarantee injury prevention, but they can help you develop movement skills needed for jumping and field or court sports.
More Sport-Specific Power
Plyometrics may benefit athletes who need short bursts of force, including runners, basketball players, volleyball players, soccer players, tennis players, and martial artists.
A 2025 Scientific Reports meta-analysis involving 70 studies and 1,703 athletically trained adults found that plyometric training improved several measures of lower-body strength, jumping, sprinting, reactive strength, and change-of-direction performance compared with control conditions. However, results should not be treated as guarantees for every person or sport.
An earlier umbrella review also found generally favorable performance effects but cautioned that many previous meta-analyses included studies without strong control-group comparisons. That means the benefits are promising, but exercise selection, program quality, experience, and individual response still matter.
Who Should Use a Plyometric Training Program?
Plyometrics can be useful for recreational exercisers and athletes who want to improve explosive power, jumping ability, sprinting, or agility.
You do not need to be an elite athlete. However, you should choose exercises that match your current strength, balance, coordination, and impact tolerance.
You May Be Ready to Begin When You Can:
- Perform pain-free bodyweight squats with controlled alignment
- Balance briefly on each leg without excessive wobbling
- Complete basic lunges or step-ups with control
- Land from a very small jump without losing balance
- Exercise regularly without unresolved joint pain
- Follow technique cues consistently
These are practical readiness signs rather than mandatory strength tests. A person who cannot yet jump comfortably can begin with snap-downs, heel raises, fast step-ups, medicine-ball throws, and other low-impact power exercises.
Get Individual Guidance Before Starting If You Have:
- A recent lower-body injury or surgery
- Unexplained joint pain or swelling
- Significant balance difficulties
- A known bone or joint condition that affects impact tolerance
- A cardiovascular condition that limits vigorous exercise
- Instructions from a clinician to avoid running, jumping, or high-impact activity
A physical therapist, sports medicine professional, or qualified strength and conditioning coach can help select an appropriate starting level.
How to Add Plyometrics to Strength Training
Plyometrics and strength training can work well together when fatigue is controlled.
Option 1: Plyometrics Before Lower-Body Strength Work
Example:
- Dynamic warm-up
- Countermovement jump: 4 × 3
- Broad jump: 3 × 3
- Squat or deadlift workout
- Accessory exercises
This is the simplest structure for most recreational trainees.
Option 2: Separate Plyometric and Strength Days
This may be better when your strength workouts are already long or demanding.
Example:
- Monday: Lower-body strength
- Wednesday: Plyometric and sprint session
- Friday: Lower-body strength
Option 3: Contrast Training
Contrast training pairs a heavy strength exercise with an explosive exercise, such as squats followed by jumps.
This is an advanced method. It requires careful control of load, rest periods, exercise order, and total volume. Beginners do not need contrast training to benefit from plyometrics.
Account for Other Jumping and Sprinting
Your weekly plyometric load includes more than formal gym exercises. Also consider:
- Sprint workouts
- Running drills
- Basketball or volleyball practice
- Repeated jumps during group fitness classes
- Agility drills
- Martial arts
- Jump rope
- Sports competition
Adding a full plyometric program to an already high-impact schedule may create more fatigue than benefit.
Common Plyometric Training Mistakes
Treating Plyometrics Like Cardio
Rapidly performing dozens of jumps with little rest may make you tired, but it does not necessarily improve maximum power. Use short sets and recover before the next explosive effort.
Skipping Landing Practice
Jumping is only part of the exercise. You must also absorb and control the landing. Learn snap-downs and held landings before repeated or single-leg jumps.
Doing Too Many Exercises
More variety does not guarantee better results. Two or three well-chosen primary exercises are usually enough for one session.
Progressing Too Quickly
Moving directly from basic squat jumps to high depth jumps creates an unnecessary increase in landing force and complexity. Progress through smaller steps.
Chasing Box Height
Landing on a taller box may simply mean you pulled your knees higher. Choose a height that allows a controlled takeoff and stable landing.
Using Heavy External Loads Too Soon
Weighted jumps and loaded bounds increase the demand on your muscles and joints. First learn to move your body weight quickly and consistently.
Performing Plyometrics While Fatigued
Exhaustion can reduce jump height, slow ground contacts, and disrupt landing control. Perform plyometrics early in the workout.
Ignoring Left-to-Right Differences
Single-leg exercises may reveal differences in balance or control. Reduce the distance or difficulty on the less stable side rather than forcing identical performance.
When to Stop or Modify a Plyometric Workout
Stop the exercise if you experience:
- Sharp or increasing pain
- Joint pain during takeoff or landing
- New swelling
- A feeling that a joint is giving way
- Dizziness, chest discomfort, or unusual shortness of breath
- Repeated loss of balance
- A major decline in jump height or distance
- Increasingly loud or uncontrolled landings
Muscular effort and mild fatigue can be normal, but pain should not be used as a progression test. If symptoms continue after stopping, seek guidance from an appropriate healthcare professional.
Frequently Asked Questions
How many days a week should I do plyometric training?
Beginners should usually start with one or two nonconsecutive sessions per week. Experienced athletes may use two or three sessions when total volume is low and their sport, sprinting, and strength-training workload are considered.
How many sets and reps are best for plyometric exercises?
Maximum-effort jumps commonly use three to five sets of two to five reps. Low-amplitude hops may use two or three sets of eight to 12 reps. Advanced exercises generally need fewer repetitions.
Should I do plyometrics before or after lifting weights?
Perform plyometrics after warming up and before fatiguing strength work. This helps preserve jump speed and landing quality. Advanced athletes may use paired strength and plyometric exercises, but beginners should keep the structure simple.
Can I do plyometric exercises every day?
Daily high-impact plyometrics are unnecessary for most people. Your muscles, tendons, joints, and nervous system need time to recover. Remember that running, sprinting, and sports practice also contribute to your total impact volume.
Are plyometrics bad for your knees?
Plyometrics are not automatically bad for healthy knees, but exercise difficulty and volume must match your current capacity. Begin with controlled landings and low-level movements. Modify or stop if jumping causes joint pain, swelling, instability, or worsening symptoms.
How long does it take to see results from plyometric training?
Some people notice better coordination and landing confidence within a few sessions. Measurable changes in jump, sprint, or power performance usually require consistent training over several weeks. Results depend on experience, program quality, recovery, and the performance test being used.
Can plyometrics help with weight loss?
Plyometrics use energy and can be part of an active lifestyle, but they should not be treated as a complete weight-loss strategy. Body-weight change is influenced by overall calorie intake, daily activity, strength training, cardio, sleep, and other individual factors.
Conclusion
A successful plyometric training program does not require dozens of jumps or advanced equipment. Start with landing control, use only a few focused exercises, rest long enough to maintain explosive effort, and progress one variable at a time.
Follow the eight-week plan at your current ability level, record your sets and repetitions, and repeat a phase when your landings are not yet consistent. Quality movement—not exhaustion—is the clearest sign that your plyometric training is on the right track.
This content is for informational purposes only and not medical advice.
References
- National Strength and Conditioning Association: Plyometric Exercises
- Hospital for Special Surgery: A Beginner’s Guide to Plyometrics Workouts
- UK Strength and Conditioning Association: Understanding Plyometrics—A Coach’s Guide
- Scientific Reports: Effects of Plyometric Training on Lower-Limb Strength, Power, Agility, and Body Composition
- Sports Medicine – Open: Effects of Plyometric Training on Physical Performance