
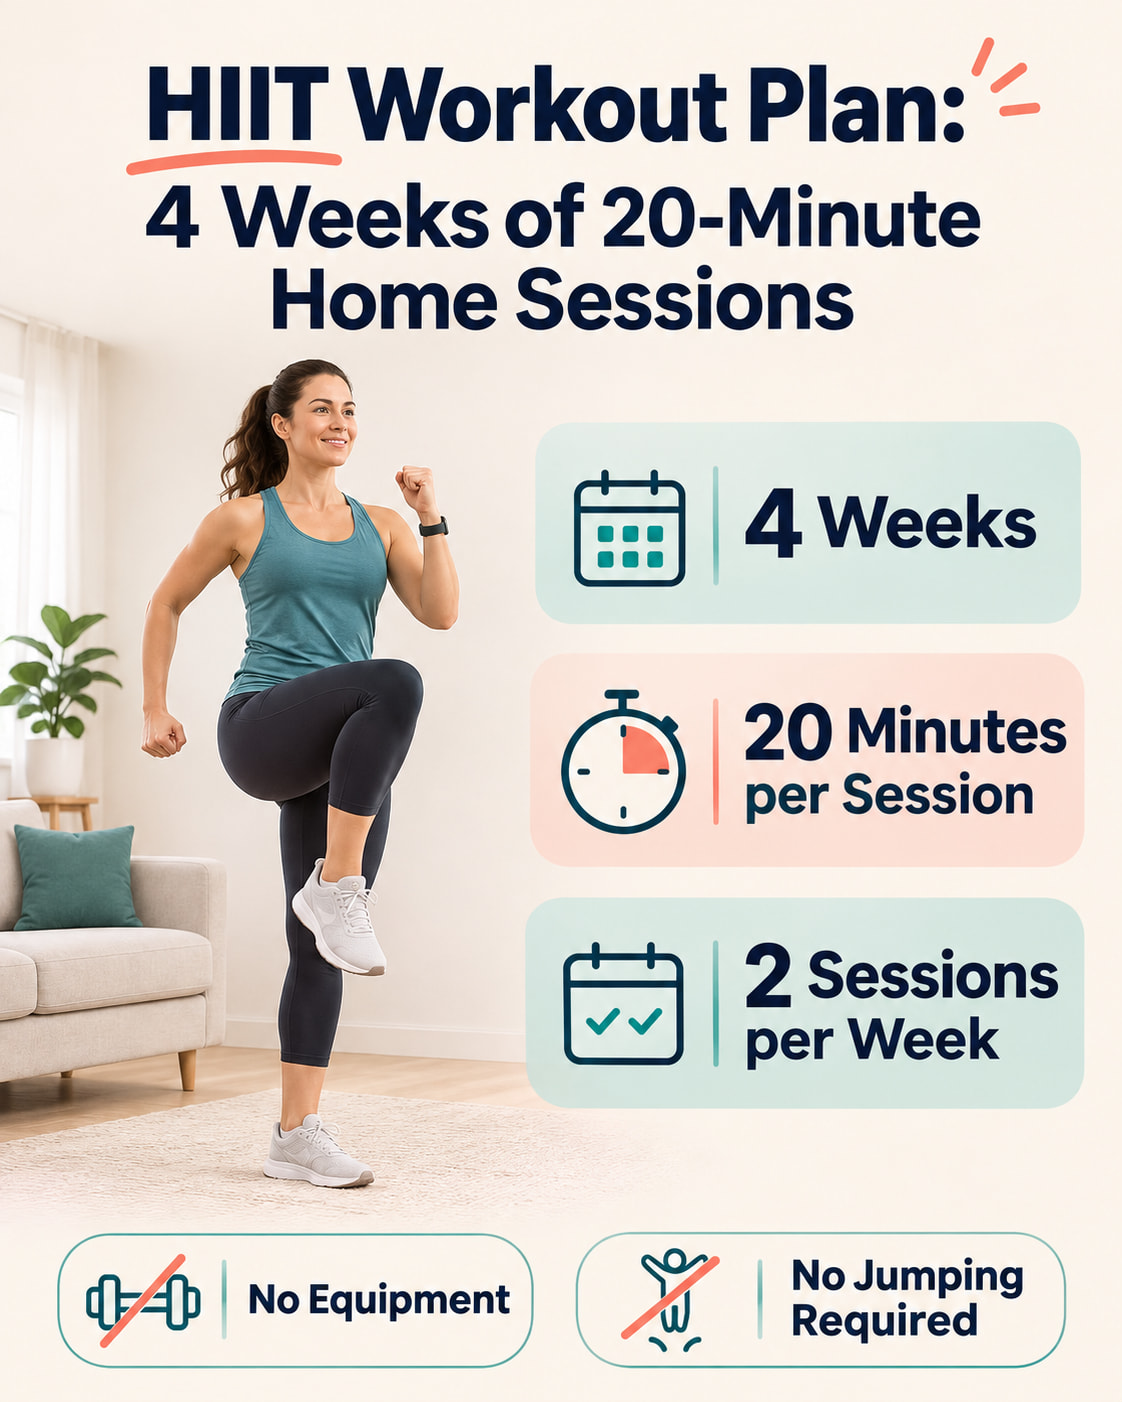
This HIIT workout plan uses two 20-minute home sessions per week, with a five-minute warm-up, a ten-minute interval circuit, and a five-minute cooldown. You will repeat five standing exercises, alternate challenging efforts with easier recovery, and increase the work periods only when you are ready. No exercise equipment or jumping is required.
The plan is intended for generally healthy adults who already tolerate moderate exercise and are new to structured high-intensity intervals—not people starting exercise after a long inactive period.
This is an original sample routine, not a clinically tested four-week program. The four weeks provide a schedule for learning and practicing, not a deadline for a particular fitness or body change.
Who This HIIT Workout Plan Is For
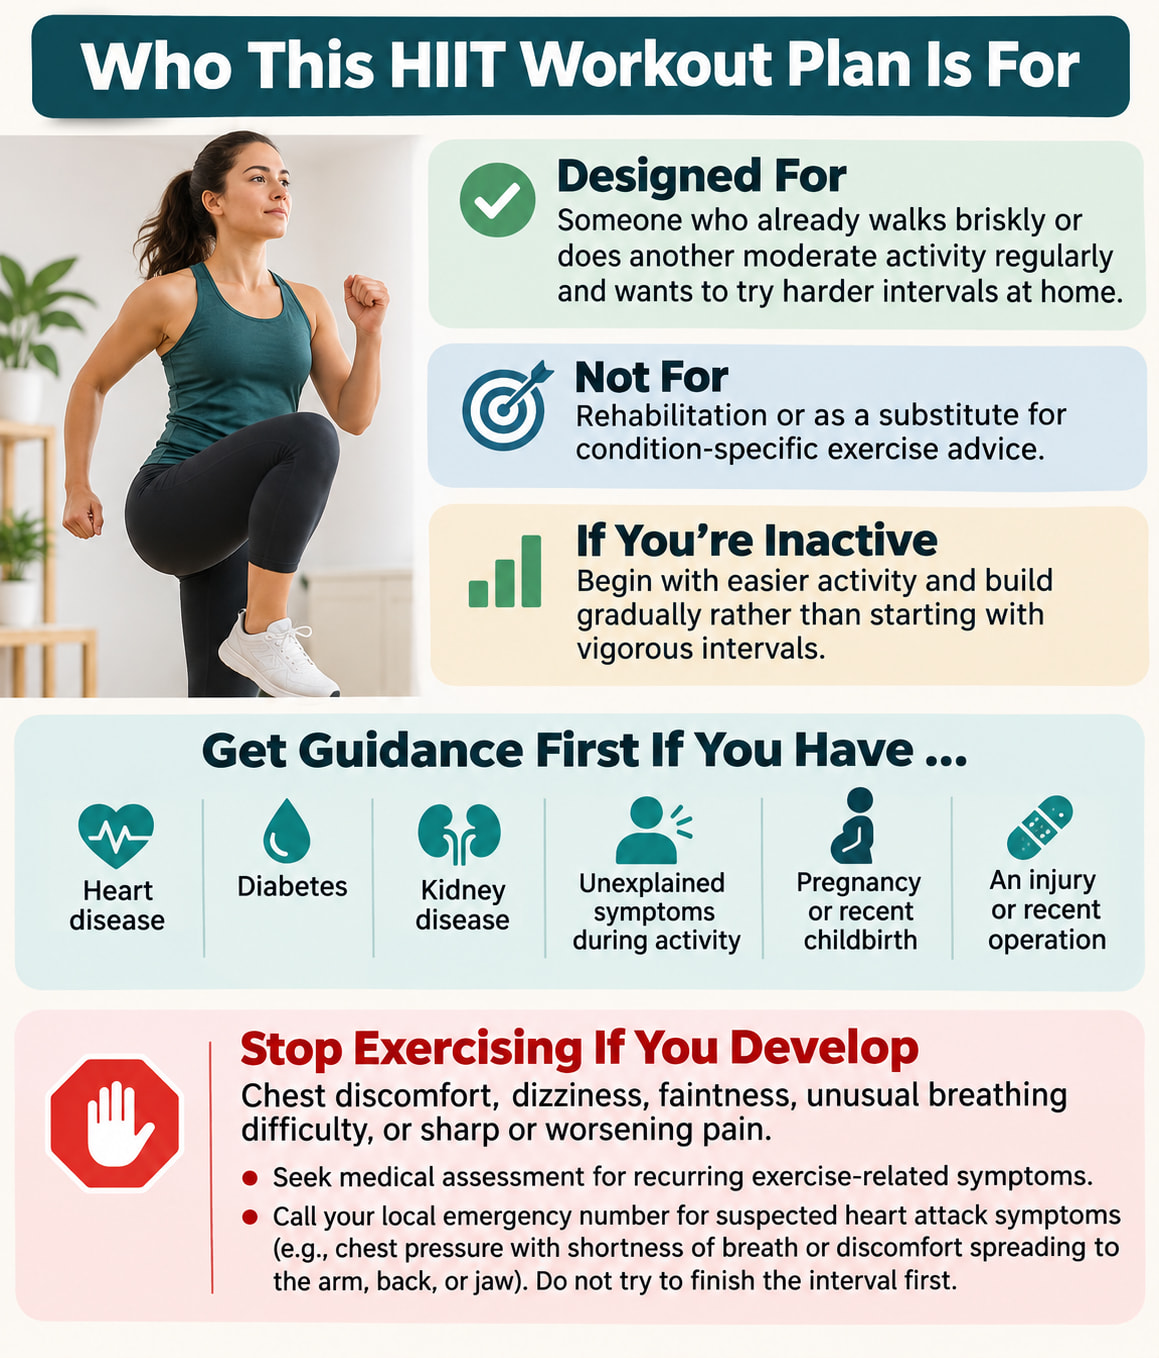
This routine is designed for someone who already walks briskly or does another moderate activity regularly and wants to try harder intervals at home. It is not a rehabilitation program or a substitute for condition-specific exercise advice.
If you have been inactive, begin with easier activity and build gradually rather than starting with vigorous intervals. The American Heart Association’s guidance on starting exercise recommends that inactive adults start slowly and increase exercise as their tolerance allows.
Get guidance before starting vigorous exercise if you have heart disease, diabetes, kidney disease, or unexplained symptoms during activity. These are among the factors considered in Exercise is Medicine’s pre-exercise screening. Pregnancy, recent childbirth, an injury, or a recent operation also calls for advice about suitable exercise rather than assuming this general routine is appropriate.
Stop exercising if you develop chest discomfort, dizziness, faintness, unusual breathing difficulty, or sharp or worsening pain. Seek medical assessment for recurring exercise-related symptoms. Call your local emergency number for suspected heart attack symptoms, such as chest pressure with shortness of breath or discomfort spreading to the arm, back, or jaw. Do not try to finish the interval first. See the Office on Women’s Health’s exercise safety guidance and the American Heart Association’s heart attack warning signs.
How Hard Should Your HIIT Intervals Feel?
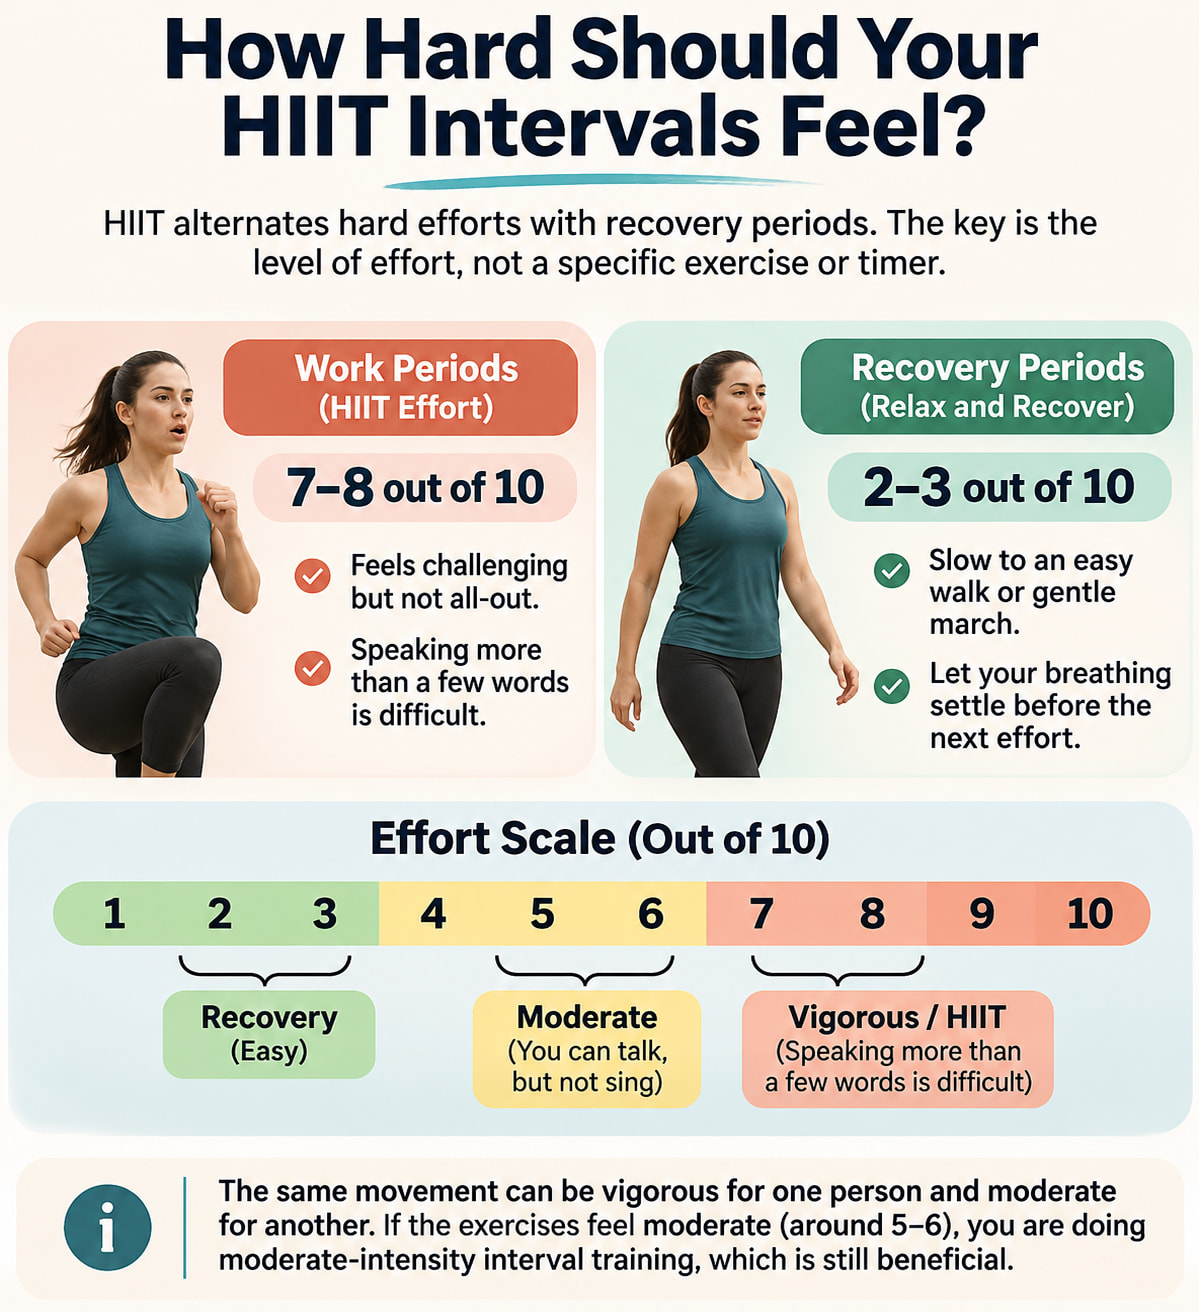
High-intensity interval training, or HIIT, alternates hard efforts with recovery periods. The defining feature is the effort—not whether the workout includes burpees, jumping, or a countdown timer. Research protocols vary considerably in their exercises and interval lengths.
For this plan, aim toward 7–8 out of 10 during the work periods, where 10 means your maximum effort. That should feel challenging, but it is not an instruction to sprint all-out.
The CDC’s exercise-intensity guidance places relative vigorous activity around 7–8 on this scale. Its talk-test guideline is that speaking more than a few words becomes difficult without pausing for breath. Moderate activity feels closer to 5–6, when you can talk but not sing.
During recovery, slow to an easy walk or gentle march. For this sample routine, use roughly 2–3 out of 10 as a recovery target, letting your breathing settle before another effort.
The same movement can be vigorous for one person and moderate for another. If these exercises keep you at a moderate effort, you are doing moderate-intensity interval training rather than HIIT. That still counts as useful activity. Do not rush movements or lose balance just to reach a number.
Your 4-Week HIIT Workout Schedule
Plan two sessions each week, such as Monday and Thursday. Use the same circuit on both days.
Leave at least 48 hours between sessions, and take longer when needed. The American Council on Exercise’s HIIT recovery guidance recommends 48–72 hours of recovery when performing two HIIT workouts per week. Recovery needs still vary between people and workouts.
Every interval below lasts one minute in total. Only the division between work and recovery changes.
| Week | Work per interval | Recovery per interval | Focus for both weekly sessions |
|---|---|---|---|
| 1 | 20 seconds | 40 seconds | Learn the exercises and find a challenging, controlled pace. |
| 2 | 20 seconds | 40 seconds | Repeat the timing while improving control and consistency. |
| 3 | 25 seconds | 35 seconds | Extend the efforts only if the previous timing feels manageable. |
| 4 | 30 seconds | 30 seconds | Practice longer efforts without sacrificing technique or recovery. |
Each session contains ten work intervals. That adds up to 3 minutes 20 seconds of scheduled work in weeks 1 and 2, 4 minutes 10 seconds in week 3, and 5 minutes in week 4. These are planned work durations—not a guarantee that every second reaches vigorous intensity.
When to Advance—and When to Repeat a Week
For this sample plan, advance only when you can complete both sessions with controlled movements, recover adequately between efforts, and arrive at the next workout without fatigue or soreness that changes how you move.
Otherwise, repeat the previous timing or shorten the work periods. Staying with 20 seconds of work and 40 seconds of recovery for all four weeks is an acceptable adjustment.
Do not add faster movement, harder exercise variations, and longer intervals all at once. The planned progression changes interval duration while keeping the exercise menu and weekly frequency the same.
Missed a session? Continue with the next suitably spaced workout rather than doubling up.
How Each 20-Minute Home Session Works
Before starting, clear enough space to step sideways and move your arms without hitting anything. Have a timer nearby and wear footwear that provides secure footing; the Office on Women’s Health recommends supportive shoes for activities such as walking and jogging.
| Session clock | Activity |
|---|---|
| 0:00–5:00 | Gradual warm-up |
| 5:00–15:00 | Ten work-and-recovery intervals |
| 15:00–20:00 | Gradual cooldown |
The American Heart Association recommends approximately 5–10 minutes for warming up and cooling down. This session uses the lower end of that range. If you need longer, shorten the interval block or allow the session to run longer rather than rushing preparation or recovery.
The 5-Minute Warm-Up
Use this sample sequence to move gradually from easy activity toward the exercises in the circuit:
| Time | Movement |
|---|---|
| First 2 minutes | March gently, gradually adding comfortable arm swings. |
| Minute 3 | Take easy side steps and loosen your shoulders. |
| Minute 4 | Alternate a few shallow squats with gentle knee lifts. |
| Minute 5 | Rehearse step jacks and a slightly brisker march without approaching maximum effort. |
Keep the movements comfortable and controlled. Marching, knee lifts, shoulder movements, and shallow knee bends also appear in the NHS’s warm-up guidance, although the sequence above is an original example rather than its prescribed routine.
The 10-Minute Interval Circuit
Set your timer for ten intervals using that week’s work-and-recovery split. Perform the five exercises in order, then repeat them once.
| Minutes within the circuit | Work-period exercise |
|---|---|
| 1 and 6 | Brisk marching in place |
| 2 and 7 | Step jacks |
| 3 and 8 | Bodyweight squats |
| 4 and 9 | Lateral step touches with arm swings |
| 5 and 10 | Alternating standing knee drives |
At the beginning of each minute, perform the listed exercise for your scheduled work time. Use the remaining seconds for easy walking or gentle marching and preparation for the next exercise.
For example, in week 1, the first minute is 20 seconds of brisk marching followed by 40 seconds of easy marching. The second minute is 20 seconds of step jacks followed by 40 seconds of easy movement.
The recovery after the fifth exercise is already included; there is no additional mandatory break between rounds. The final interval also includes its recovery period.
Need more recovery? Let the next work period become easy walking instead. There is no need to catch up on skipped efforts.
The 5-Minute Cooldown
After the final interval, continue walking around the room or marching gently. Gradually shorten your steps and slow your pace over five minutes.
Let your arms relax and breathe freely. Avoid going directly from hard effort to standing completely still; the American Heart Association explains that stopping suddenly can cause lightheadedness as heart rate and blood pressure fall.
How to Do the Five Exercises
Perform each movement for that week’s work interval, twice per session. There is no repetition target: choose a rhythm you can control rather than racing to complete more repetitions.
The easier options below are modifications for this sample routine, not treatments for an injury. If a movement hurts, stop it rather than forcing a smaller version.
1. Brisk Marching in Place
Stand upright with your feet about hip-width apart. Lift one foot and then the other, swinging the opposite arm forward with each step. Keep your elbows comfortably bent and your hands relaxed.
Build a purposeful rhythm without leaning backward or stamping your feet. The NHS’s marching instructions similarly emphasize coordinating bent-arm movements with your steps.
Make it easier: Lift your feet less, reduce your pace, or use smaller arm swings.
For this circuit, aim for a noticeable contrast between your brisk work-period march and your gentle recovery march.
2. Step Jacks
Begin with your feet together or comfortably close and your knees relaxed. Step your right foot out to the side while raising both arms to a comfortable height. Bring that foot back in as you lower your arms.
Repeat to the left and continue alternating. Keep at least one foot on the floor throughout; there is no jump.
Make it easier: Take smaller steps and keep your hands below shoulder height. You can also leave your arms at your sides while learning the foot pattern.
Breathe continuously, and keep the movement smooth rather than throwing your arms overhead.
3. Bodyweight Squats
Stand with your feet slightly wider than hip-width and your toes turned out a little if comfortable. Bend at your hips and knees, moving your hips back and down as though lowering toward a chair.
Keep your feet planted and your knees moving in the same direction as your toes. Lower only as far as you can control, then press through your feet to stand.
Inhale as you lower and exhale as you stand. These cues are consistent with the American Council on Exercise’s bodyweight squat instructions.
Make it easier: Use a shallower squat and take your time.
For this workout, do not speed up your squats simply to make yourself more breathless. Keep the repetition controlled even when other exercises use a quicker rhythm.
4. Lateral Step Touches With Arm Swings
Start with your feet about hip-width apart and your knees slightly bent. Step to the right, then bring your left foot toward your right foot for a light tap. Reverse the direction.
Continue stepping from side to side while swinging your arms naturally or reaching them forward at a comfortable height. Keep your feet from crossing, and avoid turning the movement into a sideways hop.
Make it easier: Reduce the width and speed of your steps, and let your arms stay relaxed.
Keep your breathing steady rather than holding your breath as you change direction.
5. Alternating Standing Knee Drives
Stand tall with your feet about hip-width apart and your hands comfortably in front of your body. Lift your right knee while bringing your hands toward it, then lower the foot and repeat on the left.
You do not need to lift your knee to waist height. Keep the movement within a range that lets you remain upright without leaning backward. The NHS’s knee-lift guidance also emphasizes an upright posture and controlled alternating lifts.
Make it easier: Use a lower knee lift, slow the alternation, or omit the arm movement.
Keep breathing throughout; avoid bracing so hard that you hold your breath.
What to Do Between HIIT Sessions
For this plan, use the days between intervals for comfortable walking, other easy movement, or rest according to how you feel. Do not turn every non-HIIT day into another demanding workout.
If you already strength train or play a sport, consider those sessions when deciding whether you are recovered enough for intervals. Move or skip a HIIT session when necessary rather than treating the calendar as a requirement.
This circuit is also not a complete weekly exercise program. The CDC’s adult activity recommendations call for at least 150 minutes of moderate aerobic activity, 75 minutes of vigorous activity, or an equivalent combination each week, plus muscle-strengthening activity on at least two days covering all major muscle groups.
Two 20-minute sessions do not provide 40 minutes of vigorous activity: warm-up, recovery, and cooldown have different intensities. The circuit also does not comprehensively train every major muscle group.
Work toward a broader activity routine gradually. Additional walking or other aerobic activity and appropriately scaled strength training can complement these sessions; there is no need to add everything at once.
What to Expect After Four Weeks
Home-based HIIT can improve cardiorespiratory fitness—your capacity to sustain exercise using your heart, lungs, and muscles. A 2023 systematic review of 15 studies found improvements compared with no-exercise controls. However, the studies used varied populations and protocols, and the pooled comparisons did not establish that home HIIT was better than moderate continuous training.
Some studies have found improvements within four weeks. In a 2021 randomized trial involving 30 healthy adults aged 18–30, home-based HIIT improved fitness compared with a control group. Participants were screened, received initial technique instruction, and trained three times weekly using one-minute efforts. That differs substantially from this twice-weekly introductory plan, so its results cannot be promised here.
Use your own workout notes to guide what comes next. Record the interval timing you used, how controlled the movements felt, whether you needed extra recovery, and how you felt before the following session.
Compare like with like. Completing the same 20-second intervals with better control is a useful observation; struggling through longer intervals is not automatically progress.
At the end of four weeks, repeat the timing that suits you rather than automatically adding more sessions or harder exercises. The next step is the version you can perform with good control and recover from—not necessarily the hardest row in the table.
This content is for informational purposes only and not medical advice.