
Adductor exercises at home can build stronger inner thighs and better hip stability using simple bodyweight, a pillow, or a resistance band. Training your adductors (inner-thigh muscles) matters because they help control your hips and knees during walking, running, squats, and quick direction changes—and targeted adductor strengthening has been studied in athletes for reducing groin-problem rates (see the adductor strengthening program research in the British Journal of Sports Medicine).
In this guide, you’ll get 8 practical adductor exercises at home, plus a simple weekly plan, form cues, progressions, and safety tips so you can train effectively without a gym.
What are the adductors and why train them at home?
Your adductors are a group of muscles on the inside of your thigh that pull your leg toward your midline and help stabilize the pelvis and femur. Strong adductors can support:
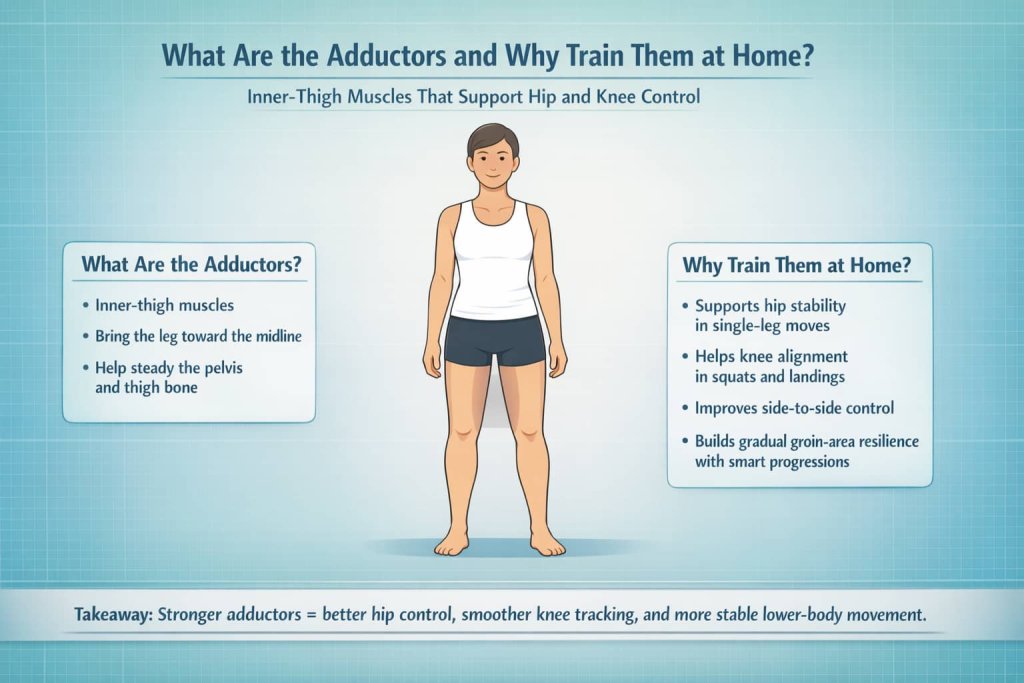
- Hip stability during single-leg movements (stairs, lunges, running)
- Knee alignment (especially when landing, cutting, or squatting)
- Better control through side-to-side motions and lateral lunges
- Gradual resilience for the groin area when training is progressed properly
Quick safety checklist before you start
If you’re doing adductor exercises at home for general strength, keep it simple and pain-aware.
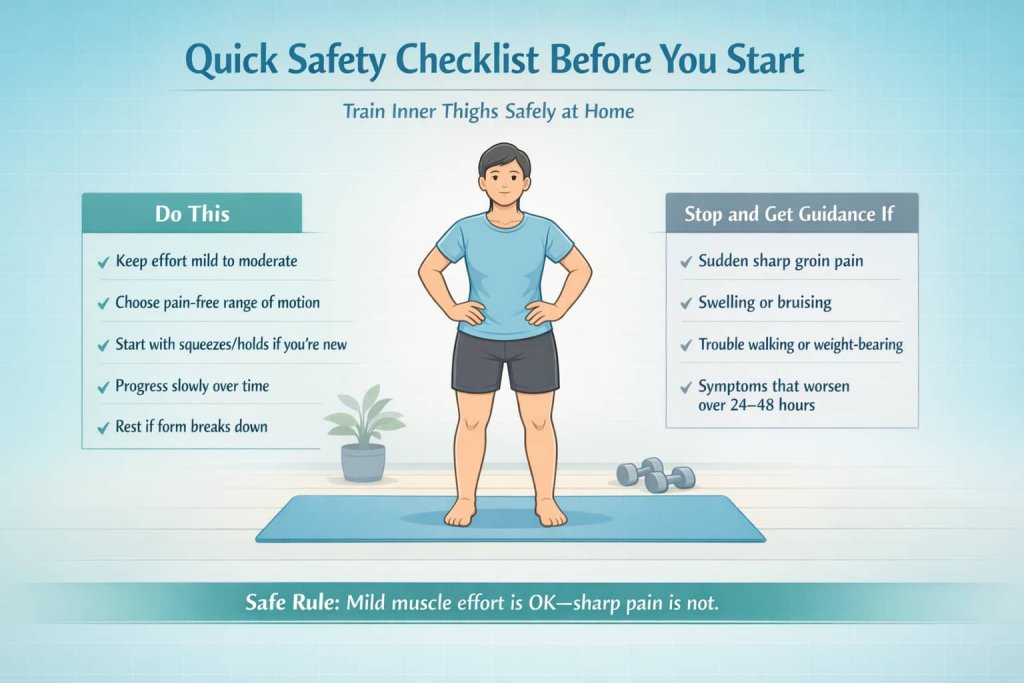
- Aim for a mild-to-moderate effort in the inner thigh, not sharp pain.
- Start with isometrics (squeezes/holds) if you’re new or sensitive.
- Progress range of motion and intensity slowly (especially with harder eccentrics like Copenhagen variations).
- Stop and get guidance if you have sudden sharp groin pain, swelling, bruising, or trouble walking, which can signal a strain or another issue (see symptom guidance from the Cleveland Clinic).
8 best adductor exercises at home
Build stronger inner thighs at home with these 8 adductor exercises designed to improve hip stability and control. Simple equipment, clear form cues, and easy progressions make them beginner-friendly and effective.
1) Pillow or ball adductor squeeze (lying)
How to do it:
- Lie on your back with knees bent and feet flat.
- Place a pillow, yoga block, or soft ball between your knees.
- Gently brace your midsection and keep your pelvis neutral.
- Squeeze the object at 6–8/10 effort for 10–30 seconds.
- Relax fully, then repeat.
Why it works:
This is a low-risk way to train the adductors without big joint movement. It’s great for beginners, warm-ups, and early return to loading because you can control intensity precisely.
Muscles worked:
Adductor group (inner thigh), with light support from core and glutes.
Trainer Tip:
If you feel it mostly in your knees, move the pillow slightly higher up your thighs and focus on “inner thigh pressure,” not knee pressure.
2) Bridge with adductor squeeze
How to do it:
- Set up like a glute bridge: on your back, knees bent, feet hip-width.
- Place a pillow/ball between your knees and apply light-to-moderate squeeze.
- Lift your hips until your body forms a straight line from shoulders to knees.
- Hold 2–3 seconds, lower with control, and repeat.
Why it works:
Combining a bridge with a squeeze trains the adductors isometrically while your glutes extend the hips. This supports pelvic control and helps you keep the hips “level” during lower-body work.
Muscles worked:
Adductors, glute max, hamstrings, deep core stabilizers.
Trainer Tip:
Don’t over-arch your low back at the top. Think “ribs down, hips up.”
3) Side-lying hip adduction (inner-thigh raise)
How to do it:
- Lie on your side with your bottom leg straight.
- Bend the top leg and place the top foot on the floor in front of you.
- Lift the bottom leg up 6–12 inches, pause briefly, and lower slowly.
- Keep toes pointing mostly forward (not turned out).
Why it works:
This directly targets the adductors with clean mechanics and is easy to progress with tempo, pauses, or added resistance later.
Muscles worked:
Adductors (especially adductor longus/brevis), with hip stabilizers assisting.
Trainer Tip:
Slow the lowering phase (2–4 seconds). That controlled eccentric often makes the exercise much more effective.
4) Standing band hip adduction (door anchor or sturdy post)
How to do it:
- Attach a resistance band low to a sturdy anchor.
- Loop the band around the inside ankle of the working leg.
- Stand tall holding a wall or chair for balance.
- Start with the band pulling your leg slightly outward.
- Sweep your leg across your body slowly, then return with control.
Why it works:
This mimics a cable adduction pattern at home and lets you scale resistance without machines.
Muscles worked:
Adductors, with glute med/min and core stabilizers working to keep you upright.
Trainer Tip:
Keep your torso still. If you’re leaning or twisting, lower the band tension and tighten your brace.
5) Lateral lunge (adductor strength in a lengthened position)
How to do it:
- Stand tall with feet hip-width.
- Step out to the side and sit your hips back into that leg.
- Keep the other leg straighter and the foot flat.
- Push the floor away to return to center.
Why it works:
Lateral lunges load the adductors while they’re lengthened, which can support real-world side-to-side strength and hip control.
Muscles worked:
Adductors, glutes, quads, hamstrings, calves (support).
Trainer Tip:
Start with a smaller step and limited depth. Depth should increase only if you can keep your heel down and knee tracking smoothly.
6) Cossack squat (mobility + strength progression)
How to do it:
- Take a wide stance with toes slightly turned out.
- Shift into one side, bending that knee and sitting the hips down.
- Keep the opposite leg straighter; heel stays down if possible.
- Push back to center and alternate sides.
Why it works:
This builds control through a wider hip range and challenges the adductors and hip stabilizers differently than forward-only patterns.
Muscles worked:
Adductors, glutes, quads, deep hip stabilizers.
Trainer Tip:
Use a chair, countertop, or TRX-style support if balance limits you. Control matters more than depth.
7) Slider/towel adductor slide (standing)
How to do it:
- Place one foot on a towel (hard floor) or slider.
- Shift weight onto the planted leg.
- Slowly slide the towel foot out to the side.
- Pull it back in using the inner thigh, staying tall and controlled.
Why it works:
The slide out increases time under tension and challenges adductors to control the leg as it moves away from center, then pull it back.
Muscles worked:
Adductors (strong emphasis), glute med, core stabilizers.
Trainer Tip:
Keep your hips level. If your pelvis “drops” sideways, shorten range and slow down.
8) Copenhagen adduction (short-lever progression)
How to do it:
- Start in a side plank position.
- Place your top knee on a bench/couch seat (short-lever version).
- Lift your bottom leg to meet the underside of the bench/couch (or hover it).
- Hold briefly, then lower with control.
Why it works:
Copenhagen variations are widely used for building strong adductors in sport settings and are often progressed from easier to harder lever lengths, with real-world programming and adherence considerations discussed in BMJ Open Sport & Exercise Medicine.
Muscles worked:
Adductors (high demand), obliques/core, shoulder stabilizers, glute med/min.
Trainer Tip:
If you cramp quickly, reduce hold time and build volume gradually. This one is intense—treat it like a main strength exercise, not a finisher.
How to program adductor exercises at home (simple weekly plan)
Most people do well with adductor training 2 days per week, consistent with general muscle-strengthening recommendations such as those summarized by ACSM.
Beginner (2 days/week)
- Pillow squeeze: 3 x 15–30 sec
- Side-lying hip adduction: 2–3 x 8–12/side
- Lateral lunge (small range): 2 x 6–10/side
Intermediate (2–3 days/week)
- Bridge + squeeze: 3 x 10–15
- Standing band adduction: 3 x 10–15/side
- Slider adductor slide: 2–3 x 6–10/side
- Cossack squat: 2 x 6–10/side
Advanced (2–3 days/week)
- Copenhagen short-lever: 2–4 x 6–10/side (or 10–20 sec holds)
- Slider slide (bigger range): 3 x 8–12/side
- Lateral lunge or Cossack: 3 x 6–12/side
Rest 60–120 seconds between sets for control-based work. For harder strength sets (Copenhagen), rest a bit longer so form stays strict.
Common mistakes that make adductor training less effective
- Going too hard too soon (especially with Copenhagen progressions)
- Rushing reps and losing control on the lowering phase
- Turning toes out excessively and shifting load away from the inner thigh
- Letting the pelvis twist or the torso lean to “cheat” the movement
- Ignoring sharp groin pain signals (stop and reassess if pain increases)
Benefits of Adductor Exercises at Home for Stronger Inner Thighs
Adductor exercises at home help build inner-thigh strength and improve hip control with minimal equipment.
- Builds stronger inner thighs and better strength endurance
- Supports hip stability and pelvic control during daily movement
- Helps knee tracking and lower-body alignment in squats and lunges
- Improves side-to-side control for lateral lunges and athletic movement
- Easy to train consistently at home with bodyweight, a pillow, or a band
What You Need for Adductor Exercises at Home
You can do most adductor exercises at home with simple items.
- Pillow, yoga block, or soft ball (for squeezes)
- Resistance band (for standing hip adduction)
- Slider, towel, or furniture mover (for adductor slides)
- Sturdy chair/wall/countertop (for balance support)
- Couch edge or stable bench substitute (for short-lever Copenhagen work)
How to Know You’re Making Progress
Use these quick checkpoints to track progress without overthinking it.
- Longer squeeze holds (example: 15 seconds → 30 seconds)
- More controlled reps with less shaking (especially on the lowering phase)
- Increased range in lateral lunges without heel lifting or knee collapse
- Copenhagen short-lever feels smoother with fewer cramps
- You can add reps/sets over weeks without sharp groin pain
FAQs
What is the best adductor exercise at home for beginners?
A pillow/ball adductor squeeze and side-lying hip adduction are usually the easiest to learn and control while still targeting the inner thigh effectively.
Do adductor exercises help with inner thigh fat?
Adductor exercises build muscle and strength, but they don’t directly target fat loss in one area. Overall body composition changes depend on total activity, nutrition, sleep, and consistency.
How often should I train adductors at home?
Most people can train adductors 2 times per week and progress well, aligning with general physical activity guidance like the muscle-strengthening recommendations from the CDC.
Are Copenhagen exercises safe for everyone?
They can be effective but are high-intensity for the adductors. Start with the short-lever version, keep volume low, and progress slowly—especially if you’ve had groin discomfort before.
Why do my adductors cramp during these exercises?
Cramping can happen when a muscle is undertrained or fatigued. Reduce intensity, shorten hold times, increase rest, and build volume gradually.
Can adductor exercises support hip and knee stability?
Yes. The adductors help control hip motion and can support lower-body alignment during walking, squatting, and direction changes when trained progressively.
When should I stop and get help for groin pain?
Stop if pain is sharp, worsening, or paired with swelling, bruising, or difficulty walking. General groin strain red flags are outlined by the Cleveland Clinic.
Conclusion
Adductor exercises at home don’t need fancy equipment to work. Start with squeezes and controlled adduction raises, then progress into lateral lunges, sliders, and (if you’re ready) Copenhagen variations. Train 2–3 times per week, focus on control, and build intensity gradually.
References
- Quintana-Cepedal M, Vicente-Rodríguez G, Crespo I, Olmedillas H. (2025). The Copenhagen Adduction Exercise effect on performance and injury prevention: systematic review with meta-analysis (open-access full text). PubMed Central
- Weir A, Brukner P, Delahunt E, et al. (2015). Doha agreement meeting on terminology and definitions in groin pain in athletes. British Journal of Sports Medicine
- Thorborg K, Serner A, Weir A, et al. (2018). Clinical examination, diagnostic imaging, and testing of athletes with groin pain. Journal of Orthopaedic & Sports Physical Therapy
- Thorborg K, et al. (2023). Exercise and load management of adductor strains/ruptures and long-standing adductor-related groin pain (clinical concepts; open-access full text). PubMed Central
- Physical activity guidelines summary including strength training frequency. American College of Sports Medicine