
Floor exercises for seniors are a safe, low-impact way to build strength, improve mobility, and practice getting up and down with control—key skills for staying independent.

Because many movements happen closer to the ground, you can train core and hip stability without heavy joint stress, as long as you use smart set-ups and progress gradually.
What Are Floor Exercises for Seniors?
Floor exercises for seniors are low-impact movements performed on the floor or a mat that focus on strength, mobility, balance, and controlled movement. These exercises are typically done lying down, side-lying, seated on the floor, or on hands and knees, which helps reduce joint stress while improving muscle coordination.
For older adults, floor exercises often emphasize:
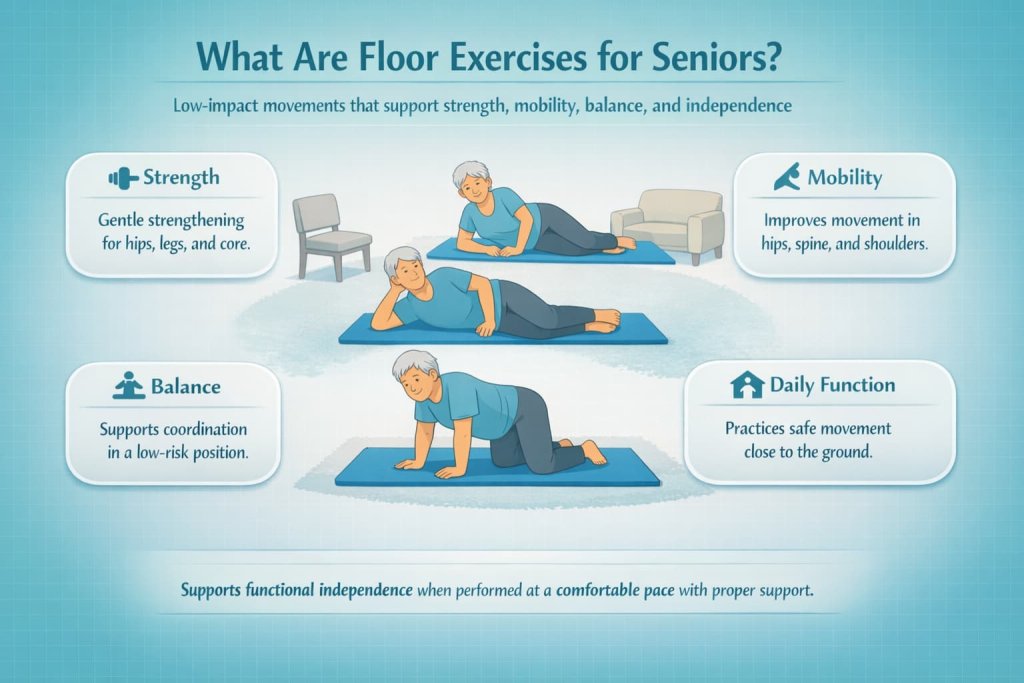
- Gentle strengthening of the hips, legs, and core
- Improved mobility in the hips, spine, and shoulders
- Balance and coordination in a controlled, low-risk position
- Practicing safe transitions, such as getting up and down from the floor
Because many daily tasks require controlled movement close to the ground, floor exercises can support functional independence when performed at an appropriate pace with proper support nearby.
Quick safety check before you start
If any of the following apply, get medical clearance or guidance from a clinician or physical therapist first:
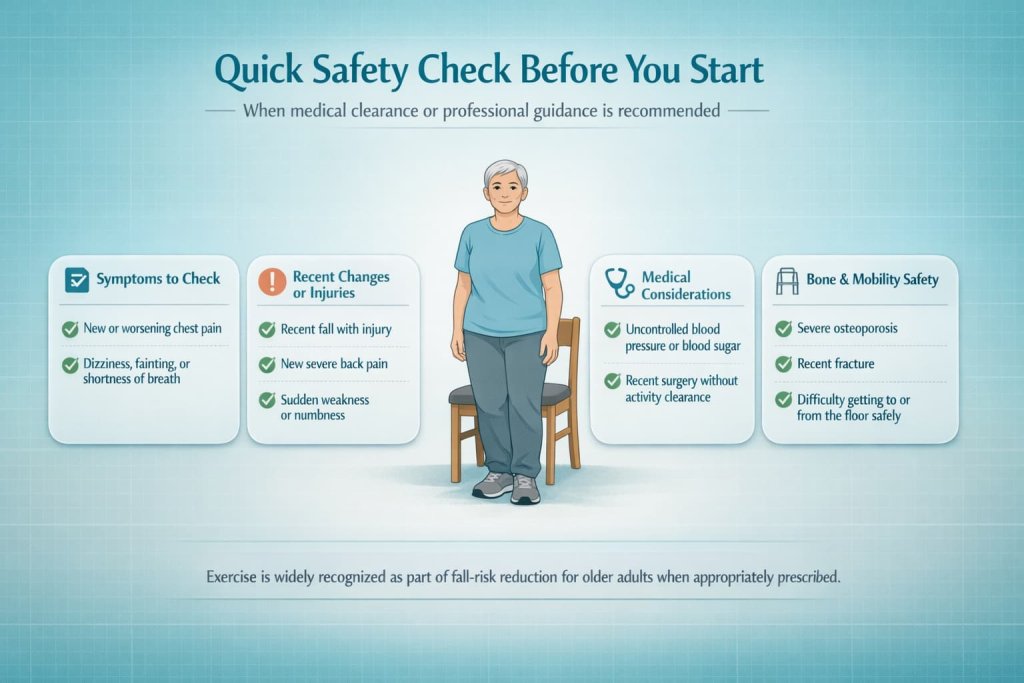
- New or worsening chest pain, dizziness, fainting, or shortness of breath at rest or with light activity
- Recent fall with injury, new severe back pain, or sudden weakness or numbness
- Uncontrolled blood pressure or blood sugar, or a recent surgery without activity clearance
- Severe osteoporosis, recent fracture, or conditions where getting to or from the floor is not currently safe
Exercise is also widely recognized as part of fall-risk reduction. The U.S. Preventive Services Task Force recommends structured exercise interventions for community-dwelling adults aged 65 and older who are at increased risk of falls.
9 best floor exercises for seniors
Use this list as a full routine or rotate exercises across the week. Focus on controlled movement and steady breathing.
1) Glute bridge
Why it works:
The glute bridge strengthens the primary hip extensor muscles that help you stand up from a chair, climb stairs, and maintain upright posture while walking. It also encourages gentle core engagement without loading the spine.
Muscles worked:
Glutes, hamstrings, deep core stabilizers.
How to do it:
- Lie on your back with knees bent and feet flat on the floor, hip-width apart
- Place arms by your sides with palms facing down
- Exhale gently and brace your core as if tightening a belt
- Press through your heels and lift your hips until shoulders, hips, and knees form a straight line
- Hold the top position for 1–2 seconds
- Lower your hips slowly back to the floor
- Perform 8–12 controlled repetitions
Trainer Tip:
If you feel the exercise mostly in your hamstrings, bring your feet slightly closer to your hips and focus on squeezing your glutes before lifting.
2) Bridge march
Why it works:
Bridge marching challenges single-leg stability while keeping you close to the floor, helping improve balance control and pelvic stability without standing.
Muscles worked:
Glutes, deep core, hip stabilizers.
How to do it:
- Begin in a stable glute bridge position
- Keep hips level and core gently braced
- Slowly lift one foot a few inches off the floor
- Lower it back down with control
- Alternate sides
- Perform 6–10 total repetitions
Trainer Tip:
If your hips shift or drop, shorten the lift or return to regular glute bridges until control improves.
3) Dead bug
Why it works:
Dead bugs train the core to stabilize the spine while the arms and legs move, which supports safer bending, reaching, and walking patterns in daily life.
Muscles worked:
Deep core, hip flexors, shoulder stabilizers.
How to do it:
- Lie on your back with arms raised toward the ceiling
- Bend knees comfortably with feet on the floor or lifted if tolerated
- Exhale gently and brace the core without flattening the back forcefully
- Slowly lower one heel toward the floor
- Return to the starting position
- Alternate sides
- Perform 6–10 repetitions per side
Trainer Tip:
If your lower back arches or tension builds, reduce the movement range or keep both feet on the floor.
4) Side-lying clamshell
Why it works:
Clamshells strengthen the side hip muscles that help control knee alignment and maintain balance during walking and standing tasks.
Muscles worked:
Glute medius, deep hip rotators.
How to do it:
- Lie on your side with knees bent and feet together
- Stack hips directly on top of each other
- Keep your pelvis still
- Slowly open the top knee while feet stay together
- Lower with control
- Perform 10–15 repetitions per side
Trainer Tip:
Stop the movement before your hips roll backward—small, controlled motion is more effective.
5) Side-lying hip abduction
Why it works:
This exercise builds hip strength needed for side-to-side movement and walking stability, which supports confidence during daily activities.
Muscles worked:
Glute medius.
How to do it:
- Lie on your side with the bottom knee bent
- Keep the top leg straight and slightly behind your body
- Lift the top leg upward at a comfortable height
- Lower slowly with control
- Perform 8–12 repetitions per side
Trainer Tip:
Point your toes forward rather than upward to keep the work in the hip muscles instead of the hip flexors.
6) Heel slides
Why it works:
Heel slides gently train the core to stay engaged while the hips move, helping improve coordination and mobility with minimal strain.
Muscles worked:
Deep core, hip flexors.
How to do it:
- Lie on your back with knees bent and feet flat
- Exhale gently and brace your core
- Slowly slide one heel forward along the floor
- Stop before losing control or comfort
- Slide the heel back to the start
- Alternate sides
- Perform 8–12 repetitions per side
Trainer Tip:
Move slowly and smoothly—this exercise should feel controlled, not rushed.
7) Bird dog
Why it works:
Bird dogs improve coordination, balance, and spinal stability by teaching the body to stay steady while the limbs move.
Muscles worked:
Core, glutes, spinal stabilizers, shoulders.
How to do it:
- Start on hands and knees with spine neutral
- Brace the core gently
- Extend one leg straight behind you
- If stable, extend the opposite arm forward
- Hold briefly, then return
- Switch sides
- Perform 6–10 repetitions per side
Trainer Tip:
If wrists feel uncomfortable, place hands on a low step, folded towel, or perform the movement on fists.
8) Kneeling forearm core press
Why it works:
This movement strengthens the front core muscles without the shoulder and balance demands of a full plank.
Muscles worked:
Core, shoulders.
How to do it:
- Kneel on a mat with forearms on the floor or a couch
- Keep ribs down and spine neutral
- Shift hips slightly forward to engage the core
- Hold the position for 10–20 seconds
- Breathe calmly throughout
- Repeat 2–4 times
Trainer Tip:
Using a couch or bench reduces shoulder strain and makes the exercise more accessible.
9) Supine chest opener
Why it works:
This gentle position encourages upper-back mobility and chest opening, supporting posture comfort—especially for those who sit frequently.
Muscles worked:
Thoracic spine mobility muscles, chest and shoulder flexibility.
How to do it:
- Place a rolled towel lengthwise under the upper back
- Lie on your back with knees bent
- Rest arms comfortably out to the sides
- Breathe slowly and deeply
- Hold for 30–60 seconds
Trainer Tip:
Keep the neck relaxed and let gravity do the work—avoid forcing the stretch.
How often should seniors do floor exercises
A practical starting point:
- Strength-focused floor exercises 2–3 days per week
- Gentle mobility most days
- Regular balance work
Global activity guidance from the World Health Organization supports combining strength, balance, and moderate physical activity for healthy aging.
How to set up your space for floor exercises
A good set-up makes floor training safer and more comfortable.
- Use a thick exercise mat or folded blanket
- Keep a sturdy chair or couch within reach for support
- Wear grippy socks or go barefoot if safe for you
- Move slowly during transitions between standing and the floor
- If floor transitions are difficult, start with bed-based or seated versions
Progressions and regressions
Regression options:
- Reduce range of motion
- Slow the tempo
- Use external support
Progression options:
- Add pauses
- Increase sets before resistance
- Add light bands only with stable form
Programming principles for older adults are summarized in a resistance-training position statement by the National Strength and Conditioning Association.
Common mistakes
- Rushing transitions
- Holding breath
- Arching the lower back
- Pushing into pain
- Skipping balance and leg strength
Who Should Be Careful With Floor Exercises?
While floor exercises can be beneficial for many seniors, extra caution or professional guidance may be appropriate in certain situations.
You should be careful or seek guidance before starting floor exercises if you have:
- A history of recent falls or difficulty with balance
- Severe osteoporosis or a recent fracture
- New or worsening back, hip, or knee pain
- Dizziness, vertigo, or conditions affecting blood pressure regulation
- Recent surgery or joint replacement without clearance for floor-based activity
In these cases, a healthcare professional or qualified exercise specialist can help determine whether floor exercises are appropriate and which modifications are safest. Starting with seated or bed-based exercises may be a better first step for some individuals.
FAQs
Are floor exercises safe for seniors?
For many older adults, yes—especially with proper support and gradual progression.
How long should a floor workout be?
Even 10–20 minutes can be effective when done consistently.
What if I can’t get down to the floor safely?
Start with seated or bed-based exercises and progress gradually.
How many days per week should seniors strength train?
At least two days per week is commonly recommended.
Do floor exercises help with balance?
Yes, by improving hip and core stability and movement control.
Should seniors stretch before or after floor exercises?
Light warm-up first; longer stretching after muscles are warm.
Can seniors do planks?
Many benefit from modified or elevated versions instead of full planks.
Conclusion
Floor exercises for seniors can be an effective way to support strength, mobility, balance, and everyday independence—without needing a gym. Start small, move with control, and build gradually.
References
- Centers for Disease Control and Prevention (CDC): Older Adult Physical Activity Guidelines
- JAMA: USPSTF Recommendation Statement—Interventions to Prevent Falls in Older Adults (2024)
- National Strength and Conditioning Association (NSCA): Resistance Training for Older Adults—Position Statement (PDF)
- PubMed: Resistance Training for Older Adults—NSCA Position Statement (Fragala et al., 2019)
- National Institute on Aging (NIA/NIH): Exercise and Physical Activity
- National Institute on Aging (NIA/NIH): Three Types of Exercise for Older Adults
- World Health Organization (WHO): Physical Activity Fact Sheet and Recommendations