
Standing yoga poses use one or both feet as a foundation to practice balance, engage your legs and core, and work on flexibility. Mountain, Chair, Warrior II, and supported Tree are useful starting options, while poses such as Warrior III and Half Moon add a greater balance challenge.
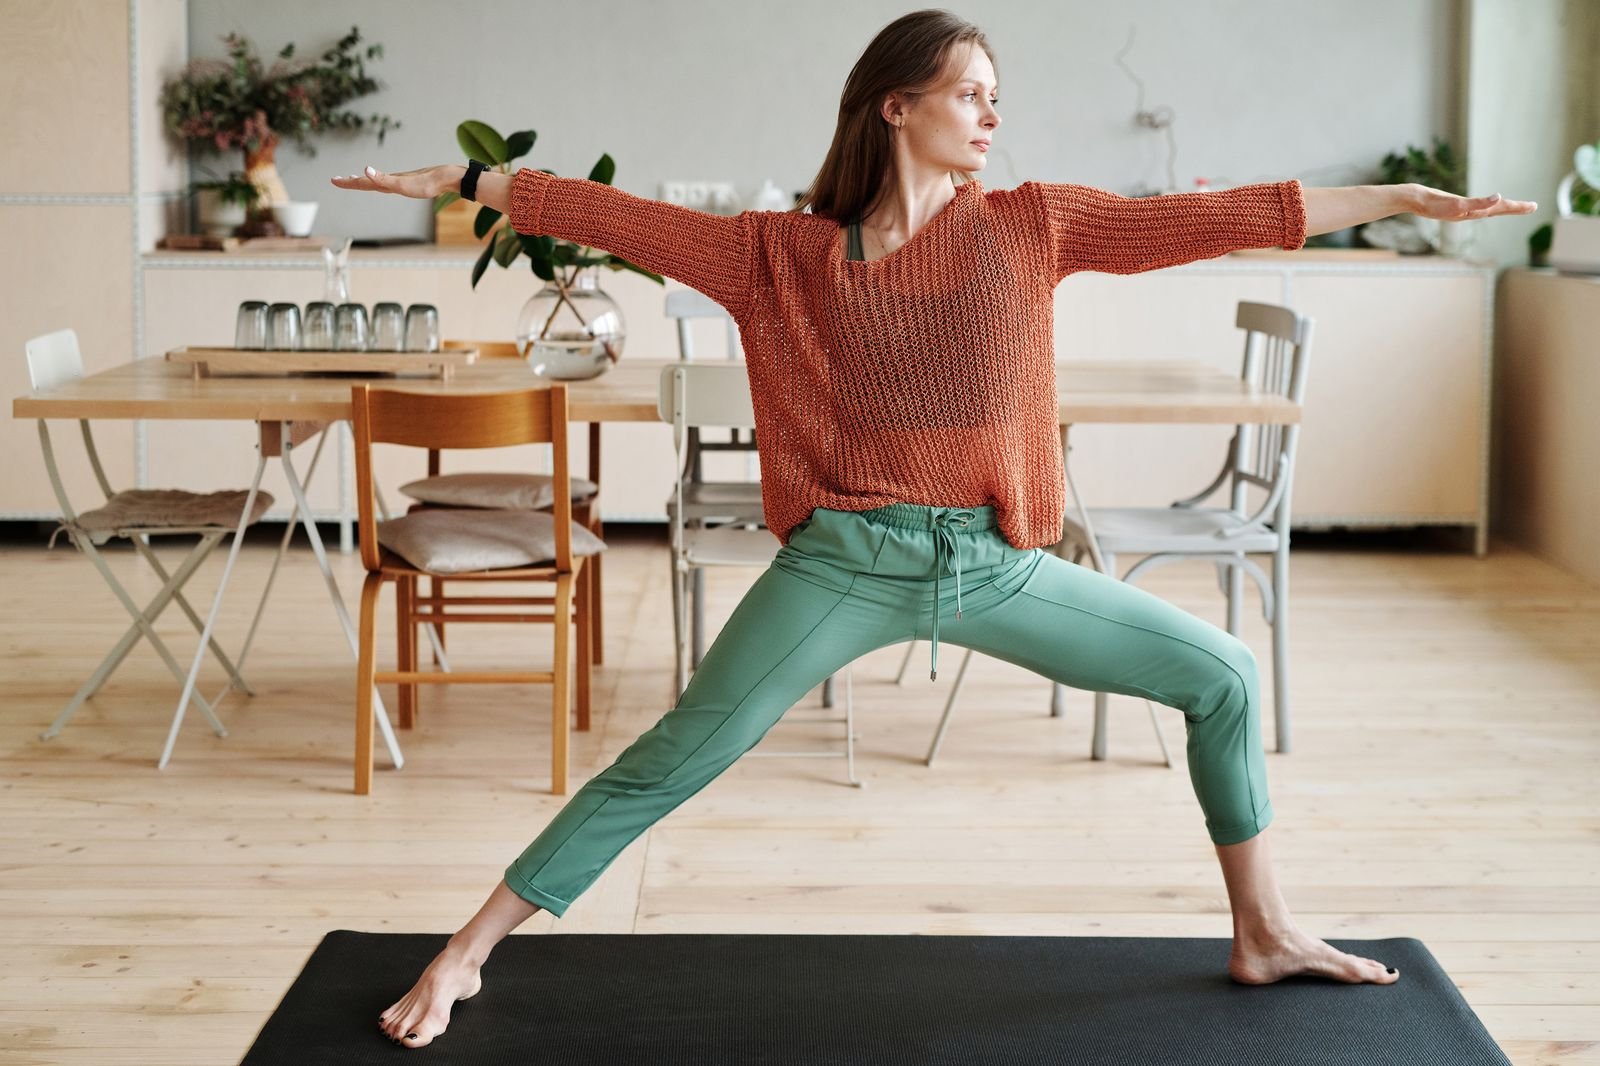
You do not need to touch your toes, lift your leg high, or hold a deep position to begin. A smaller range of motion and support from a wall, chair, or blocks can make the practice more manageable.
What Are Standing Yoga Poses?
Standing yoga poses are postures in which one or both feet support your body. They include upright positions, lunges, forward bends, and single-leg balances. Some also use a hand on the floor or a prop.
Benefits of Standing Yoga Poses
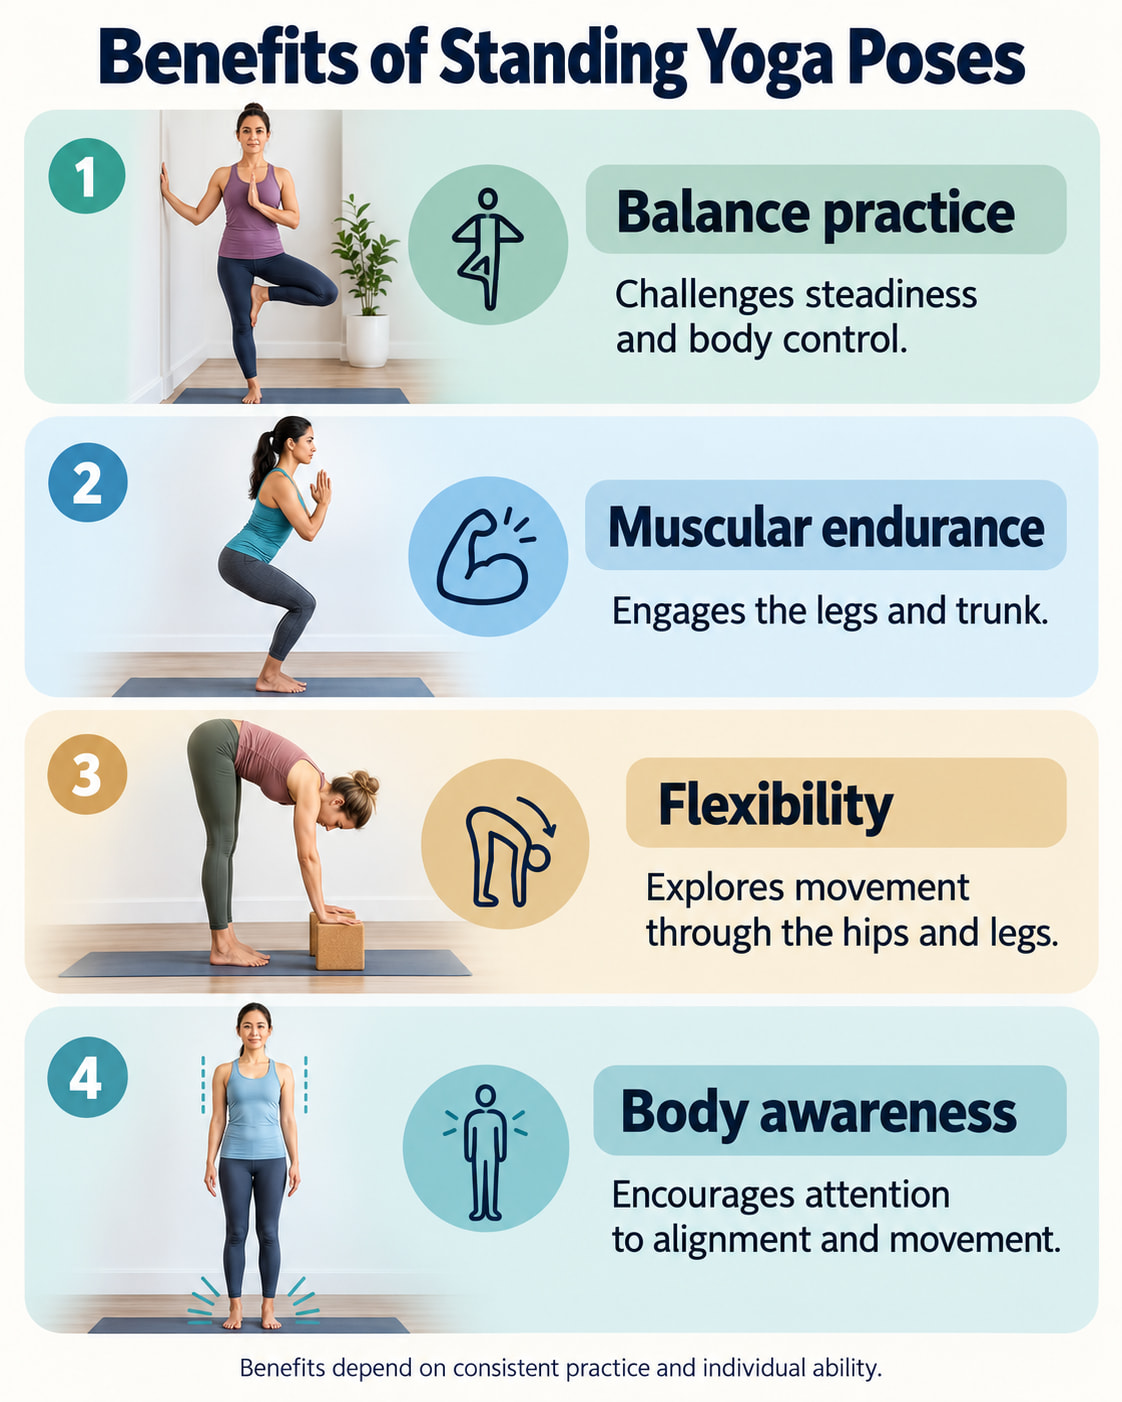
Standing poses can contribute to several parts of physical fitness:
- Balance practice: Shifting your weight or standing on one leg challenges your ability to remain steady.
- Muscular endurance: Holding Chair or a Warrior pose asks your legs and trunk to maintain effort.
- Flexibility: Forward bends and wider stances explore movement through the hips and legs.
- Body awareness: Paying attention to foot pressure, knee position, and breathing can help you notice how you move.
A randomized trial of 118 adults, published in 2016, compared eight weeks of Hatha yoga with stretching and strengthening exercises. Participants were sedentary and averaged about 62 years old. Both groups improved measures of balance, strength, flexibility, and mobility.
Participants attended one-hour sessions three times a week. Those findings support regular yoga practice, but they do not establish how much benefit to expect from a short sequence or an individual pose.
What You Need Before You Start
Choose a clear space with a stable, nonslip surface. Useful equipment includes:
- A yoga mat that lies flat.
- A sturdy chair without wheels, secured against sliding.
- One or two yoga blocks.
- A nearby wall for balance support.
Spend a few minutes walking gently and moving your shoulders, ankles, hips, and knees through comfortable ranges before attempting deeper positions.
For an initial practice, try 3–5 comfortable breaths per pose, or less if needed. This is a practical starting example, not a required hold time. Breathe naturally and come out before your position becomes difficult to control.
Practice both sides when a pose uses one leg differently from the other. Return to Mountain Pose and pause between positions whenever needed.
15 Standing Yoga Poses: Steps, Benefits, and Variations
1. Mountain Pose — Tadasana
How to do it:
- Stand with your feet together or about hip-width apart.
- Spread your toes comfortably and distribute your weight across both feet.
- Keep your knees relaxed, with your pelvis and rib cage comfortably aligned.
- Let your arms rest by your sides and look straight ahead.
- Take a few easy breaths, then relax.
Benefits: Practices awareness of posture, foot pressure, and balance.
Variation: Stand with your back near a wall for feedback and support. Your entire back does not need to touch it.
Form tip: Stand tall without forcing your shoulders backward or tucking your pelvis tightly underneath you.
2. Upward Salute — Urdhva Hastasana
Upward Salute adds an overhead reach to Mountain Pose.
How to do it:
- Begin in Mountain with a comfortable stance.
- Inhale and raise your arms forward or out to the sides, then overhead.
- Keep your palms facing each other and your elbows comfortably extended.
- Reach upward without pushing your lower ribs forward.
- Lower your arms slowly to return to Mountain.
Benefits: Practices shoulder movement and length through the sides of your torso.
Variation: Raise your arms into a wider V, keep them slightly forward, or stop below overhead height.
Form tip: Let your shoulder blades move naturally as your arms rise. Avoid creating the reach by arching your lower back.
3. Chair Pose — Utkatasana
How to do it:
- Stand with your feet about hip-width apart.
- Bend your hips and knees as though beginning to sit in a chair.
- Keep your feet grounded and your knees pointing in the same general direction as your toes.
- Reach your arms forward or overhead, or bring your hands to your chest.
- Hold briefly, then press through your feet and stand smoothly.
Benefits: Engages the thighs, hips, and trunk while building tolerance for sustained effort.
Variation: Use a shallow knee bend and keep your hands at your hips.
Form tip: Your thighs do not need to become parallel to the floor. Choose a depth that feels controlled and comfortable.
4. Standing Forward Bend — Uttanasana
How to do it:
- Stand with your feet about hip-width apart.
- Bend your knees slightly and place your hands at your hips.
- Fold forward from your hip joints, keeping your torso long as you lower.
- Rest your hands on blocks or a stable chair. Keep your knees bent as needed.
- To rise, use your support or place your hands on your hips, then lift your torso slowly.
Benefits: Stretches the hamstrings and practices a controlled hip hinge.
Variation: Keep the fold shallow with your hands on the back of a chair.
Form tip: Reaching the floor is optional. Avoid pulling on your legs to force a deeper stretch. Review the precautions below if you have osteoporosis or glaucoma.
5. Wide-Legged Standing Forward Bend — Prasarita Padottanasana
How to do it:
- Face the long side of your mat and step your feet comfortably apart.
- Keep your feet roughly parallel and your hands on your hips.
- Bend your knees slightly and hinge forward.
- Place your hands on a chair or blocks while keeping your weight balanced through your feet.
- Return your hands to your hips or use the chair, then rise slowly and step your feet together.
Benefits: Stretches the hamstrings, calves, and inner thighs.
Variation: Use a narrower stance and a higher hand support.
Form tip: A very wide stance is not necessary. Stop lowering when you can no longer maintain a controlled position.
6. High Lunge — Crescent Lunge
High Lunge combines a split stance with a lifted back heel.
How to do it:
- Stand facing forward, with a sturdy chair in front if needed.
- Step your left foot back, keeping the left heel lifted.
- Bend your right knee and keep some space between your feet from side to side.
- Keep your torso upright and your hands on your hips or the chair. Raise your arms only if steady.
- Lower your arms, use support if needed, and step forward carefully. Switch sides.
Benefits: Engages the legs and trunk while stretching the front of the trailing hip.
Variation: Shorten the stance and keep a small bend in the back knee.
Form tip: Keep your feet on two separate tracks rather than directly in one line.
7. Warrior I — Virabhadrasana I
Warrior I resembles a lunge, but the back heel remains grounded.
How to do it:
- From standing, step your left foot back.
- Turn the left toes outward at a comfortable angle and place the heel down.
- Bend your right knee, keeping it aligned with the direction of your right foot.
- Turn your torso toward the front as comfortably as possible.
- Keep your hands on your hips or reach upward. To exit, lower your arms, straighten the front knee, and step forward carefully. Repeat on the other side.
Benefits: Challenges the front leg and trunk while stretching the trailing leg and hip.
Variation: Shorten the stance, widen it slightly, or hold a chair.
Form tip: Do not force your hips perfectly square. If the back-foot position feels uncomfortable, use supported High Lunge instead.
8. Warrior II — Virabhadrasana II
Warrior II uses a wide stance with the torso facing the long side of the mat.
How to do it:
- Step your feet apart and extend your arms out to the sides.
- Turn your right foot toward the short end of the mat and angle your left toes slightly inward.
- Bend your right knee in the direction of your right foot.
- Keep your torso upright over your pelvis and look toward your right hand.
- Straighten the right knee, return the feet toward parallel, and repeat on the other side.
Benefits: Challenges leg endurance, trunk control, and the effort needed to hold your arms out.
Variation: Use a shallower knee bend and place your hands on your hips.
Form tip: A 90-degree knee bend is optional. Avoid letting the front knee collapse inward.
9. Reverse Warrior
Reverse Warrior adds a side stretch to the Warrior II stance.
How to do it:
- Begin in Warrior II with your right knee bent.
- Turn your right palm upward and reach that arm toward the ceiling.
- Let your left hand rest lightly on your left thigh.
- Lengthen the right side of your torso while maintaining the bend in your front knee.
- Return to Warrior II, straighten your front leg, and switch sides.
Benefits: Stretches the side of the torso while maintaining leg engagement.
Variation: Shorten your stance and make the reach smaller.
Form tip: Avoid pressing your lower hand into the knee or forcing a deep backbend. Keep your gaze forward if looking upward feels uncomfortable.
10. Extended Side Angle — Utthita Parsvakonasana
Extended Side Angle combines a bent front knee with a long reach through the upper side of the body.
How to do it:
- Begin in Warrior II with your right knee bent.
- Lean toward your right thigh and rest your right forearm on it, above the knee.
- Keep your chest open toward the side of the mat.
- Reach your left arm overhead if comfortable, or keep that hand on your hip.
- Press through your feet to return upright. Straighten the front leg and repeat on the other side.
Benefits: Engages the legs and trunk while stretching the upper side of the torso.
Variation: Keep your torso higher and your upper hand on your hip.
Form tip: Avoid sinking into the supporting shoulder. Looking upward is optional.
11. Extended Triangle — Utthita Trikonasana
Triangle uses a wide stance with the front leg comfortably extended.
How to do it:
- Take a wide stance and turn your right foot toward the short end of the mat.
- Keep a small bend in the right knee if needed.
- Extend your arms and reach your torso over the right leg from the hip.
- Lower your right hand to your shin, a block, or a chair. Open your chest sideways and reach your left arm upward.
- Press through both feet to rise, then change sides.
Benefits: Stretches the hamstrings and torso while engaging the legs and core.
Variation: Use a high block or chair and keep your upper hand on your hip.
Form tip: Avoid resting your lower hand directly on the knee or rounding your torso to reach farther.
12. Tree Pose — Vrksasana
Tree introduces a single-leg balance that can be adjusted by changing foot placement.
How to do it:
- Stand beside a wall or sturdy chair.
- Shift your weight into your left foot.
- Place your right sole against your inner left calf or thigh, away from the knee.
- Keep your pelvis facing forward and look at a steady point.
- Hold briefly, lower the foot with control, and repeat on the other side.
Benefits: Challenges balance and control through the supporting leg, ankle, and trunk.
Variation: Keep your right toes on the floor with your heel beside the left ankle.
Form tip: Do not force the lifted knee far outward. Use as much hand support as you need.
13. Eagle Pose — Garudasana
Eagle combines a crossed-leg position with an optional arm wrap.
How to do it:
- Stand with your knees slightly bent.
- Shift weight into your left foot and cross your right thigh over your left.
- Keep your right toes on the floor initially.
- Cross your arms into a comfortable self-hug. If comfortable, cross the elbows in front and bring the backs of your hands or palms toward each other.
- Uncross slowly, stand upright, and change sides.
Benefits: Challenges balance and leg endurance while stretching the upper back and shoulders.
Variation: Keep the toes-down position and self-hug throughout.
Form tip: Wrapping the foot behind the calf and pressing the palms together are optional. Stop if either knee feels strained.
14. Warrior III — Virabhadrasana III
Warrior III adds a forward hinge to a single-leg balance. Begin with support.
How to do it:
- Face a sturdy chair or wall and place both hands on it.
- Shift your weight into your right foot.
- Hinge forward while extending your left leg behind you.
- Keep your pelvis level and facing the floor, with a slight bend in your standing knee if needed.
- Lower the left foot before releasing support. Repeat on the other side.
Benefits: Challenges balance, supporting-leg effort, and control of the hips and trunk.
Variation: Keep your torso higher and lift the back leg only a little.
Form tip: Neither your torso nor your raised leg needs to become horizontal. Avoid opening the lifted-side hip upward.
15. Half Moon Pose — Ardha Chandrasana
Half Moon is a more demanding balance in which the chest and pelvis open sideways.
How to do it:
- Begin in a supported Triangle position with your right foot forward.
- Bend your right knee and place your right hand on a stable block or chair ahead of the foot, beneath your shoulder.
- Shift into your right foot and lift your left leg behind you.
- Gradually open your chest and pelvis toward the side. Keep your left hand on your hip and your gaze down.
- Bend the standing knee slightly, lower the lifted foot, and return upright using support. Repeat on the other side.
Benefits: Challenges single-leg balance and hip and trunk control.
Variation: Use a chair for the lower hand or forearm and keep the lifted leg low.
Form tip: Avoid locking the standing knee backward. Skip this pose if the supported version still feels unstable.
A Simple Standing Yoga Sequence for Beginners
You do not need to practice every pose at once. Start with this shorter sequence and keep your chair or wall within reach.
| Order | Pose | Starting approach |
|---|---|---|
| 1 | Mountain | Take several easy breaths and settle your stance. |
| 2 | Upward Salute | Raise and lower the arms slowly two or three times. |
| 3 | Chair | Use a shallow bend for 2–3 comfortable breaths. |
| 4 | Supported High Lunge | Hold for 2–3 breaths on each side. |
| 5 | Warrior II | Use a comfortable knee bend for 2–3 breaths per side. |
| 6 | Supported Tree | Keep the toes down if needed; try 1–3 breaths per side. |
| 7 | Mountain | Pause until your breathing feels comfortable. |
These holds are examples, not targets to push through. Rest between poses and stop before fatigue makes your balance difficult to control.
As the sequence becomes familiar, change one element at a time: a slightly longer hold, a different pose, or less hand support. Increasing difficulty is optional.
Common Mistakes to Avoid
- Chasing the deepest position: Use a range you can control without pain.
- Rushing between poses: Move your feet deliberately, especially when changing direction.
- Holding your breath: Reduce the effort if you cannot breathe comfortably.
- Using an unstable support: A rolling or sliding chair can make balancing more difficult.
- Copying someone else’s alignment exactly: Stance width, knee depth, and arm position can vary.
- Continuing after balance deteriorates: Lower the lifted foot, reset, and choose a supported version.
Who May Need to Modify Standing Yoga Poses?
According to NCCIH safety guidance, people with existing injuries, balance problems, certain medical conditions, or pregnancy may need to modify their yoga practice.
Seek individualized guidance if you have a recent injury or surgery, significant knee or hip problems, a spinal condition, severe high blood pressure, or difficulty standing safely. A qualified instructor can help with technique; a healthcare professional can advise on medical restrictions.
During pregnancy, use guidance appropriate to your stage of pregnancy and circumstances rather than assuming every standing pose is suitable.
Osteoporosis or Previous Spinal Fractures
Some forward-bending positions may be unsuitable. The Bone Health & Osteoporosis Foundation warns that certain forward-bending exercises can increase spinal fracture risk in people with osteoporosis.
Ask a physical therapist or other qualified clinician about suitable variations before attempting deep folds. Adding blocks does not automatically make every position appropriate.
Glaucoma or Other Eye Conditions
Standing Forward Bend can place your head below your heart. A small study of yoga and eye pressure found temporary pressure increases during several poses, including this one.
If you have glaucoma, ask your eye-care clinician which head-down positions to avoid or modify. The study measured pressure changes, not proof that a brief pose causes disease progression.
Pain, Dizziness, or Feeling Unwell
Stop if a pose causes pain, dizziness, or a feeling of being unwell. Return to a stable position and rest. Seek medical advice if symptoms persist, recur, or concern you.
Frequently Asked Questions
Which Standing Yoga Poses Are Easiest for Beginners?
Mountain, Upward Salute, shallow Chair, and supported Tree are useful starting options. Choose the version that lets you breathe comfortably and remain steady. High Lunge can also be practiced with a shorter stance and chair support.
How Long Should You Hold Standing Yoga Poses?
Start with a few comfortable breaths. Around 3–5 breaths is a practical example, but a challenging balance may need a shorter hold. Come out before pain, breath-holding, or loss of control develops.
Can You Practice Standing Yoga Every Day?
Brief, gentle practice may fit your daily routine if it feels comfortable. More demanding holds can leave your muscles tired, so adjust the intensity and take recovery days when needed. Persistent pain is a reason to stop and seek guidance.
Can You Do Standing Yoga Without Getting Down on the Floor?
Yes. You can enter and exit the poses in this guide from standing. Use a chair or blocks where reaching toward the floor is uncomfortable. Forward bends still involve lowering the torso, so choose an upright alternative if that is unsuitable.
Can You Use a Chair for Standing Yoga Poses?
Yes. A chair can support your hands in lunges, forward bends, Tree, Warrior III, and Half Moon. Choose a sturdy chair without wheels and secure it against slipping. You can keep using support as part of your regular practice.
What Is the Difference Between Warrior I and Warrior II?
In Warrior I, your torso faces generally forward and the back foot is angled with the heel grounded. In Warrior II, your torso faces the long side of the mat and your arms usually extend sideways. Both use a bent front knee.
Which Standing Yoga Poses Challenge Balance?
Tree, Eagle, Warrior III, and Half Moon emphasize balance on one leg. Begin with hand support and, where possible, keep the lifted foot partly on the floor. More difficult variations are optional.
Conclusion
Standing yoga poses offer several ways to practice strength, flexibility, and balance without needing a floor-based routine. Start with a few manageable positions, use support freely, and move between poses with control.
Try the beginner sequence at a comfortable pace. Build familiarity with the movements before adding longer holds or more demanding balances.
References
- NCCIH: Yoga—Effectiveness and Safety
- Randomized Trial Comparing Yoga With Stretching and Strengthening Exercises
- Yoga Journal Pose Library
- American Council on Exercise: Warrior I
- Health and Wellbeing Queensland: Reverse Warrior
- Bone Health & Osteoporosis Foundation: Exercise Guidance
- Intraocular Pressure During Common Yoga Positions
- NHS: Exercise Video Safety Guidance