
If you’re searching for back exercises at home, the good news is that you can strengthen your entire back without any equipment. These exercises help improve posture, build functional strength, and may support a healthier spine. Strengthening your back is important because it stabilizes your body, reduces injury risk, and supports daily movement—from sitting to lifting.

At home, you can train your upper, mid, and lower back using simple bodyweight moves like bridges, bird dogs, and wall angels. This guide walks you through the best 15 exercises, how to do them safely, plus sets, reps, and training frequency based on current evidence.
Benefits of Doing Back Exercises at Home
- Supports healthier posture
- Builds core and spinal stability
- Helps reduce everyday back stiffness
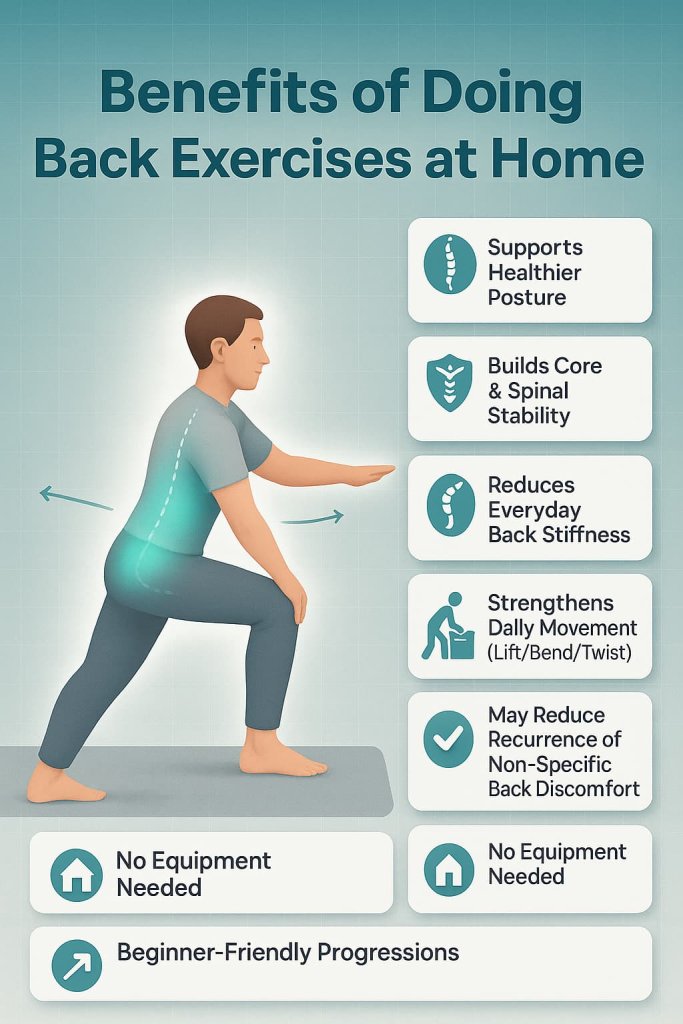
- Enhances strength for lifting, bending, and daily activity
- May help reduce recurrence of non-specific low back discomfort
- Requires no equipment and minimal space
- Beginner-friendly with clear progressions
How to Warm Up Before Back Exercises at Home
Do this 3-minute warm-up:
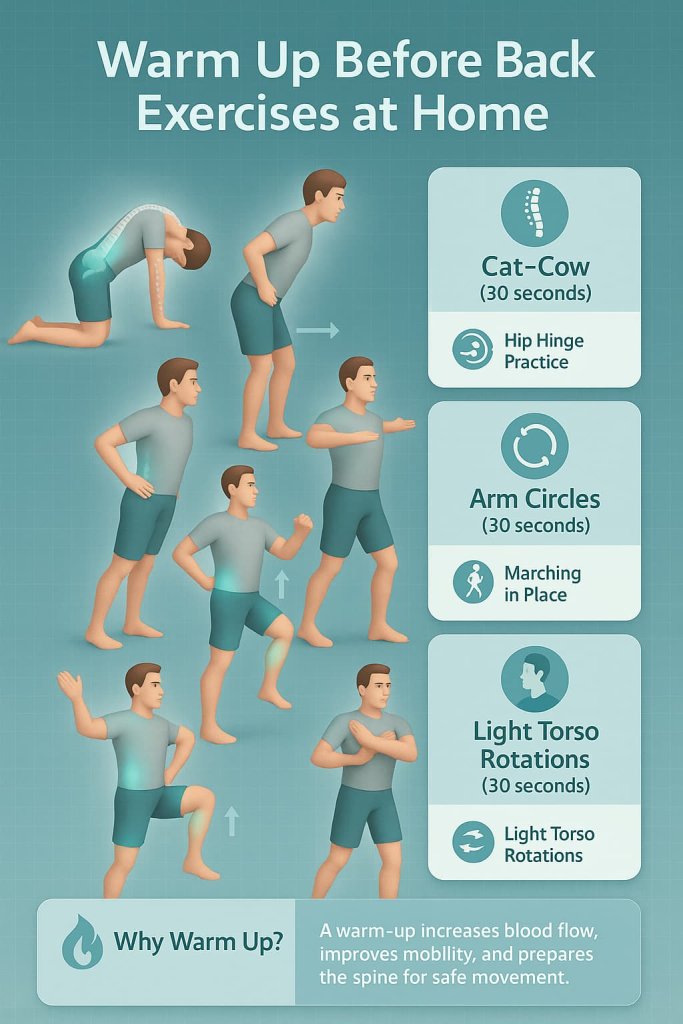
- Cat-Cow (30 seconds)
- Hip hinge practice (1 minute)
- Arm circles (30 seconds)
- Marching in place (30 seconds)
- Light torso rotations (30 seconds)
Why warm up?
A warm-up increases blood flow, improves mobility, and prepares the spine for safe movement.
15 Best Back Exercises at Home (No Equipment Needed)
A core-stabilizing exercise that teaches your spine to stay steady during movement. Great for improving balance and reducing lower-back strain.
1. Bird Dog
Why it works:
Improves deep spinal stability by training opposite-side coordination, reducing unwanted spine rotation and helping control low-back movement during daily tasks.
Muscles worked:
Spinal erectors, multifidus, glutes, core stabilizers, lats, posterior shoulder.
How to do it:
- Start on hands and knees with a neutral spine.
- Extend your right arm forward and left leg back.
- Hold 2–3 seconds without rotating hips.
- Return and switch sides.
- Move with slow, controlled breathing.
Trainer Tip:
Imagine balancing a glass of water on your lower back to ensure perfect stability.
2. Glute Bridge
Why it works:
Strengthens the glutes and hamstrings, which support the pelvis and reduce strain on the lower back.
Muscles worked:
Glute max, hamstrings, spinal stabilizers, core.
How to do it:
- Lie on your back, knees bent, feet hip-width.
- Press through heels to lift hips.
- Pause when your body forms a straight line from shoulders to knees.
- Lower slowly with control.
Trainer Tip:
Keep ribs down and avoid arching your lower back at the top.
3. Superman Hold
Why it works:
Enhances endurance in the spinal extensors and improves upper-back activation for posture support.
Muscles worked:
Spinal erectors, upper glutes, rear delts, traps.
How to do it:
- Lie face down, arms extended forward.
- Lift chest, arms, and legs gently off the floor.
- Hold 2–4 seconds.
- Lower with control.
Trainer Tip:
Keep the lift small — think “long spine,” not “high chest.”
4. Prone Y-T-W Raises
Why it works:
Strengthens the mid and upper back, improving scapular control and posture.
Muscles worked:
Mid traps, lower traps, rhomboids, rear delts.
How to do it:
- Lie face down, arms overhead in a Y shape.
- Lift arms slightly while keeping chest down.
- Move arms into T, then W positions.
- Repeat in a slow, controlled cycle.
Trainer Tip:
Focus on squeezing shoulder blades gently rather than lifting high.
5. Wall Angels
Why it works:
Improves thoracic mobility and strengthens postural muscles weakened by sitting.
Muscles worked:
Mid traps, lower traps, rhomboids, rotator cuff, rear delts.
How to do it:
- Stand with back, head, and hips against wall.
- Lift arms to shoulder height, elbows bent.
- Slide arms overhead while keeping wrists and elbows touching the wall.
- Lower slowly.
Trainer Tip:
If wrists can’t touch the wall, step slightly away to modify.
6. Reverse Snow Angels
Why it works:
Opens chest, strengthens upper back, and retrains scapular movement.
Muscles worked:
Rhomboids, rear delts, traps, spinal stabilizers.
How to do it:
- Lie face down with arms by your sides.
- Sweep arms outward and overhead while slightly lifting chest.
- Return in a smooth arc.
Trainer Tip:
Keep gaze down to avoid neck strain.
7. Hip Hinge (Bodyweight Good Morning)
Why it works:
Teaches proper bending mechanics and strengthens the posterior chain to reduce back strain.
Muscles worked:
Hamstrings, glutes, spinal erectors, core stabilizers.
How to do it:
- Stand tall with feet hip-width.
- Push hips back while keeping spine neutral.
- Lower torso until hamstrings feel a stretch.
- Return to standing.
Trainer Tip:
Imagine closing a car door with your hips to learn the hinge motion.
8. Plank Shoulder Taps
Why it works:
Builds anti-rotation strength, improving spine stability during movement.
Muscles worked:
Core stabilizers, obliques, shoulders, deep spinal muscles.
How to do it:
- Start in a high plank.
- Lift one hand to tap the opposite shoulder.
- Switch sides without letting hips sway.
- Move slowly.
Trainer Tip:
Widen your feet to increase stability if you’re a beginner.
9. Dead Bug
Why it works:
Trains core coordination with spinal neutrality — essential for protecting the back during daily movement.
Muscles worked:
Transverse abdominis, deep core stabilizers, hip flexors, spinal stabilizers.
How to do it:
- Lie on your back with knees stacked over hips.
- Extend opposite arm and leg while keeping lower back gently pressed into floor.
- Return and switch sides.
- Move slowly.
Trainer Tip:
If your back arches, reduce range of motion.
10. Cobra Stretch (Strength + Mobility)
Why it works:
Gently activates back muscles while promoting spinal extension mobility.
Muscles worked:
Spinal extensors, lower traps, chest opener.
How to do it:
- Lie face down with hands under shoulders.
- Lift chest gently while keeping pelvis on floor.
- Pause briefly, then lower.
Trainer Tip:
Use your back, not arms — keep hands light if possible.
11. Plank Hold
Why it works:
Strengthens deep-core muscles that stabilize and unload the spine.
Muscles worked:
Transverse abdominis, obliques, rectus abdominis, spinal stabilizers, shoulders.
How to do it:
- Hold a forearm plank with ribs down.
- Keep a neutral spine.
- Maintain a steady breath for 20–40 seconds.
Trainer Tip:
Imagine pulling elbows toward toes to activate your core more deeply.
12. Quadruped Arm Circles
Why it works:
Improves shoulder mobility while stabilizing the upper back and core.
Muscles worked:
Rotator cuff, mid traps, rear delts, deep core stabilizers.
How to do it:
- Start on hands and knees.
- Lift one arm slightly and draw small circles.
- Maintain square hips and stable torso.
- Switch sides.
Trainer Tip:
Keep circles small — control matters more than size.
13. Scapular Retractions (Floor or Wall)
Why it works:
Reinforces proper shoulder-blade movement for posture and pulling strength.
Muscles worked:
Rhomboids, mid traps, lower traps.
How to do it:
- Sit or stand tall.
- Pull shoulder blades together gently (not forcefully).
- Hold 1–2 seconds, then release.
Trainer Tip:
Think about sliding shoulder blades “down and back,” not squeezing too hard.
14. Side Plank
Why it works:
Strengthens lateral core stabilizers that help reduce rotational stress on the spine.
Muscles worked:
Obliques, deep core stabilizers, glute medius, shoulder stabilizers.
How to do it:
- Lie on your side with elbow under shoulder.
- Lift hips into a straight line.
- Hold 15–30 seconds.
- Switch sides.
Trainer Tip:
If too difficult, drop bottom knee to the floor for support.
15. Hip Airplane (Beginner Version)
Why it works:
Enhances hip stability and balance, reducing compensations that strain the lower back.
Muscles worked:
Glute medius, glute max, deep hip stabilizers, core.
How to do it:
- Stand tall holding a wall or chair lightly.
- Shift weight onto one foot.
- Rotate hips open and closed in a slow, controlled pattern.
- Switch sides.
Trainer Tip:
Move only as far as you can while keeping your spine neutral and steady.
How to Train Your Back at Home (Sets, Reps, Frequency)
Follow evidence-aligned guidelines based on ACSM & CDC recommendations.
Frequency:
- 2–3 days per week
Sets & Reps:
- 8–15 reps per exercise
- 1–3 sets depending on your level
- Hold core exercises (plank, superman) for 20–40 seconds
Progression:
Increase one variable per week:
- Add 2–4 reps
- Increase hold time by 5–10 seconds
- Add one extra set when moves feel easy
Beginner Tip:
Maintain a neutral spine and avoid working into sharp pain.
Common Mistakes to Avoid
- Overarching the lower back
- Rushing movements
- Holding your breath
- Ignoring warm-up
- Training through sharp or radiating pain
If pain worsens or neurological symptoms appear, seek medical evaluation.
Safety Guidelines Before You Start
Before doing any back exercises at home, follow these essentials to stay safe and protect your spine.
- Avoid sharp pain: Stop immediately if you feel radiating, stabbing, or worsening pain.
- Keep a neutral spine: Avoid arching or rounding your back; move in slow, controlled motions.
- Use a mat or soft surface: This reduces pressure on joints and improves comfort.
- Breathe steadily: Do not hold your breath — steady breathing supports core stability.
- Watch for red flags: Seek medical care if you experience leg weakness, numbness in the groin area, bowel/bladder changes, or pain after major trauma.
- Consult a professional: If you have diagnosed back conditions, get guidance before starting.
- Warm up first: Always perform a brief 2–3 minute warm-up.
Who Should Avoid These Exercises?
Stop and consult a healthcare provider if you experience:
- Severe or progressive leg weakness
- Loss of bowel or bladder control
- Numbness in the groin (“saddle anesthesia”)
- Pain after high-impact trauma
- Unexplained fever or weight loss
These are medical red flags recognized by major clinical guidelines.
FAQ
1. Can you really build your back at home without equipment?
Yes. Bodyweight movements like bird dogs, bridges, and wall angels can strengthen all major back muscles.
2. How long does it take to see results?
Most beginners notice improved posture and strength within 3–4 weeks with consistent training.
3. Is it safe to do back exercises daily?
Light mobility work is fine daily. Strength exercises need rest days—stick to 2–3 sessions weekly.
4. What exercises help with posture the most?
Wall angels, Y-T-W raises, and scapular retractions are highly effective for posture.
5. Are these exercises good for back pain?
Gentle strengthening may help non-specific back discomfort, but avoid exercising through sharp or worsening pain.
6. Do I need equipment later to progress?
Optional tools (bands, dumbbells) can help later, but bodyweight can still offer long-term benefits.
7. Can beginners do all these moves?
Yes—every exercise listed has a beginner-friendly version.
Conclusion
Training your back at home is simple, effective, and accessible for all fitness levels. These 15 no-equipment exercises build strength, improve posture, and help support a healthier spine—without needing a gym. Start with 3–5 exercises, train consistently, and increase difficulty gradually.
References
- Noninvasive Treatments for Acute, Subacute, and Chronic Low Back Pain – American College of Physicians Clinical Practice Guideline
- A Systematic Review of the Effectiveness of Core Stability Exercises in Patients with Non-Specific Low Back Pain (Smrcina et al., 2022)