
The best standing exercises for seniors combine supported strength movements with gentle balance practice. Marching, mini squats, heel raises, wall push-ups, and controlled walking drills can strengthen the muscles used for standing, walking, reaching, and changing direction.
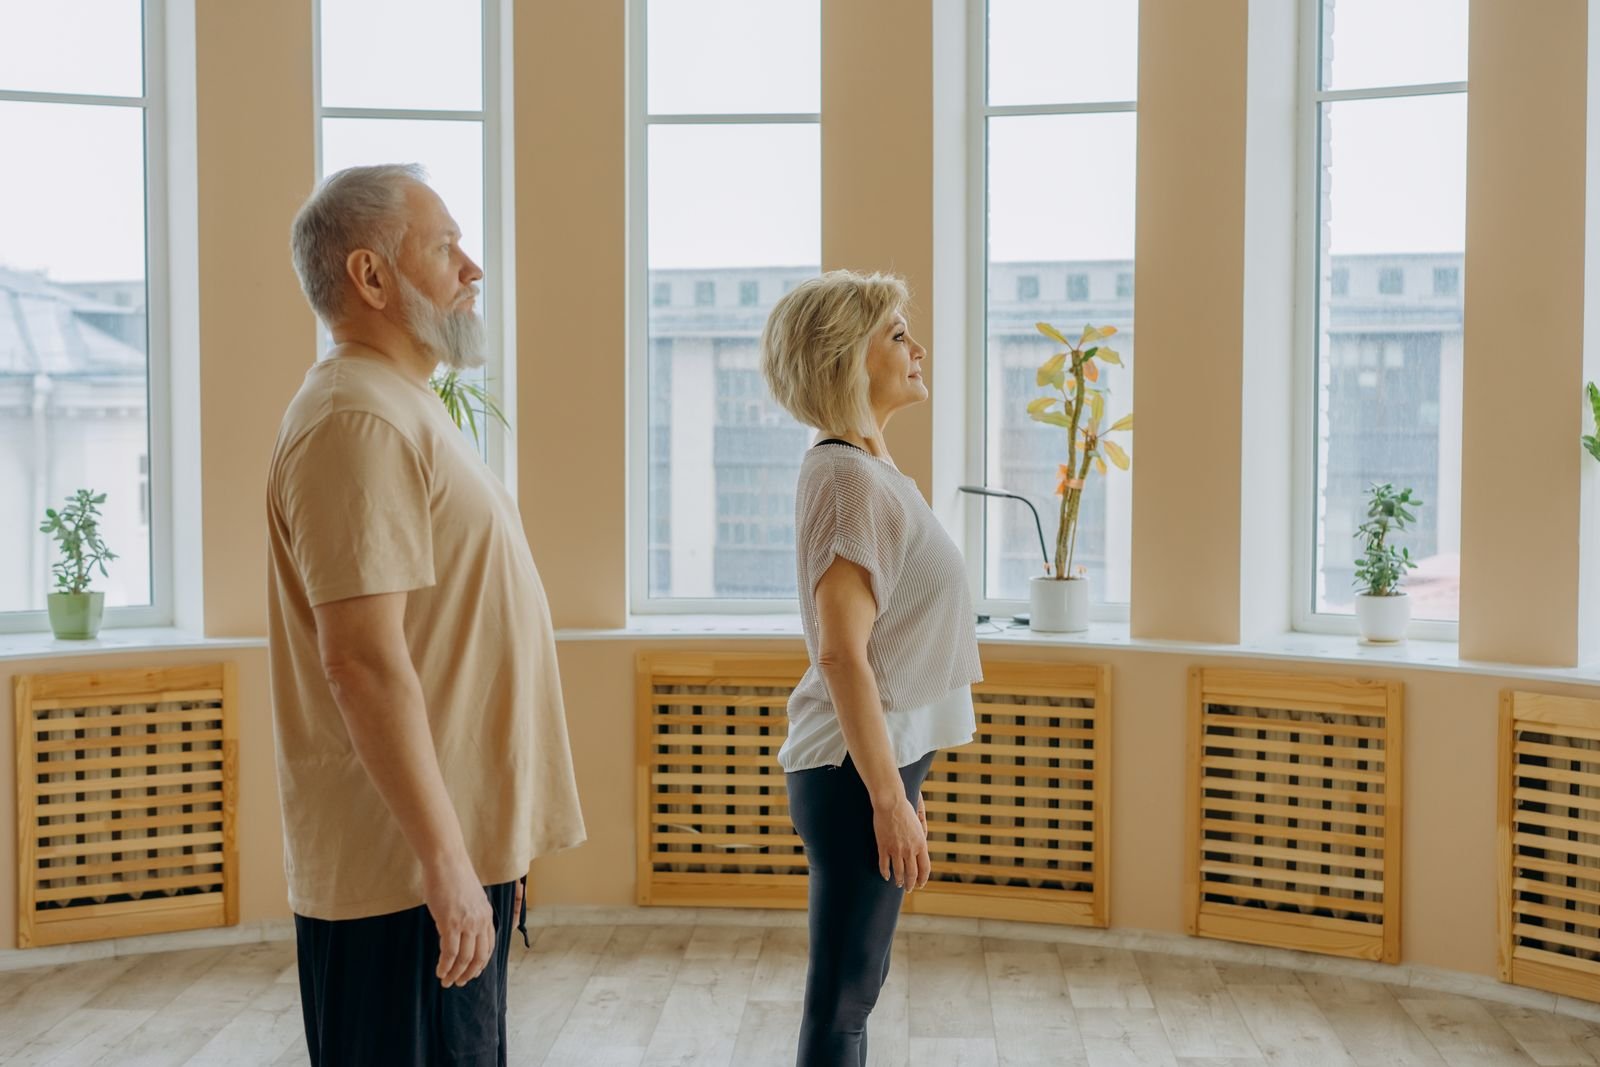
Most of these exercises require only a sturdy chair, wall, or countertop. Beginners can use both hands for support, work through a small range of motion, and gradually progress as their control improves.
The Centers for Disease Control and Prevention recommends that adults age 65 and older include aerobic activity, muscle-strengthening activity, and balance work each week. Standing exercises can contribute to the strength and balance portions of those recommendations, although they should be combined with other appropriate physical activities.
Standing Exercises for Seniors at a Glance
| Exercise | Best for | Beginner target |
|---|---|---|
| Supported marching in place | Coordination and weight shifting | 5–10 lifts per leg |
| Chair-supported mini squat | Thigh and hip strength | 5–10 repetitions |
| Standing heel raise | Calf strength and ankle control | 8–12 repetitions |
| Standing side leg raise | Hip stability | 5–10 per side |
| Standing back leg raise | Glute strength and hip control | 5–10 per side |
| Standing hamstring curl | Back-of-thigh strength | 5–10 per side |
| Wall push-up | Chest, shoulder, and arm strength | 5–10 repetitions |
| Sideways walking | Side-to-side control | 5–10 steps each way |
| Heel-to-toe walk | Walking balance and coordination | 5–10 steps |
| Supported single-leg stand | Static balance | 5–10 seconds per side |
These targets are starting points, not requirements. Performing fewer repetitions with steady form is more useful than completing extra repetitions while becoming tired or unbalanced.
Why Are Standing Exercises Important for Seniors?
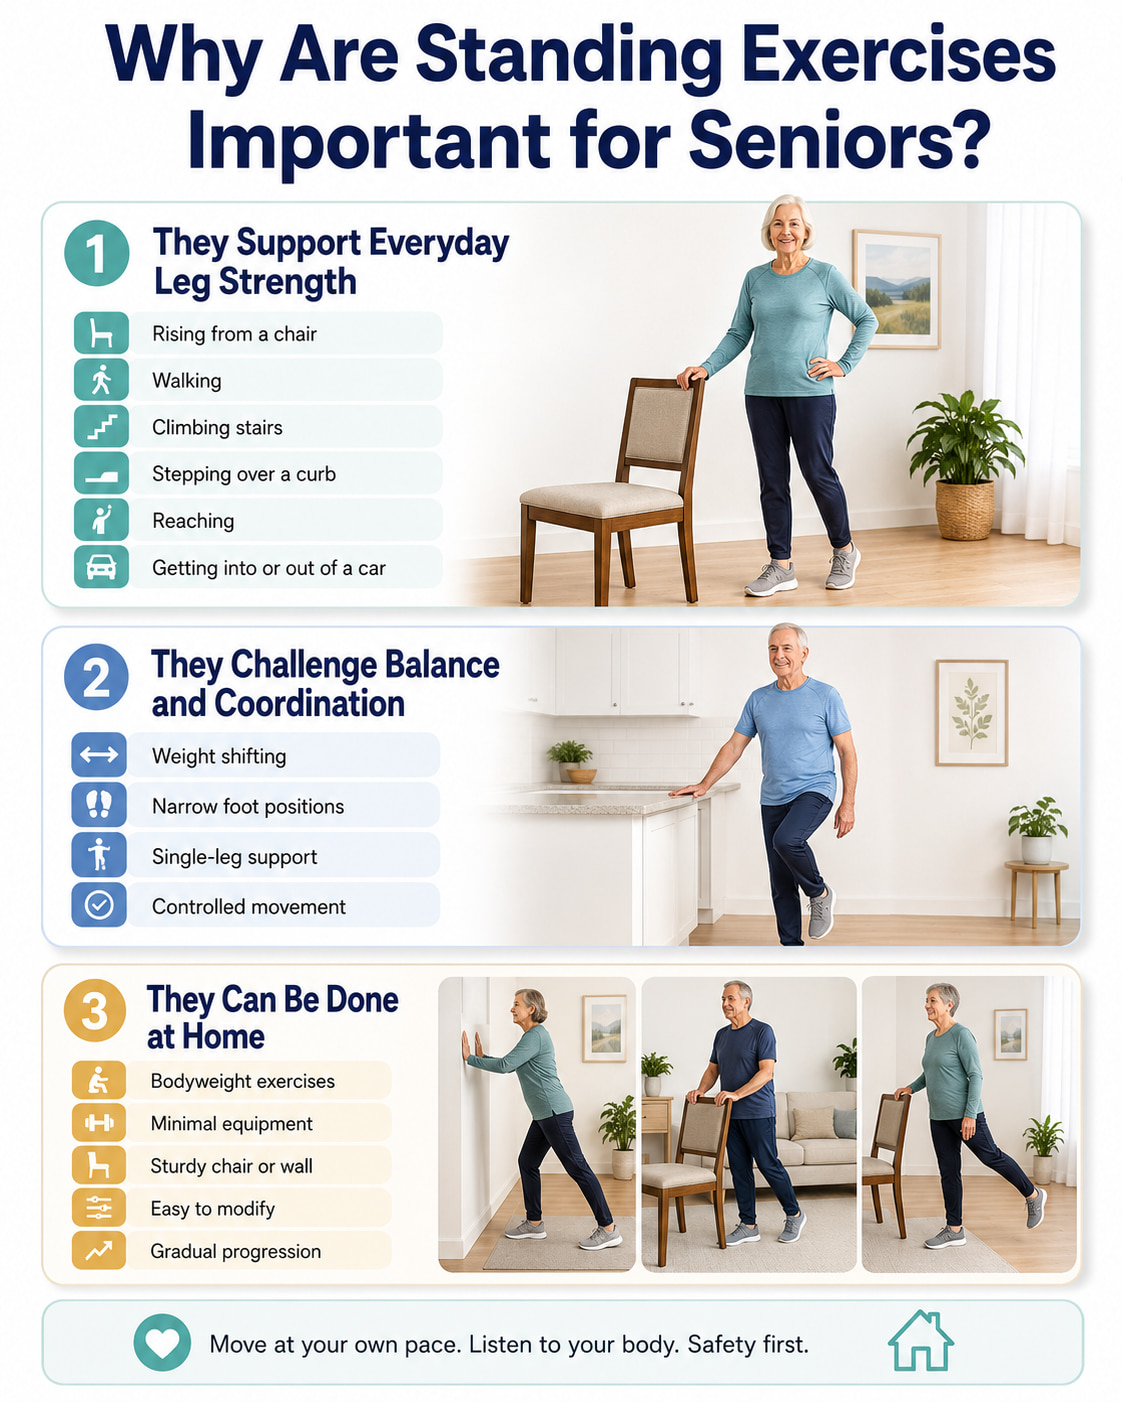
Standing exercises can train several physical abilities within one routine.
They Support Everyday Leg Strength
The thighs, hips, calves, and glutes help with movements such as:
- Rising from a chair
- Walking through the home
- Climbing stairs
- Stepping over a curb
- Reaching into a cupboard
- Getting into or out of a car
Standing exercises allow these muscles to work while the body remains in an upright, functional position.
They Challenge Balance and Coordination
Balance requires the muscles, joints, vision, and nervous system to work together. Exercises involving weight shifts, narrow foot positions, and brief single-leg support can provide controlled balance practice.
More than 14 million U.S. adults age 65 and older—approximately one in four—report falling each year, according to CDC data updated February, 2026. Exercise cannot guarantee that someone will avoid a fall, but balance and functional training are important parts of many fall-prevention programs.
A large Cochrane review found that programs emphasizing balance and functional exercise reduced the rate of falls among community-dwelling older adults. Programs combining balance, functional, and resistance exercises also showed benefits. The review evaluated structured programs, so its findings should not be interpreted as proof that one short routine will prevent falls.
They Can Be Done at Home
A gym is not essential for effective strength work. The American College of Sports Medicine reported in its March 2026 resistance-training update that bodyweight exercises and home-based routines can improve strength and physical function. ACSM also emphasized individualization, gradual progression, and choosing a routine that can be performed consistently.
Safety Checklist Before You Begin
Standing exercises should feel controlled and appropriately challenging—not painful, rushed, or frightening.
Before starting:
- Place a sturdy chair against a wall so it cannot slide.
- Avoid folding chairs, rolling chairs, stools, and unstable furniture.
- Clear rugs, cords, pets, and clutter from the exercise area.
- Keep a phone or another person nearby if balance is a concern.
- Wear supportive, well-fitting footwear.
- Keep water within reach.
- Use both hands for support until one-hand support feels steady.
- Leave enough space to move without striking nearby furniture.
The National Institute on Aging recommends keeping a sturdy chair, wall, or another person nearby during balance exercises and using stable footwear.
Warm Up First
Begin with five to 10 minutes of comfortable low-impact movement. Options include:
- Easy walking around the room
- Slow supported marching
- Gentle ankle movements
- Seated marching when standing is initially tiring
The American Academy of Orthopaedic Surgeons recommends five to 10 minutes of low-impact activity before strengthening exercises and advises exercisers not to ignore pain.
Get Individual Guidance When Needed
Speak with a healthcare professional or physical therapist before beginning when you have:
- Recently fallen
- Unexplained dizziness, fainting, or frequent loss of balance
- A recent operation or injury
- New or worsening joint pain
- A condition that significantly affects walking
- Instructions to limit weight-bearing activity
- A mobility aid that you are unsure how to use during exercise
Stop the session if you develop pain, dizziness, unusual weakness, or feel unsafe. Do not try to “push through” a loss of balance.
10 Best Standing Exercises for Seniors
The movements below are based on commonly recommended standing strength and balance exercises from the North Tees and Hartlepool NHS Foundation Trust and AAOS resources. The repetitions have been kept conservative so beginners can focus on control before adding volume.
1. Supported Marching in Place
Why it works: Supported marching practices shifting body weight from one leg to the other. It also strengthens the muscles used to lift the feet while walking, stepping over objects, and climbing stairs.
Muscles worked: Hip flexors, quadriceps, glutes, calves, and core stabilizers.
How to do it:
- Stand behind a sturdy chair or in front of a counter.
- Place your feet approximately hip-width apart.
- Hold the support with one or both hands.
- Lift one knee to a comfortable height without leaning backward.
- Lower the foot gently and repeat with the other leg.
- Continue alternating for 5–10 lifts per side.
Trainer Tip: The knee does not need to reach hip height. Use a small lift that allows you to stay tall and place each foot down quietly. Seated marching is a suitable starting option when standing marching is too tiring.
2. Chair-Supported Mini Squat
Why it works: Mini squats strengthen the legs through a movement similar to sitting down and standing up. The shallow depth makes the exercise easier to control than a deep squat.
Muscles worked: Quadriceps, glutes, hamstrings, calves, and trunk stabilizers.
How to do it:
- Stand behind a sturdy chair and hold it lightly.
- Position your feet about shoulder-width apart.
- Keep your heels on the floor and look forward.
- Push your hips slightly backward while bending your knees.
- Lower only as far as you can remain comfortable and balanced.
- Press through both feet to return to standing.
- Complete 5–10 repetitions.
Trainer Tip: Think about reaching your hips back rather than dropping straight down. Keep your knees pointing in the same general direction as your toes.
3. Standing Heel Raise
Why it works: Heel raises strengthen the calf muscles and practice controlling the ankle while the body moves upward and downward.
Muscles worked: Gastrocnemius, soleus, and smaller ankle and foot stabilizers.
How to do it:
- Stand behind a chair or counter with your feet hip-width apart.
- Hold the support and distribute your weight evenly across both feet.
- Slowly raise your heels while keeping your toes on the floor.
- Pause briefly at the top.
- Lower your heels under control.
- Perform 8–12 repetitions.
Trainer Tip: Avoid rocking forward or bouncing. Begin with a small heel lift. A seated heel raise can be used when the standing version is too difficult.
4. Standing Side Leg Raise
Why it works: This exercise strengthens the muscles on the outside of the hip, which help control the pelvis and legs during standing, walking, and side-stepping.
Muscles worked: Gluteus medius, gluteus minimus, and other hip abductors.
How to do it:
- Stand facing a counter or the back of a sturdy chair.
- Keep your toes pointing forward.
- Shift your weight onto one leg without leaning sideways.
- Move the other leg a short distance out to the side.
- Pause, then return the foot slowly.
- Complete 5–10 repetitions before changing sides.
Trainer Tip: A larger leg lift is not necessarily better. Keep your torso upright and stop before your body begins to tilt. A simple side step without lifting the foot is an easier alternative.
5. Standing Back Leg Raise
Why it works: Moving the leg backward trains the glutes and practices maintaining an upright trunk while the hip extends.
Muscles worked: Gluteus maximus, hamstrings, and hip stabilizers.
How to do it:
- Stand facing a chair or counter.
- Hold the support and keep both knees soft rather than locked.
- Shift your weight onto one leg.
- Move the other leg a few inches behind you.
- Keep the working knee mostly straight and your torso tall.
- Return the foot slowly.
- Complete 5–10 repetitions on each side.
Trainer Tip: Do not arch your lower back to make the leg travel farther. A small backward movement with a steady torso is enough.
6. Standing Hamstring Curl
Why it works: The standing hamstring curl strengthens the back of the thigh while requiring the standing leg to support the body.
Muscles worked: Hamstrings, calves, glutes, and standing-leg stabilizers.
How to do it:
- Stand behind a chair with your feet close together.
- Hold the chair and shift your weight onto one leg.
- Bend the opposite knee and move that heel toward the back of your thigh.
- Keep your knees close rather than letting the working knee move forward.
- Lower the foot slowly.
- Complete 5–10 repetitions before changing legs.
Trainer Tip: Lift only as far as comfortable. Keep your thighs approximately aligned and avoid swinging the lower leg.
7. Wall Push-Up
Why it works: Wall push-ups provide upper-body strength training without requiring someone to get down onto the floor. They can help build pushing strength for everyday activities.
Muscles worked: Chest, triceps, front shoulders, and core stabilizers.
How to do it:
- Stand facing a wall and place your palms against it at approximately chest or shoulder height.
- Position your hands slightly wider than your shoulders.
- Walk your feet back until your body forms a comfortable incline.
- Bend your elbows and bring your chest toward the wall.
- Keep your body straight rather than allowing your hips to move forward.
- Press through your hands to straighten your arms.
- Complete 5–10 repetitions.
Trainer Tip: Standing closer to the wall makes the exercise easier. Move farther away only when you can keep your body controlled throughout every repetition.
8. Sideways Walking
Why it works: Sideways walking trains lateral movement, weight shifting, and the hip muscles used when changing direction or moving around obstacles.
Muscles worked: Gluteus medius, gluteus minimus, quadriceps, calves, and hip stabilizers.
How to do it:
- Stand beside a clear countertop or wall.
- Keep your feet facing forward and soften your knees slightly.
- Step one foot sideways.
- Bring the other foot toward it without rushing.
- Continue for 5–10 steps.
- Return in the opposite direction.
Trainer Tip: Keep your hips level and avoid letting your feet cross. Use small steps and keep your fingertips on the counter when needed.
9. Heel-to-Toe Walk
Why it works: Heel-to-toe walking narrows the base of support, creating a greater balance challenge than ordinary walking.
Muscles worked: Calves, ankles, hips, legs, and core stabilizers.
How to do it:
- Stand beside a wall or countertop.
- Look forward rather than down at your feet for the entire drill.
- Place one foot in front of the other.
- Bring the front heel close to the toes of the back foot.
- Shift your weight forward slowly.
- Repeat for approximately five steps.
Trainer Tip: The heel and toes do not need to touch. Leave a small space between the feet or use a slightly wider stance until the movement feels steady.
10. Supported Single-Leg Stand
Why it works: This exercise practices supporting more body weight on one leg, an ability used briefly during every step of normal walking.
Muscles worked: Glutes, quadriceps, calves, ankles, and core stabilizers.
How to do it:
- Stand facing a wall or behind a sturdy chair.
- Hold the support with both hands.
- Shift your weight slowly onto one leg.
- Lift the other foot slightly from the floor.
- Keep your hips level and the standing knee softly bent.
- Hold for 5–10 seconds.
- Lower the foot and repeat on the other side.
Trainer Tip: Begin by keeping the toes of the nonworking foot on the floor as a kickstand. Progress to lifting the foot only when the supported version feels secure.
A Simple Standing Exercise Routine for Seniors
This beginner routine uses all 10 exercises. It may take approximately 10–15 minutes depending on the amount of rest required.
- Supported marching: 5–10 lifts per leg
- Chair-supported mini squat: 5–8 repetitions
- Standing heel raise: 8–10 repetitions
- Standing side leg raise: 5–8 per side
- Standing back leg raise: 5–8 per side
- Standing hamstring curl: 5–8 per side
- Wall push-up: 5–10 repetitions
- Sideways walking: 5 steps each direction
- Heel-to-toe walk: 5 controlled steps
- Supported single-leg stand: 5–10 seconds per side
Rest for 30–60 seconds whenever needed. Longer rest is appropriate when breathing becomes uncomfortable, the legs feel shaky, or balance begins to decline.
Beginners do not need to complete every exercise during the first session. Start with four to six movements and add more as the routine becomes familiar.
How Often Should Seniors Do Standing Exercises?
A practical starting schedule is two nonconsecutive days per week. This aligns with the CDC recommendation for older adults to perform muscle-strengthening activities on at least two days each week. Balance activities should also be included regularly.
A simple schedule could look like this:
| Day | Activity |
|---|---|
| Monday | Full standing routine |
| Tuesday | Comfortable walking or another appropriate aerobic activity |
| Wednesday | Rest or gentle mobility |
| Thursday | Full standing routine |
| Friday | Comfortable walking |
| Weekend | Optional light balance practice or recreational activity |
Some people may tolerate three short sessions per week. Others may need shorter sessions or more recovery. Personal ability, health conditions, medications, sleep, and recent activity levels can all affect recovery.
How to Make Standing Exercises Easier
Use one or more of these modifications:
- Hold the support with both hands.
- Use a smaller range of motion.
- Perform fewer repetitions.
- Rest after each exercise.
- Divide the routine into two shorter sessions.
- Replace standing marching or heel raises with seated versions.
- Keep one foot or the toes lightly on the floor during balance drills.
- Ask another person to remain nearby.
Using support is not a failure. It allows you to practice the movement while reducing the chance of an uncontrolled loss of balance.
How to Progress Safely
Progress only when the current version feels steady and repeatable.
Change one factor at a time:
- Increase from 5 repetitions to 8.
- Progress from 8 repetitions to 10 or 12.
- Add a second round.
- Slow the lowering part of strength exercises.
- Progress from two-hand support to one-hand support.
- Use fingertip support when one-hand support feels easy.
- Add a light resistance band or small weight only when appropriate.
Do not rush to remove support completely. Many seniors can continue benefiting from supported exercises without ever performing the movements hands-free.
When Should You Stop an Exercise?
Stop the movement when:
- Pain develops or increases
- You feel dizzy, faint, or unusually weak
- Your balance becomes difficult to control
- You cannot maintain safe form
- Your feet begin to catch or drag
- You feel unable to continue safely
Muscle effort and mild fatigue can be expected during strengthening exercises. Sharp pain, worsening joint discomfort, or symptoms that continue after the session should not be ignored.
FAQs About Standing Exercises for Seniors
What are the best standing exercises for seniors?
Useful standing exercises include supported marching, mini squats, heel raises, side and back leg raises, hamstring curls, wall push-ups, sideways walking, heel-to-toe walking, and supported single-leg stands. The best selection depends on the person’s current strength, balance, health, and mobility.
Are standing exercises safe for seniors?
They can be appropriate for many older adults when performed beside stable support and adjusted to individual ability. Someone with recent falls, unexplained dizziness, a new injury, or significant balance problems should seek professional guidance first.
How often should seniors perform standing exercises?
A reasonable starting point is twice per week on nonconsecutive days. Short balance drills may be practiced more frequently when they are comfortable, supported, and do not cause excessive fatigue.
Can balance improve after age 70?
Older adults can still improve physical abilities through regular practice. The amount and speed of improvement vary, and no exercise can guarantee that a person will not fall. Programs that include balance, functional movement, and strength training have the strongest overall fall-prevention evidence.
Should seniors hold a chair during balance exercises?
Yes. A stable chair, counter, or wall is recommended when support improves safety. Begin with both hands and reduce support gradually only when the movement remains controlled.
Are these exercises suitable for seniors with arthritis?
Some may be suitable when performed through a comfortable range, but arthritis affects people differently. Reduce the depth of squats, use support, and avoid movements that increase joint pain. A healthcare professional or physical therapist can help select appropriate exercises for painful or significantly limited joints.
What if a senior cannot stand for 10 minutes?
Divide the routine into shorter sections or alternate standing and seated exercises. Even one or two controlled exercises can be a useful starting point. Rest before fatigue begins to affect balance.
Conclusion
Standing exercises for seniors can provide a simple way to work on leg strength, upper-body strength, coordination, and balance at home. The safest approach is to begin beside stable support, use a comfortable range of motion, and prioritize control over repetition count.
Start with four to six exercises twice per week. Record the repetitions or holding times that feel manageable, and progress gradually as the movements become steadier.
References
- Centers for Disease Control and Prevention — Older Adult Activity: An Overview
- Centers for Disease Control and Prevention — Older Adult Falls Data
- American College of Sports Medicine — Updated Resistance Training Guidelines
- National Institute on Aging — Three Types of Exercise
- Cochrane — Exercise for Preventing Falls in Older People
- NHS — Balance Exercises
- North Tees and Hartlepool NHS Foundation Trust — Standing Exercises
- American Academy of Orthopaedic Surgeons — Knee Conditioning Program